The crusts of a p&j. The butt of a burrito. The shards of Cleo’s egg that she ALWAYS asks for in the morning and barely eats. I hate wasting food, nor do I like making different meals at one time, so I often end up being the garbage disposal to the ends of my kids’ meals. Not dinner, but throughout the day, guilty. I went in to solve my own problem by taking my own advice. If I want to eat well through the day, I need to set myself up for success.
I have been using the same Pyrex containers for years. Maybe ten years? The glass is durable and, does not stain. I have a variety of sizes for all sorts of circumstances. So when they asked me to write a post about how I use them? No question, because it’s a product I am already using daily. When I am taking good care of myself and thinking ahead, and not wanting to eat butts of burritos, I meal prep. If I have food ready, or pieces that get me halfway towards a meal, I am much more likely to eat something well-rounded and filling than a bunch of snacks that still leave me wanting a meal.
These glass Pyrex containers have snap, air tight lids, so I can pop them in the freezer or fridge and not worry about things leaking. It keeps the food fresh longer, and also allows for an easy reheat. I can simply remove the lid and place the dish in my preheated toaster oven. You should not be putting plastic in the microwave - bad for the plastic, bad for the food, bad for you. If my leftovers are something I am not able to reheat on the stove-top, I lay a paper towel over the top and warm it in the microwave. The non-porous glass containers do not stain or smell from acidic products, are better on the environment and while they may be heavy to take on the go, it is a fair trade for how long they last and the whole fridge-to-oven reheat option.
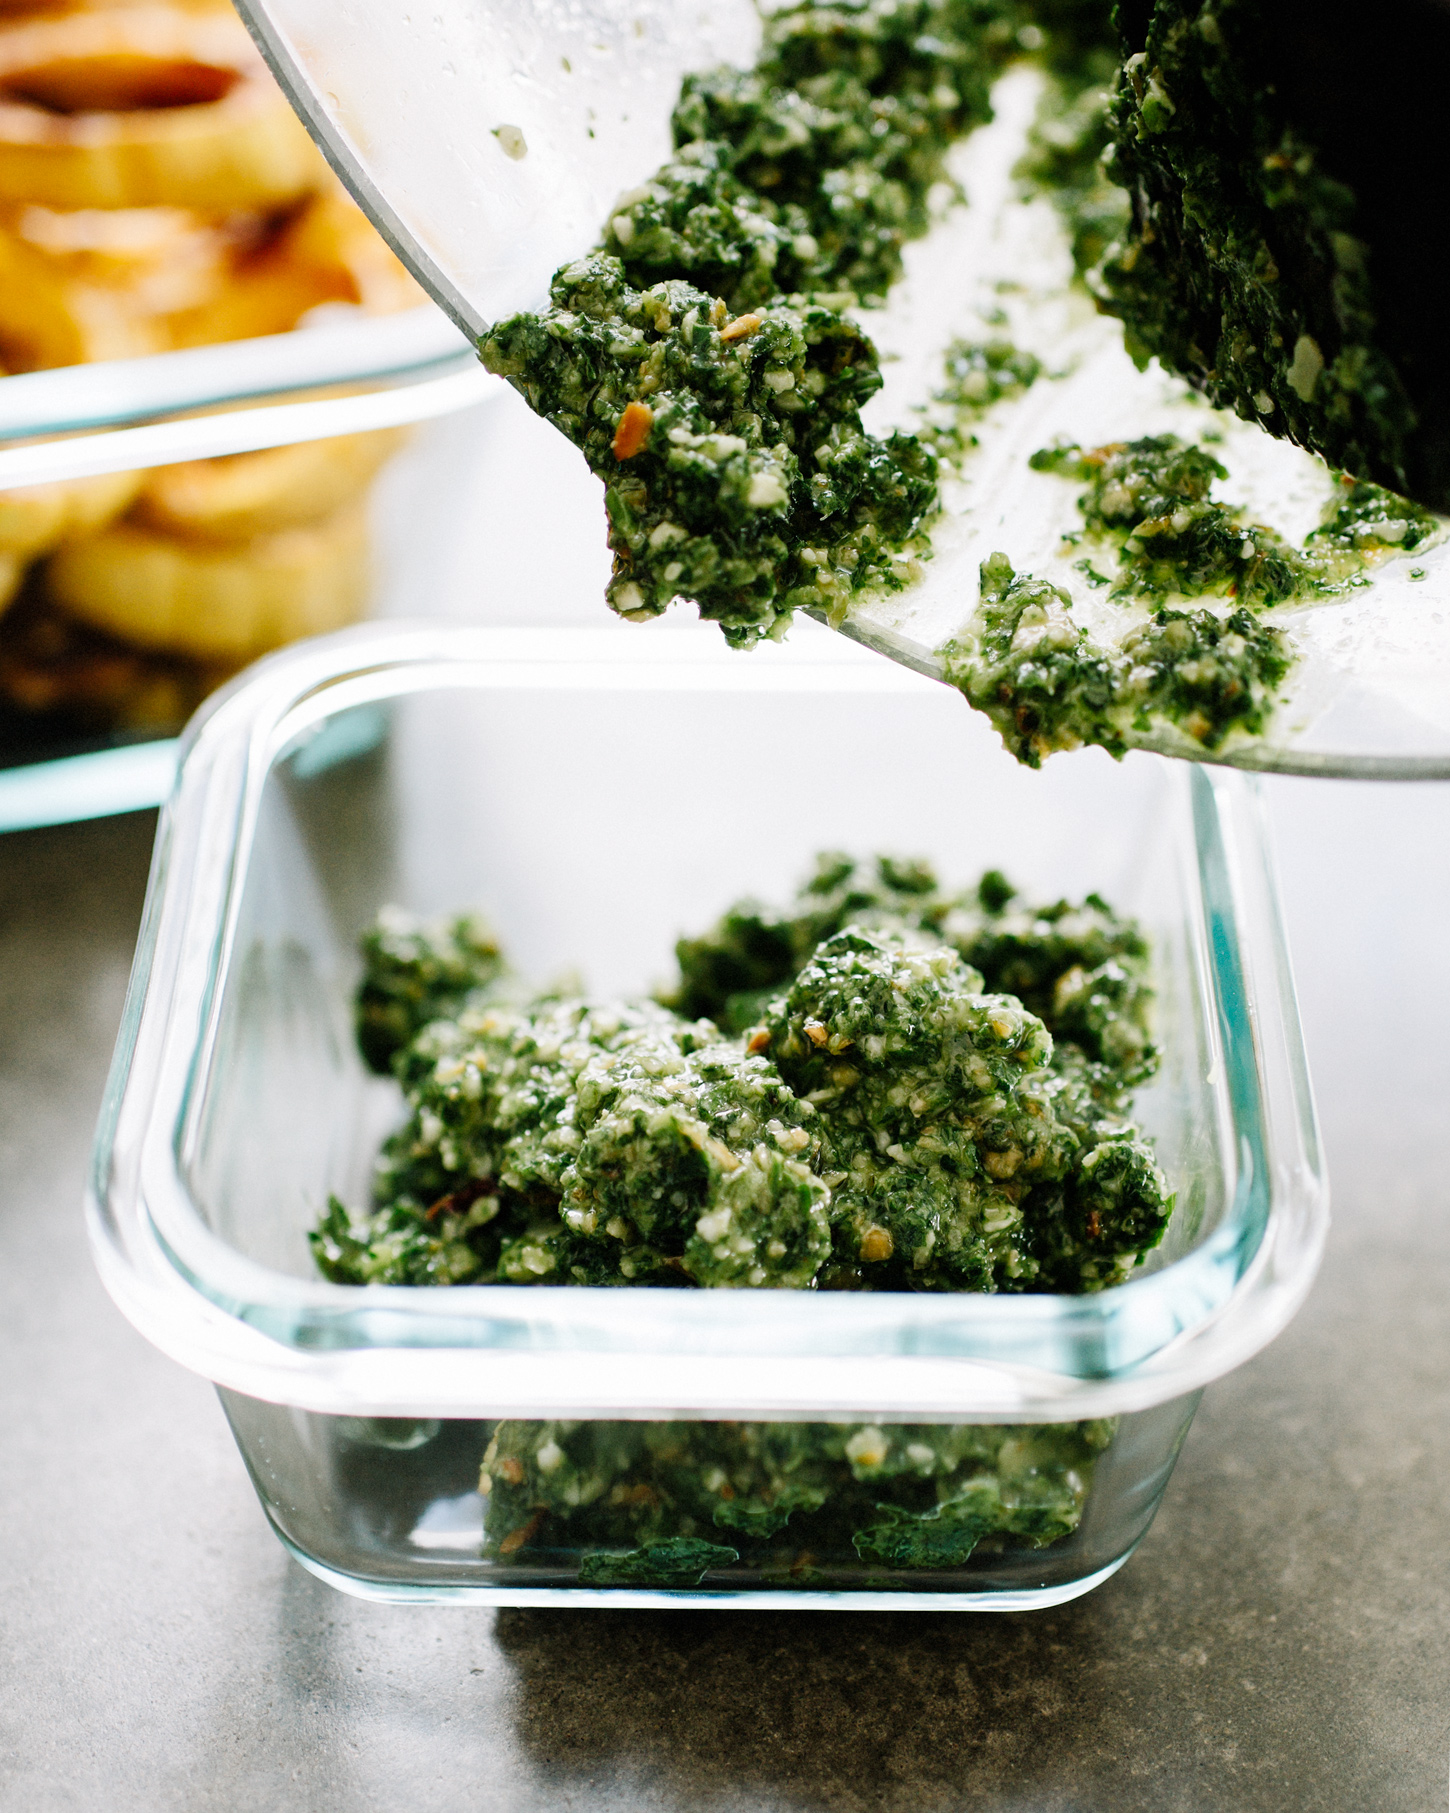
On Sunday afternoon, I dedicated one hour to prep a few things that I knew would make for quicker meals during the week. This may look like a lot, but much of it is hands off. You layer the work. The squash roasts in the oven while you whiz up the pesto. I start the rice and lentils then shake up the vinaigrette and pull out pom seeds while they cook. My plan:
- prepared salad greens (kinds that can be eaten raw or cooked, such as kale and cabbage)
- cilantro pistachio/pepita pesto
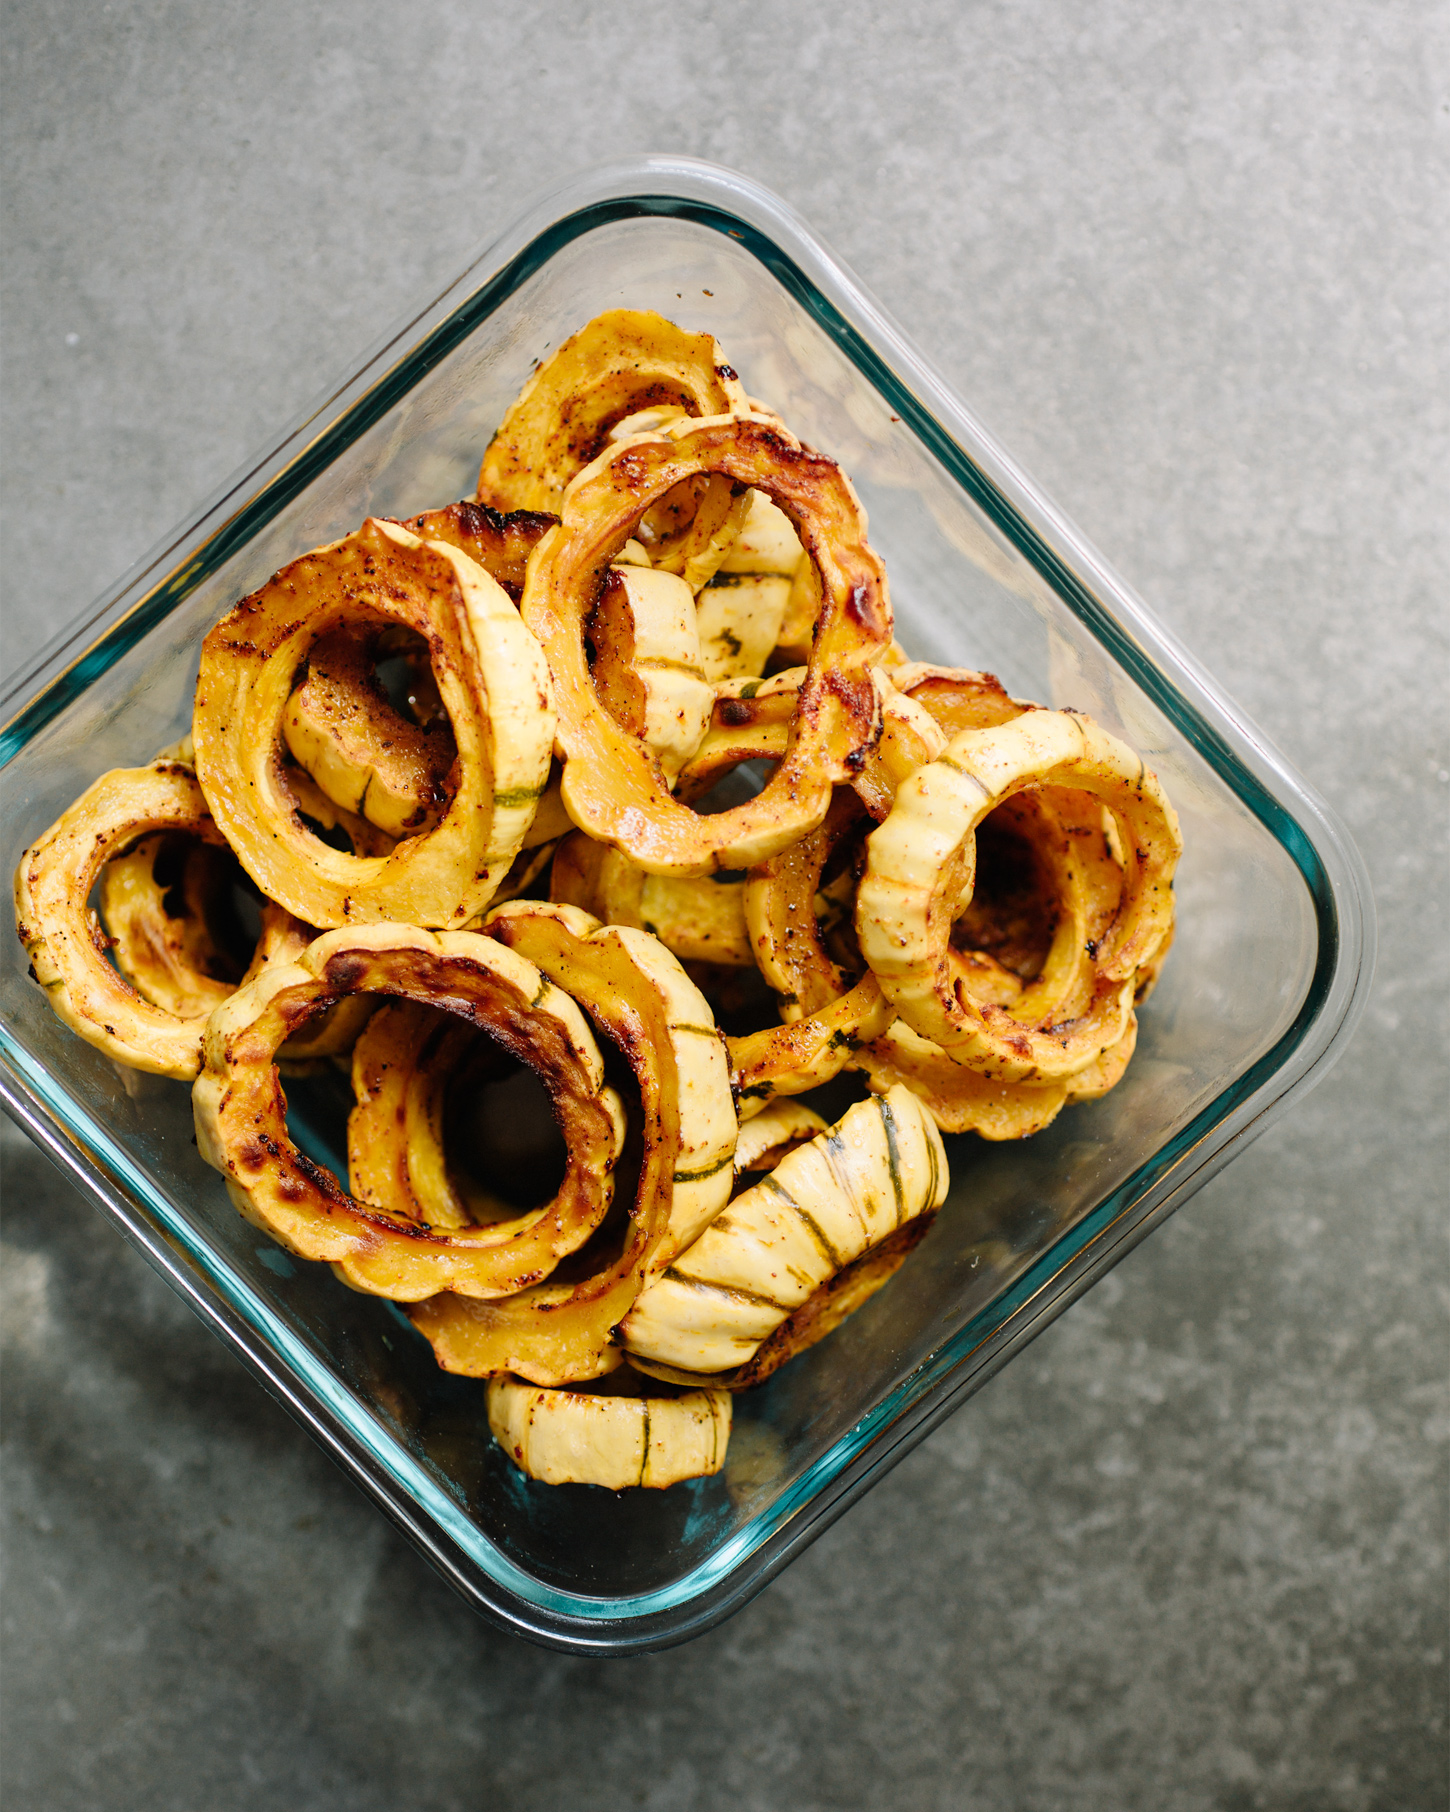
- chili maple delicata squash (recipe below)
- pomegranate seeds
- steamed brown rice + lentil mixture
This leaves me with two meal options that will take under 5 minutes to prepare from here: a big green salad with squash and pom seeds and nuts with the vinaigrette, or rice and lentil bowls, again with more squash, I can sauté some of the greens if I’d like, top with the pesto and then I can easily throw on a little cheese or avocado. The pasta dish that is linked for the cilantro pesto is also amazing and you are 80% of the way to that recipe with these prep pieces too! Use the delicata in place of the butternut and you just need to cook some noodles. The greens I packed are ones I like both in salads, and are not compromised when heated, so they can be either sautéed or dressed for the salad. Tender greens (like butter lettuce, spring mix, arugula) don’t keep as well for me after being washed and stored.
These prepared pieces lasted me the better part of the week for lunches and parts of dinner thanks to my Pyrex glass storage. I also started making a big batch of oats that can easily be reheated with a splash of almond milk, and these pumpkin muffins for breakfast and snack. I’m reminded that I always want to keep my fridge stocked!
This post was sponsored by Pyrex. All words and opinions are my own. Thank you for supporting me in working with brands, so that we may continue to create content for you.
Chili Maple Delicata Squash
The beautiful thing about delicata squash is that you can eat the thin skin, so it makes prep so much faster. I cut them in half, seed them, then cut into half moons, or just into coins, and spoon away the seeds from the center circle.
2 medium delicata squash
1 Tbsp. avocado or extra-virgin olive oil
2 tsp. maple syrup
1/2 tsp. sea salt
1/2 tsp. chili powder
Preheat the oven to 425’ and line a rimmed baking sheet with parchment paper. Cut the squash into 1/2” half moons or rings, and remove the seeds. Place all the squash on the prepared sheet and drizzle on the oil, maple, salt and chili powder. Toss everything to coat and spread them in an even layer. Roast for 20-25 minutes until tender and browned in parts.
Remove to cool before storing.
They will keep for a week, stored in a covered container in the fridge.


