honey

Dessert, Gluten Free, Fall, Snack, Spring, Summer, Winter, Chocolate

DARK CHOCOLATE ALMOND BUTTER CUPS

almond_butter_cups_01.jpg

George is like a character you'd find in a fiction novel. He has the quirks of someone made up, except I work with him at Trader Joes demo station in my non-fiction life. He has a curly ponytail, thick glasses, wears shorts year-round, loves beer, does not own a car, cell phone or computer, speaks of the internet like it's something from space. He prefers people at work (both customers and employees) to call him "The Sheriff" and when the song Wild Wild West comes on in the store, he does a little dance complete with his fingers shaped like guns drawn from his make believe holsters, and boogies around the sample station. I can't make this stuff up. If you're not familiar, Trader Joes has a sample station where people come to try a product, and I work the morning shifts after George has worked there the night before. He likes to chat, and to encourage the company of other employees to come talk, he always opens a box of the dark chocolate peanut butter cups. It's like pigeons and breadcrumbs - he opens those up and people flock. When I follow his shift the next morning, there are usually a couple left for me. I've gotten so used to it now that I get sad when there aren't any left under the table. The more people catch on to his secret stash, the less there are to feed my habit at 7 a.m. This is probably a good problem, but I set out to make my own anyway. As far as candy goes, I knew I could make them a little more virtuous at home.

Hugh and I are coming out of a hot cocoa and whipping cream phase and now these almond butter cups are the treat of choice. They are the perfect amount of sweet and rich with the dark chocolate, while the salt on top brightens up the morsel just right. If you're still looking for a Valentine's Day gift or treat to share, these honestly could not be simpler to make and they taste charmingly homemade.

almond_butter_cups_02.jpg
almond_butter_cups_03.jpg
almond_butter_cups_04.jpg

DARK CHOCOLATE ALMOND BUTTER CUPS // Makes 12-14 minis or 6 full sized cups

I fiddled around with this recipe based on a current affinity for the dark chocolate PB cups at Trader Joes and applied some tips from Alana Chernila of The Homemade Pantry. You could use any nut butter you choose, but note that the amount of natural oil will vary by type and brand. The honey and powdered sugar help the nut butter sieze up, so use your judgement and add a bit more if needed. It should be firm enough to roll in a ball, press down and easily hold that shape. Because I know someone will ask, I suppose you could use all honey and no powdered sugar, just expect a more tender center.I use these muffin liners. They look nice and peel away beautifully from the candy.

  • 7 oz. dark chocolate (not to exceed 70%)
  • 1/2 cup natural almond butter
  • 2 Tbsp. honey
  • 1 Tbsp. powdered sugar
  • 1/2 tsp. vanilla extract
  • 1/4 tsp. fine grain salt
  • sea salt flakes for topping
almond_butter_cups_05.jpg
almond_butter_cups_07.jpg
almond_butter_cups_06A.jpg

Break up the chocolate and melt in a double boiler (a pot of simmering water with a bowl resting on top). Stir to make sure it is perfectly smooth.

Set out the liners in a mini muffin tin, this helps them hold shape. Spoon about a teaspoon of the chocolate into the bottom. Tilt and twist it around so the chocolate coats the side of the liner and rest it back in the tin. Repeat with remaining papers. Mix the almond butter, honey, powdered sugar, vanilla and salt together until smooth to make the filling. Scoop out a tsp. of the almond butter filling and gently roll it into a ball between your palms. Give it a press down and center it on top of the thin chocolate puddle. Repeat. Spoon chocolate, about another tsp., on top of each almond butter ball to cover completely. You may need to add a few drops more to get the chocolate to level above the bump of the almond butter. Sprinkle a teensy pinch of flaked sea salt on each one and chill in the fridge to set.

They can be kept in a covered container at room temperature or fridge.

almond_butter_cups_08.jpg
Print This Recipe

Side, Fall, Gluten Free, Spring

FARMHOUSE CARROTS

I love feeding people. I enjoy the whole process of collecting ingredients, the creativity in combining flavors, the science of how heat changes foods texture, watching the expressions of people you love have their hunger satisfied, and then sitting there with bellies full and talking about life. Every part of it is so gratifying in its own way. A majority of you are food people (I'd go as far to say, all of you are food people), so this sentiment is likely one we have in common. People are happy when they eat good food, and I like to make people happy. I hope you get time this weekend to make something, and eat with people. We have a few picnics planned to do that very thing.

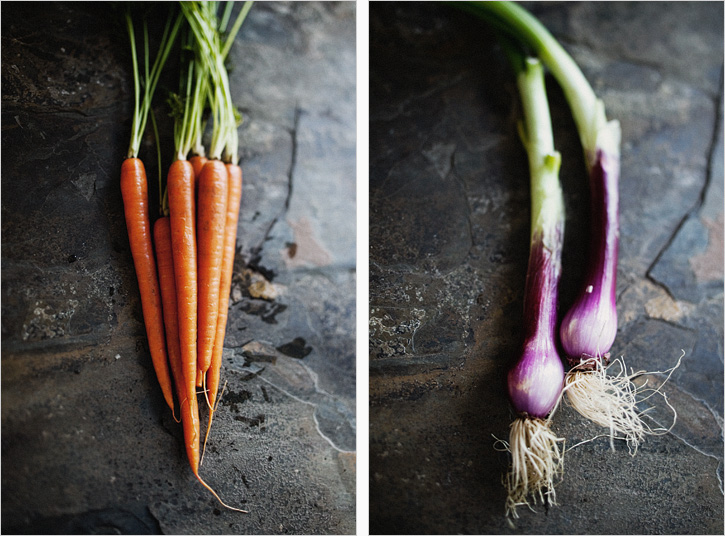
I think this recipe could change the mind of a cooked-carrot-hater. I can't stand over-cooked vegetables. The minimal liquid and high heat, sort of blisters the outsides to create a tender yet resistant texture. The ingredients are simple, and if you can make it to a farmers market, spring onions are in abundance. Fresh carrots should be very firm- if they have any bend to them, steer clear.

FARMHOUSE CARROTS // Serves 4

2 bunches carrots (about 15ish carrots)

1/2 cup thinly sliced spring onion or scallions

2 Tbsp. extra virgin olive oil or unsalted butter, warmed

2 Tbsp. honey

1 Tbsp. apple cider vinegar

3 Tbsp. roughly chopped rosemary

1 tsp. each sea salt/pepper

Fresh chives, for garnish

Oven to 400'

In a small bowl, whisk the oil or warmed butter, honey and cider vinegar together. Add the salt and pepper. Break apart the rings of the spring onion. Add the slices and the chopped rosemary into the honey mixture.

Cut off the green leafy parts and clean the carrots. Dry completely.

Line a baking try with foil or parchment paper (I didn't do this, and I wish I did, much easier to clean). Spread out the carrots in a single layer. Drizzle the honey mixture over and gently toss to coat.

Roast on the upper rack for 25-35 minutes, depending on the thickness of your carrots. They should be tender but still have a good bit of resistance too them. Garnish with fresh chives.

Print This Recipe

Dessert, Snack, Fall, Gluten Free

HONEY ROASTED PEARS

pear_0001

I am testing recipes for a cooking class I am teaching next week. Though I assume there will be ladies of all different skill levels, I feel it is a unanimous preference to have a simple dessert recipe under your belt. We will make a naturally sweetened cake too, for those that like to spend more time on their treats. However this recipe requires one mixing bowl, and everything else goes straight into the pan. Since I will be acting as both teacher and dishwasher, I strongly approve of the limited mess involved here.

pear_0002
pear_0003

I think this general idea inspires so many other combinations as the seasons change. In the summer you could substitute peaches, and use vanilla bean instead of cinnamon in the yogurt cream. Or I imagine in the fall, you could give the pan a bit of extra time in the oven and use apples instead... then sprinkle some granola and nuts on the top. It's dessert, but I mean, if there is granola involved, you can call it breakfast. That's what I tell myself when I get into the oatmeal cookies first thing in the morning. Don't judge me.

HONEY ROASTED PEARS // Serves 3-6 depending on pear distribution

Inspired by Joy the Baker

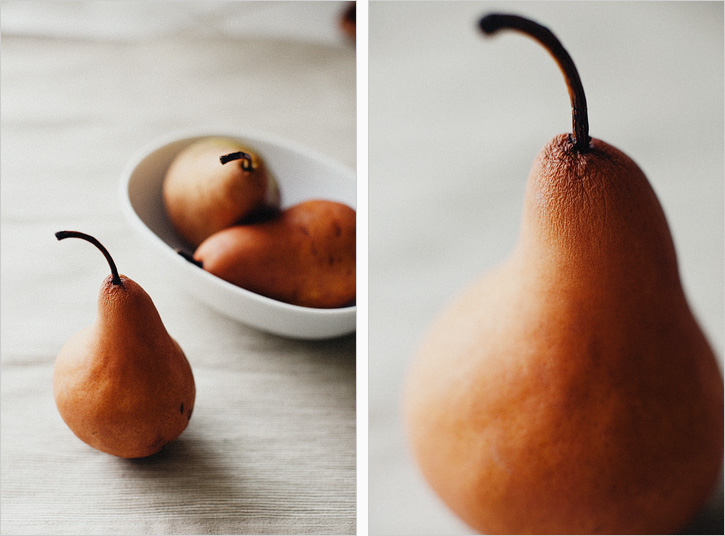
I used three pears, because that is what fit perfectly into my cast iron skillet. You could probably adjust more or less depending on what type of pan you use, just be certain it is heavy bottomed and oven proof. I don't often push an organic agenda, but since this is a short list of ingredients, I'd suggest using organic dairy products for best flavor results.

3 Ripe Pears (Bosc worked beautifully)

2 Tbsp. Unsalted Butter

1/2 Cup Honey

1 tsp. Real Vanilla Extract

2 Tbsp. Muscavado or Brown Sugar

1/2 Cup Thyme Sprigs

Salt

8 oz. Whipping Cream

1 tsp. Cinnamon

2 Tbsp. Honey

pear_0004

3/4 Cup Plain Greek Yogurt

Oven to 450'

1. Cut the pears in half length wise, use a small spoon or melon baller to remove the tough seeded center.

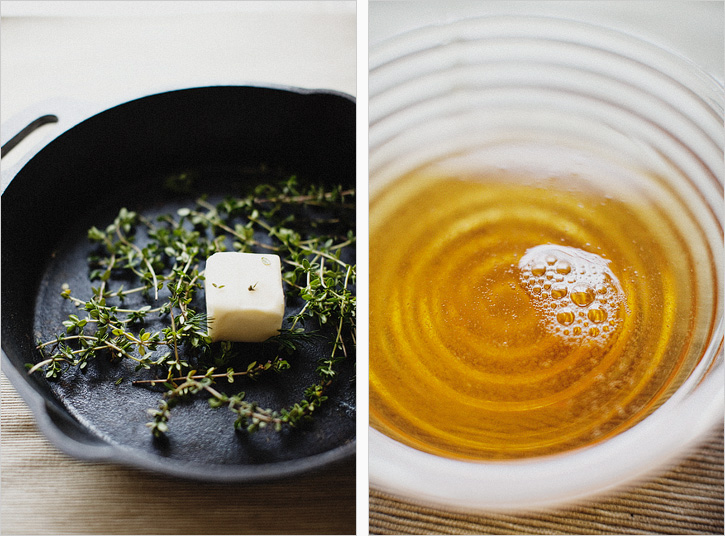
2. In a cast iron or heavy bottomed skillet, add the butter, honey, vanilla, muscavado or brown sugar, thyme sprigs and a generous sprinkle of salt. Let everything come to a gentle boil and stir continuously, about 2 minutes.

3. Add the halved pears to the pan, cut side down. Give it a shake and let them simmer on the stove about 2 minutes. Turn the pears over so they are now cut side up and transfer the pan to the oven, middle rack. Bake for 12 minutes until the pears are soft and the sauce has caramelized.

4. While the pears are baking, beat the cold whipping cream with an electric mixer until stiff. Add the honey, pinch of salt, cinnamon and beat another minute to combine. Gently fold in the greek yogurt, this will make it a bit thinner, but that's ok, it still tastes lovely, I promise.

5. Put one or two pears on a plate, drizzle with a hefty spoonful of sauce with a sprig of thyme for garnish, and a generous dollop or yogurt cream.

pear_0005

* If you were serving this to guests, you can do most in advance. I would pull the pears out of the oven just a few minutes early, let it cool and leave it covered at room temperature until you are ready to reheat them in the oven. They should probably warm back through in about 6 minutes. I don't suggest making the yogurt cream in advance, as the weight of the yogurt and honey will make the whipping cream fall completely.

Print This Recipe