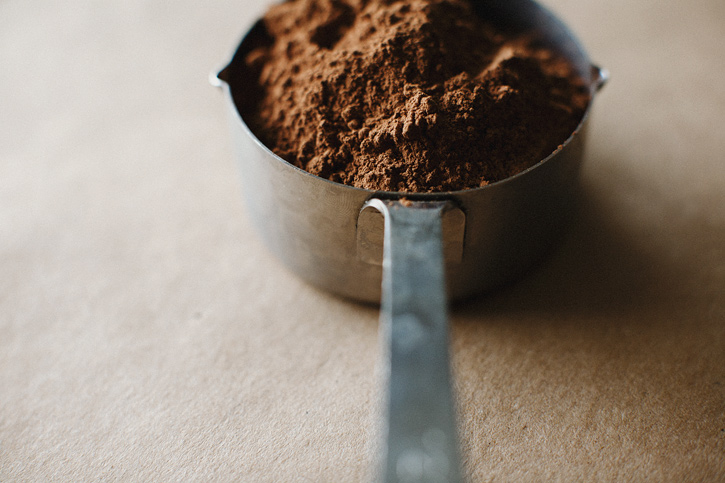
cocoa

Dessert, Snack, Gluten Free, Winter, Summer, Spring, Fall, Chocolate

ALMOND DATE TRUFFLES

DATE_TRUFFLES_01.jpg

We're heading out of town early tomorrow. Hugh has some work in San Francisco, I'm going to Portland with my mom and sister for a book signing and then we're meeting in Seattle for a few more days for another book event (if you live near either place, I hope to see you!). I've visited both cities before, and I adore them for how different they are from home. So many places to eat, more trees, independent coffee shops and new faces. I wanted to throw something together quick to pack as a snack for the flight, even though neither are long. A two hour flight is still a 4-5ish hour process of getting from A to B and that's long enough to need some sustenance. I may have a subconscious fear of starving to death, because I always have a snack in my car and my purse, even on the days I'm not going far from home. Without fail, every time we leave for a flight and Hugh sees my purse filled with fruit, trail mix and snacks "Sara, they have food there," but would you guess who eats most of my loot? 

These date truffles are dense little nuggets that give you a bit of energy and also cure a sweet tooth. The sweet dates compliment the rich cocoa powder and the crunchy almonds give just enough crunch to make you feel like you're having a real special treat. I do prefer them cold, but regardless they are great for road trips, plane flights or kids lunches etc. They're so quick and easy you don't exactly need a reason to make them. 

Excuse the brevity. We'll be back with the last of the summer produce I'm gripping onto after the trip. Happy weekend. 

DATE_TRUFFLES_02.jpg

ALMOND DATE TRUFFLES // Makes 18 

I'm not sure who to give the credit for this idea - there are versions all over the internet for these vegan/gluten free treats. Below are my measurements but cheers to the mystery person who invented this combo. 

Some dates can be super dry and hard, but for this recipe, you want to try to get your hands on some that are plump and slightly glossy, with no crystalized sugar on the surface. I get really have good luck at Costco or Trader Joes. You can taste the good quality cocoa here, so while a bit pricier, I like Scharffen Berger or Valrhona.

  • 20 Medjool dates, seeded and halved
  • 1/2 tsp. vanilla extract
  • 1/3 cup creamy almond butter
  • 1/3 cup unsweetened shredded coconut
  • 1/3 cup plus 1 Tbsp. natural cocoa powder
  • 1/2 tsp. sea salt
  • 1 tsp. cinnamon
  • 1/3 cup toasted almonds, well chopped

Put the dates and vanilla in a food processor and run until a chunky paste forms. Add the almond butter and pulse a few more times. Add the coconut, cocoa powder, salt and cinnamon and pulse a few more times. The mixture should be a tad crumbly, but press between your fingers and stick together. If it seems too wet to hold in a ball, add more coconut, if too dry, add a touch more almond butter or a spash of water. 

Roll a heaping Tbsp. of the mixture between your palms to form a ball. Repeat with remaining mixture. Put your chopped almonds on a plate and roll each truffle in the almonds (apply a bit of pressure to get them to adhere). Place the plate in the fridge to chill for at least an hour. Truffles will keep covered in the fridge for a couple weeks. 

DATE_TRUFFLES_03.jpg
Print This Recipe

Snack, Pantry Staples, Dessert, Gluten Free

PANTRY STAPLES: COCOA COCONUT BITS

cocopuck1.jpg

These may be the new favorite treat around here. I tried a brand called Hail Merry coconut macaroons at a friends house last weekend and with their simple ingredient list, I knew I could recreate them myself. A small ingredient list, all in one bowl AND delicious. I don't like selling people on recipes, but decadence doesn't often come by so simply.

In keeping up with the proposed Pantry Staples series, I am adding a few notes on my most frequently used fats. The list is pretty short, but there are controversies over canola, grape seed, corn and other vegetable oils, so I stick to the few mentioned here. Again, I am not a dietitian nor do I have any nutritional degrees. These are my opinions based on experience and light research.

Extra Virgin Olive Oil: This is a monounsaturated fat which is said to be a "good fat" that can help lower cholesterol and prevent heart disease. The range of flavors in olive oil is pretty impressive. You can get under ripe, grassy, creamy, fruity and more. Depending where you live, there may be a local brand at your farmer's market, but there are a ton of markets and specialty stores with great brands as well. I typically have two bottles - one moderately priced one that I use for cooking (which should only really be used for moderate heat for the integrity of the flavor and nutrition), and another slightly pricier bottle that we use for dipping and homemade salad dressings, where the flavor is truly appreciated. Speaking of dressing, I love using this lemon oil from Stonehouse. Not overly lemony, just perfect. It usually has a shelf life of about a year, and should be kept in a cool, dark place to keep it as fresh as possible.

Extra Virgin Coconut Oil: This is my quickest answer to a non-controversial, high heat fat. It is a saturated fat, so it has made a strong come back from a history of being frowned upon for that reason. There are studies that say it is easier to digest than other fats, and the presence of certain acids make it good for skin care, stress relief, weight loss and immunity. It is a solid at room temperature, much like butter, so can be gently melted to be used in baked goods or warmed in a pan for a sauté.

There are some brands that smell more coconut-y to me, but for the most part, I find the flavor pretty versatile. You want to purchase an extra virgin, unrefined version. I keep mine in the pantry because I use it pretty often, but if you don't, it lasts longer in the refrigerator.

Nut Oils: These babies come with a higher price tag and distinct flavors, so I mostly use them as finishing oils or in salad dressing. A nice drizzle of hazelnut oil on some roasted squash, or pistachio oil in a quinoa salad - they have the essence of their nut, while also giving that moisture to the overall texture. The flavor changes with heat, so if anything, only use them with low heat. Like nuts in their whole form, they can go rancid fairly quickly, so should be kept in the fridge if you don't use them often. Be sure to check the dates where you purchase these oils too, as you want to buy from somewhere with a quick turnover to help ensure you're getting a fresh bottle.

Organic Butter: While dairy is composed of saturated fats, which affect cholesterol levels, butter is a natural food, so it still comes out as a better option than some of the other oils marketed as "healthy fats."There is no substitute for this flavor, first and foremost. I like butter on fresh, crusty bread or on top of weekend pancakes, but try and be conscious about using it in moderation. Because of the milk solids, butter burns at high heat, so is best used with lower heat cooking or in baked goods. The work around for this heat specific temperment is to clarify the butter, which is a simple process that removes the milk solids, so you can cook with it at higher temperature. My New Roots has a great post on how to make it and why. I do my best to buy organic dairy whenever possible. These days, it's pretty easy to find.

Sesame Oil: This oil has both polyunsaturated and monounsaturated fats, antioxidants and several vitamins and minerals. Like any of the other oils, these health benefits are still to be considered with a high caloric content, so should be used in moderation. The flavor is pretty assertive, so I use sesame oil when that flavor is welcomed, mostly Asian inspired meals. It can handle higher heats, but definitely has a nutty flavor to it. You can purchase plain or toasted sesame oil, and while I love the flavor of the toasted, it is pretty strong, so with cooking, I often go half toasted sesame and half coconut oil to mellow it out and avoid any burning smells or flavors. I keep the toasted variety in the fridge for a longer shelf life.

cocopuck2.jpg

COCOA COCONUT BITS // Makes 20

Because these are vegan, they can also be enjoyed raw. You can scoop them into balls, chill them for about an hour, and enjoy as such. I baked mine at a low heat, because it gives them a texture of somewhere between truffle and cookie and I really love that. A crisp crust and a soft center. Perfection.

1 1/2 cups dried, unsweetened coconut (sometimes tough to find at markets, easy to get online)

1/2 cup natural cocoa powder

1/3 cup rolled oats

1/2 cup grade b maple syrup

1/4 cup extra virgin coconut oil

1/2 tsp. vanilla extract

1/4 tsp. cinnamon

In a mixing bowl. Combine the coconut, cocoa powder and rolled oats together. Stir in the maple, coconut oil, vanilla and optional dash of cinnamon. Mix to coat everything evenly. Set in the fridge for 20 minutes.

Preheat the oven to 215'.

Line a baking sheet with parchment paper. Using a mini scooper or your hands, make 1 inch balls and set them on the baking tray (they don't spread, ample space between is not important). Bake them on the middle rack for 20 minutes. Remove to cool.

Print This Recipe

Dessert, Personal

A BIRTHDAY CAKE.

undefined

My personality falls somewhere around type A-. I like order, organization, a moderate routine and things done right, but only to a certain extent. My bed is made before I leave my room in the morning, I could tell you every item in my fridge and in what order I need to use said items to not waste any food, I give copies of my travel documents to my parents before I leave the country, I have never run out of gas, missed an appointment or been late on a payment. On the contrary, I have a terrible habit of not always putting on my seatbelt and exceeding the speed limit. I've been known to go days without drinking water. I choose which rules do and do not apply to me, hate reading or listening to directions and am a terrible measurer (which makes writing a cookbook sort of interesting).

I have been wanting to make a layer cake for quite some time, it even made my list of 'things to do before I turn 30', so I set out to cross that off my list while I still have a few years to perfect the goal. My discretion in baking, as it is more about perfection, is typically off (see paragraph 1). It is not a science I am invested in. I did however want this cake to be my own, so I flipped through numerous books comparing ratios of liquid to dry to cocoa, to make sure that with my expectations and friends coming over to celebrate my birthday, it would at least hold itself together. I tried to lighten it up as much as I could, but I didn't want to take too many risks - a layer cake is kind of an investment, not the time to get hard pressed on caloric content. So I gladly spent my birthday afternoon, in the kitchen, measuring and taking careful note of my baking project. I settled right in to that A- spot, allowing myself freedom with ingredients while conceding to the ratio I'd studied.

undefined
undefined

Myself and the blog share the same birthday, so as fun as it's been celebrating with my sweet husband, family and friends, I am also so grateful that you are here. This space is responsible for creativity, encouragement and new friendships for me, and the community continues to amaze me. You are wonderful people. Thank you. I wish I could share cake with you.

COCOA LAYER CAKE WITH BLACKBERRIES + MASCARPONE CREAM

Makes one 9'' Layer Cake

You can make the pastry cream a day or two in advance to get ahead. I frosted my cake about three hours before I served it and it held just fine in the fridge. If I were to guess, I'd say it would be fine in there for about 6-8 and keeping the integrity of the whipped cream. I am a big fan of muscavado as a natural cane sugar, but light brown sugar is a fine alternative.

undefined
undefined

Lastly, this cake is on the dense side. The batter is pretty thick and it doesn't cook for long. The filling and whipped cream balance this out, but if you like a more moist cake, swap in oil for the butter. I haven't tested this, but it's worth a shot.

Pastry Cream

1/2 Cup Heavy Cream

1/2 Cup Lowfat Milk

1 Vanilla Bean (or 2 tsp. Vanilla Extract)

4 Egg Yolks

1/4 Cup Natural Cane Sugar

2 Tbsp. Whole Wheat Pastry Flour

2 Tbsp. Unsalted Butter

Pinch of Salt

Cocoa Cake

1/2 Cup Muscavado Sugar

1/2 Cup Butter, room temperature

2 Eggs, lightly beaten

1/2 Cup Agave Nectar

1 1/4 Cup Lowfat Buttermilk

2 tsp. Vanilla Extract

1 Cup Whole Wheat Pastry Flour

1 Cup Unbleached Cake Flour

1/3 Cup Non Alkalized Cocoa Powder

3/4 tsp. Baking Soda

1 tsp. Sea Salt

3 oz. Good Quality Chocolate, chopped well (milk or dark, your choice)

1/3 Cup Blackberry Preserves (I used Bonne Maman)

Mascarpone Whipping Cream

1 Pint / 2 Cups Whipping Cream

1 tsp. Vanilla Extract

1/2 Cup Confectioners Sugar

1/4 Cup Muscavado

Pinch of Salt

8 oz. / 1 Cup Mascarpone Cheese

undefined
undefined

Handful of Fresh Blackberries

1. To make the pastry cream, heat the milk, cream and vanilla bean in a saucepan until just boiling at the edges. Turn off the heat and let it steep for 10 minutes. Open up the vanilla bean and scrap the seeds into the milk. Whisk the yolks and sugar together in another bowl. While whisking, add a bit of warm cream to the yolk mixture to warm it up, add another half cup, continuing to whisk. Now that everything is the same temperature, add the warm yolk mix to the saucepan. When the mixture starts to simmer, add the flour 1 Tbsp. at a time, while whisking, like you're making a bechamel. It'll take about 30 seconds and you'll see it start to thicken, once it looks like the consistency of sour cream, turn off the heat, and continue to stir a few more times to make sure everything is smooth. Stir in the butter and salt. Let it cool and transfer to the fridge while you prepare the cake.

2. Preheat the oven to 350'. Butter two, 9'' cake pans. Line the bottom with parchment for cake removal insurance, and rub a bit of butter on that as well, set aside.

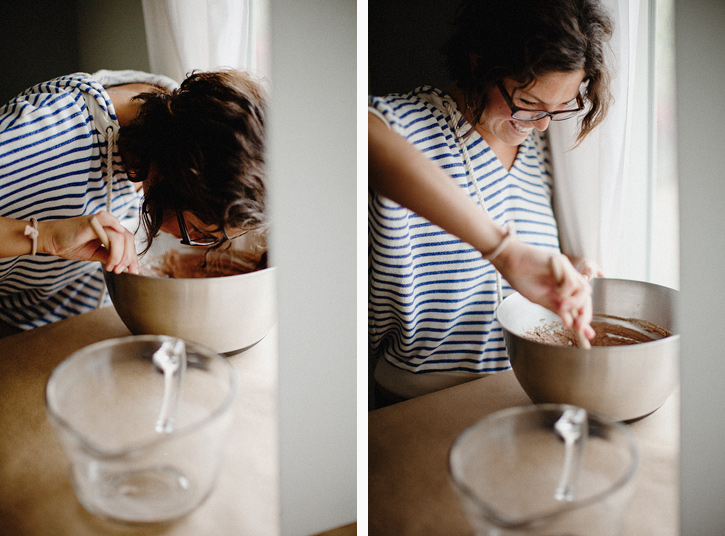
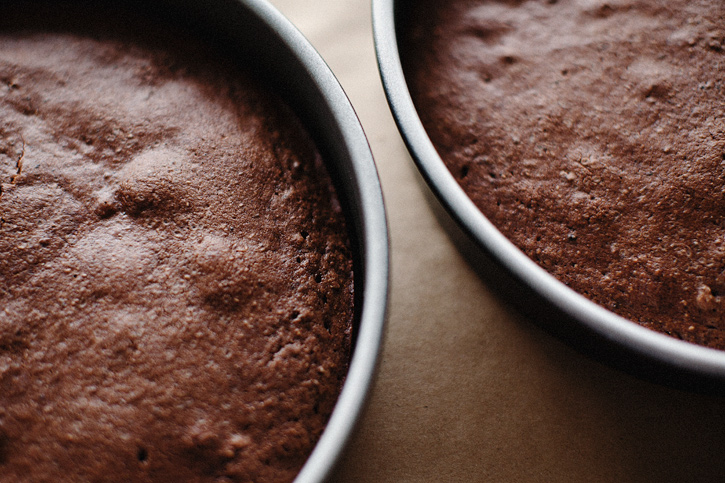
For the cake, cream the butter and sugar together until light and fluffy, about two minutes. Add the eggs, agave and buttermilk and mix until evenly combined. In another large mixing bowl, sift all of the dry ingredients together, getting rid of any clumps. Add half the wet mixture to the dry, stirring gently, add the remaining wet mixture and stir to just combine. Stir in the chocolate and divide the mix between the two cake pans. Bake on the middle rack for 14-16 minutes. Check for doneness by sticking a butter knife in the center, being sure it comes out clean. Remove and cool completely.

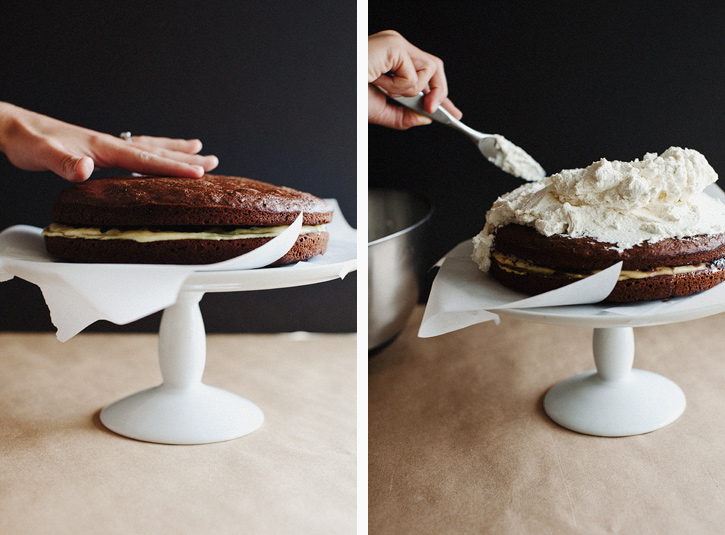
3. Once the cake is completely cooled, invert it out of the pan and remove the parchment. Place one layer, with it's most even side up, on the plate or stand you'll serve it on. I like to slide a few pieces of parchment around the outside to keep it clean. Spread the pasty cream all across the top surface (you'll think it's a lot, but add it all, the cake absorbs it while it sits, it's not as thick as you think). Gently spread the preserves on top of the cream, it will mix in a bit and that is fine. Place the other cake on top, pushing in any filling that smushed out.

4. Whip the cold whipping cream with an electric or stand mixer, once it starts to hold shape, add the confectioners sugar, muscavado, vanilla and a pinch of salt. When you get stiff peaks, about 3 minutes, add the mascarpone and continue to whip until evenly combined. Frost the cake generously and garnish with fresh blackberries. Cake can be kept in the fridge for about 6 hours. If it chills in teh fridge, let it sit at room temperature for about 30 minutes before you cut in to it. Cold cake isn't as flavorful.

undefined

* I piled all the frosting on top and gently pushed it down the sides to frost.

Print This Recipe