FALL CHEESE BOARD

fall_cheese_board_01.jpg

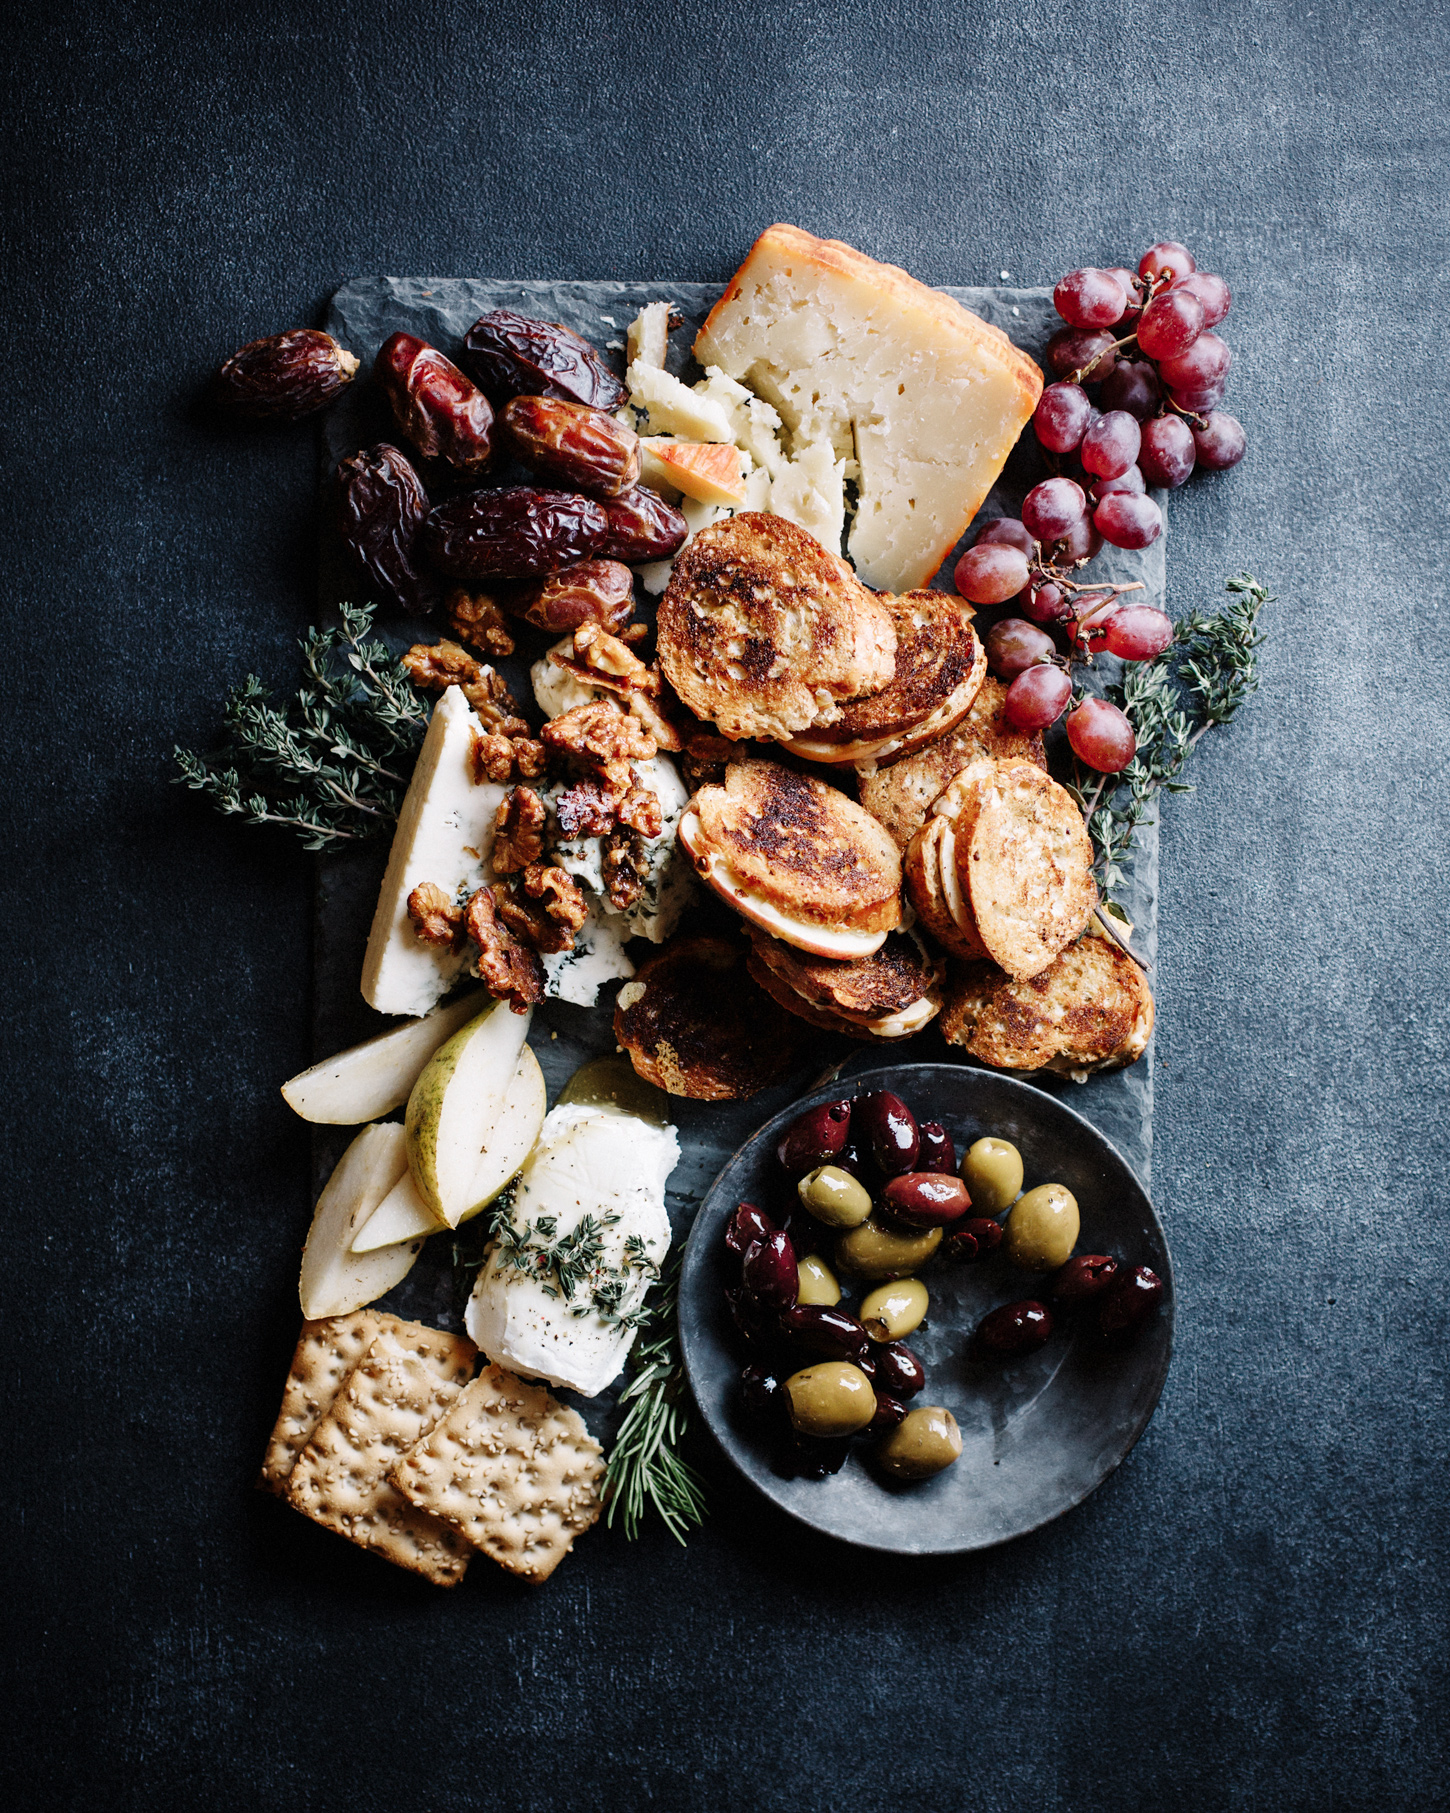
Per request! Many moons ago, we made a summer cheese here. It was simple, had a few handmade components but was super quick to throw together. Since then, and especially lately with the holidays coming up, there have been requests for a fall version. It’s not so much that cheese has a season, but the accoutrements do. Slightly heavier cheeses, fall fruits, darker foresty vibes with the herbs and colors.

I included four cheeses: Emmi Le Gruyère, a young blue cheese, a soft goats’ cheese and a firmer, saltier one, such as pecorino, (or a dry manchego is great too). Emmi Le Gruyère is a great specialty cheese to upgrade a recipe or prepare a cheeseboard. I used it in the mini sandwiches because it melts well and has lots of flavor. I made a candied walnut to go along with the blue cheese, drizzling honey and herbs on the goat and leaving the dry cheese cut up. I like to have other bits for snacking that will satisfy the non-cheese lovers. I added fresh pears, grapes, dates, olives — this adds variety, visual interest, and covers a variety of diets, so at least everyone has a snack. I’ll be sure one of my crackers is gluten free, cause it seems someone always is. One of our favorite nights this past year was hosting a game night for friends and I asked everyone to bring an app to share. Funnily enough, every single couple brought some form of a cheese plate, so next time I’ll be more specific :) Anyway, if you find yourself needing cheese plate inspiration this season. Hope the below may help!

fall_cheese_board_02.jpg
fall_cheese_board_03.jpg

mini apple + gruyère grilled cheese

You could use pear in place of the apple, or even included a thin slice of ham if that’s your deal.

1 baguette
2 crisp apples, cored and sliced thin
4 ounces of Emmi Le Gruyère, grated
Dijon mustard
Butter or olive oil, for cooking
Slice the baguette into thin slices.

Heat a slick of butter or olive oil in a pan over medium-low heat. On a slice of bread, give it a swipe of Dijon, a generous sprinkle of Gruyère, a few apple slices, another sprinkle of Gruyère and then top with another piece of bread. Griddle the mini sandwiches for about 2 minutes on each side until the crust is golden and then cheese is melted. Repeat in batches with remaining ingredients.

These can be made in advance and warmed in a 250’ oven for 5 minutes before serving to refresh them. 

mapled walnuts

If you stock pecans, those will work great here too. Make extras, these are so yummy in green salads.

1 Tbsp. butter or coconut oil
1 Tbsp. maple syrup
2 tsp. light brown sugar
3/4 cup walnut halves, roughly chopped

Preheat the oven to 350’ and line a small baking tray with parchment paper. In a small saucepan, warm the butter, maple and brown sugar together till combined. Add the walnuts and stir to coat. Spread them on the baking sheet and roast for 5-6 minutes until dried and just toasted. Remove to cool completely to crisp up. These can be made up to a week in advance and kept covered until ready to use. (Also great in salads!)


To Assemble:

Mini sandwiches with Gruyère and apples

A wedge of blue cheese with the crumbled candied nuts on top

Soft goats’ cheese (chevrè) drizzled with honey and a handful of fresh thyme leaves and ground pepper

A dry, salty cheese: such as pecorino, parmesan, aged manchego

A dish of assorted olives

Dates - pitted if you wish

Fresh Pears

Salami, if that’s your deal

Crackers: a few different sizes, shapes

Herb bundles on there for color


fall_cheese_board_05.jpg

This post is sponsored by Emmi. They make the delicious Gruyère featured here, amongst other award winning cheeses. See their site and locator to find where you may be able to find their brand near you. All opinions expressed herein are my own. Thank you for supporting our partners, so that I may continue to create recipes here.

Print This Recipe

Chocolate, Dessert, Fall, Gluten Free, Snack, Winter

HONEY FUDGE

They are four and a half and almost three. My babies are potty trained, can buckle their own car seats, and clear their plates from the table. The crib will be passed to a friend next month and I’ve been donating the toys that seem, well, baby-ish. We finally went on a family vacation last month, where we all slept in one room and it was great - no one needed to sleep in the bathroom and the equipment we had to schlep along was minor. While still not easy (is it ever?), I feel like we’ve crossed some sort of parenthood threshold where I can breathe a little easier. The exhaustion scale is tipping more towards mental than completely physical as they become more little people and less baby.

I think I’ve mentioned before that Curran (4.5) is pretty emotional. High highs and low lows. Cries easily, loudly, and feels his 4-year old feels deeply. He LOVES to eat. Is not a toucher/cuddler. Thrives off quality time. A collector of gadgets and junk. He hoards his treasures in various bags, backpacks and cases, and takes them around with him everywhere… a little seasonly obsessive, like his father and my sister. Right now we’re in a police man season, so lots of walkie talkies, badges, the jacket, etc. Cleo adores him, but mark my words Curran will be the one keeping her out of trouble in high school.

She likes to pester him and scream at the top of her lungs if he tries to give her a dose of her own medicine. She LOVES cuddles and touches and passes out “I love you’s” generously. She has a will of steel. She insists on dressing herself in the clothes I like least in her closet and no matter the question, the answer is always “pink!” She has my favorite intonations and facial expressions. She is a charmer and a little bit crazy.

Both kids have beautiful blue eyes, are tall for their ages, are quirky, and look like each other, while not a spitting image of either parent. How wild it is to get to know them - to observe what makes them tick or make their eyes light up. These things are equally magical and incredibly frustrating, all in the scope of a day. I somehow feel surprised that we’re in a new phase. So much of the past few years has been head down survival, but gradually, I feel I can stop and SEE them now, instead of just keep everyone fed and alive. Does that make any sense? Obviously I’ve always been “aware” of them, but now, more so them as the people they are becoming. Anyway. It feels really special. Parenthood is pretty wild, in so many more ways than just being tired, like everyone tells you you’ll be. I feel extremely lucky to be their mom.

honey_chocolates_0010.jpg

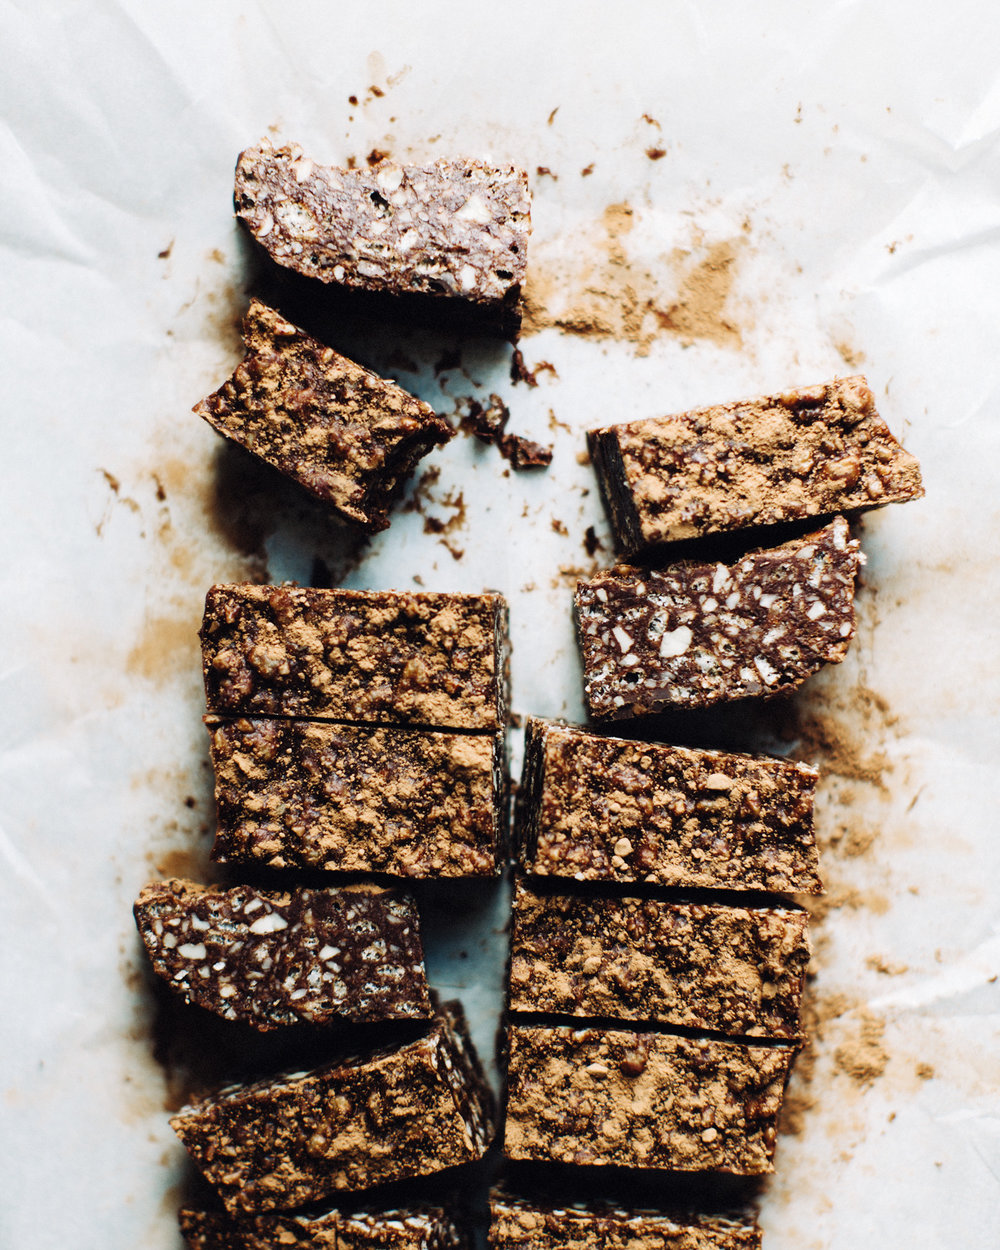
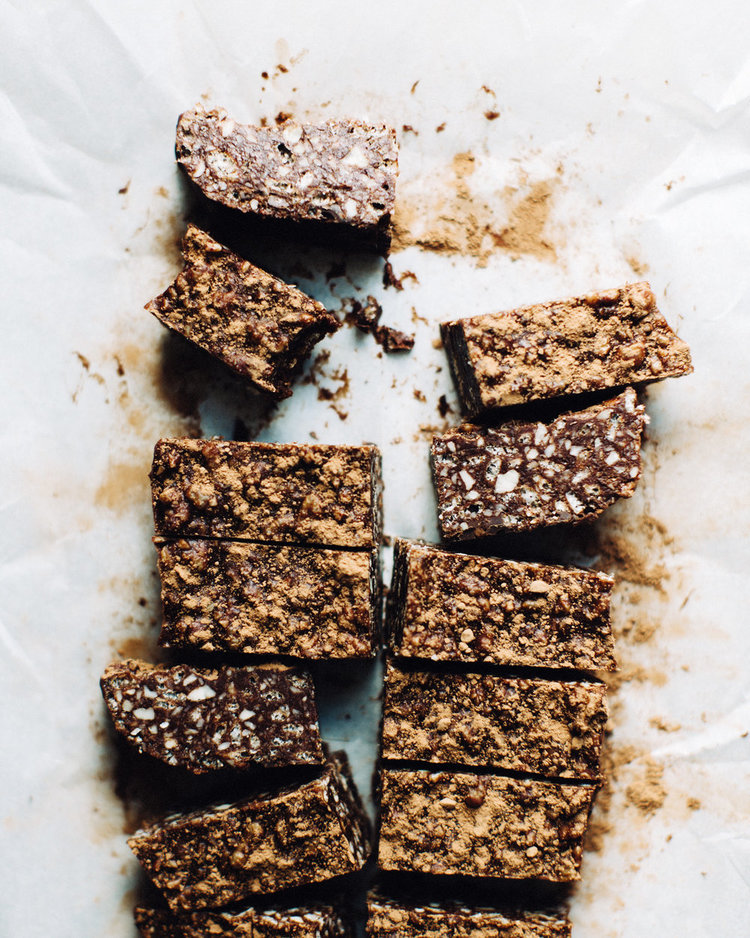
Chocolate Honey Fudge

This honey fudge was from the first week of Sprouted Kitchen Cooking Club and it was a raging success (shameless plug that I still think you should join because it’s been so neat to cook dinner along side people and share ideas). It is not often you can please all the dairy free, gluten free, egg free, honey eating vegans, and vegetarians all at once, but we’re working on it! Cheers, us.

As this may be the most favorited recipe I’ve ever written, I figured it needed to live here too.


RECIPE INGREDIENTS

2 ounces dark chocolate, well chopped
1/2 cup whole almonds
1/3 cup cocoa powder (natural or dutch) or raw cacao, plus more for dusting
pinch of sea salt

1/3 cup honey plus 1 Tbsp. 
1/4 cup coconut oil
1 tsp. vanilla extract
1/2 cup crisp rice cereal

RECIPE INSTRUCTIONS

Line a loaf pan with parchment paper. Sprinkle the chopped chocolate along the bottom of the pan. 

In a food processor or a strong blender, combine the almonds, cocoa powder and sea salt. Pulse the mixture until it resembles coarse sand, about 10 times. You want some crunchy bits of almonds. 

In a saucepan, combine the honey and coconut oil and bring it to a gentle boil. Stir to mix. Turn off the heat and stir in the vanilla extract.

Add the almond mixture and the rice cereal into the wet mixture and stir to combine. Any extra add-ins would go in here. Transfer the mixture to the prepared pan, smooth the top and put it in the fridge to cool for at least an hour. 

Print This Recipe

Entrée, Fall

BOWL PREP

bowl_prep_03.jpg

The crusts of a p&j. The butt of a burrito. The shards of Cleo’s egg that she ALWAYS asks for in the morning and barely eats. I hate wasting food, nor do I like making different meals at one time, so I often end up being the garbage disposal to the ends of my kids’ meals. Not dinner, but throughout the day, guilty. I went in to solve my own problem by taking my own advice. If I want to eat well through the day, I need to set myself up for success.

I have been using the same Pyrex containers for years. Maybe ten years? The glass is durable and, does not stain. I have a variety of sizes for all sorts of circumstances. So when they asked me to write a post about how I use them? No question, because it’s a product I am already using daily. When I am taking good care of myself and thinking ahead, and not wanting to eat butts of burritos, I meal prep. If I have food ready, or pieces that get me halfway towards a meal, I am much more likely to eat something well-rounded and filling than a bunch of snacks that still leave me wanting a meal.

These glass Pyrex containers have snap, air tight lids, so I can pop them in the freezer or fridge and not worry about things leaking. It keeps the food fresh longer, and also allows for an easy reheat. I can simply remove the lid and place the dish in my preheated toaster oven. You should not be putting plastic in the microwave - bad for the plastic, bad for the food, bad for you. If my leftovers are something I am not able to reheat on the stove-top, I lay a paper towel over the top and warm it in the microwave. The non-porous glass containers do not stain or smell from acidic products, are better on the environment and while they may be heavy to take on the go, it is a fair trade for how long they last and the whole fridge-to-oven reheat option.

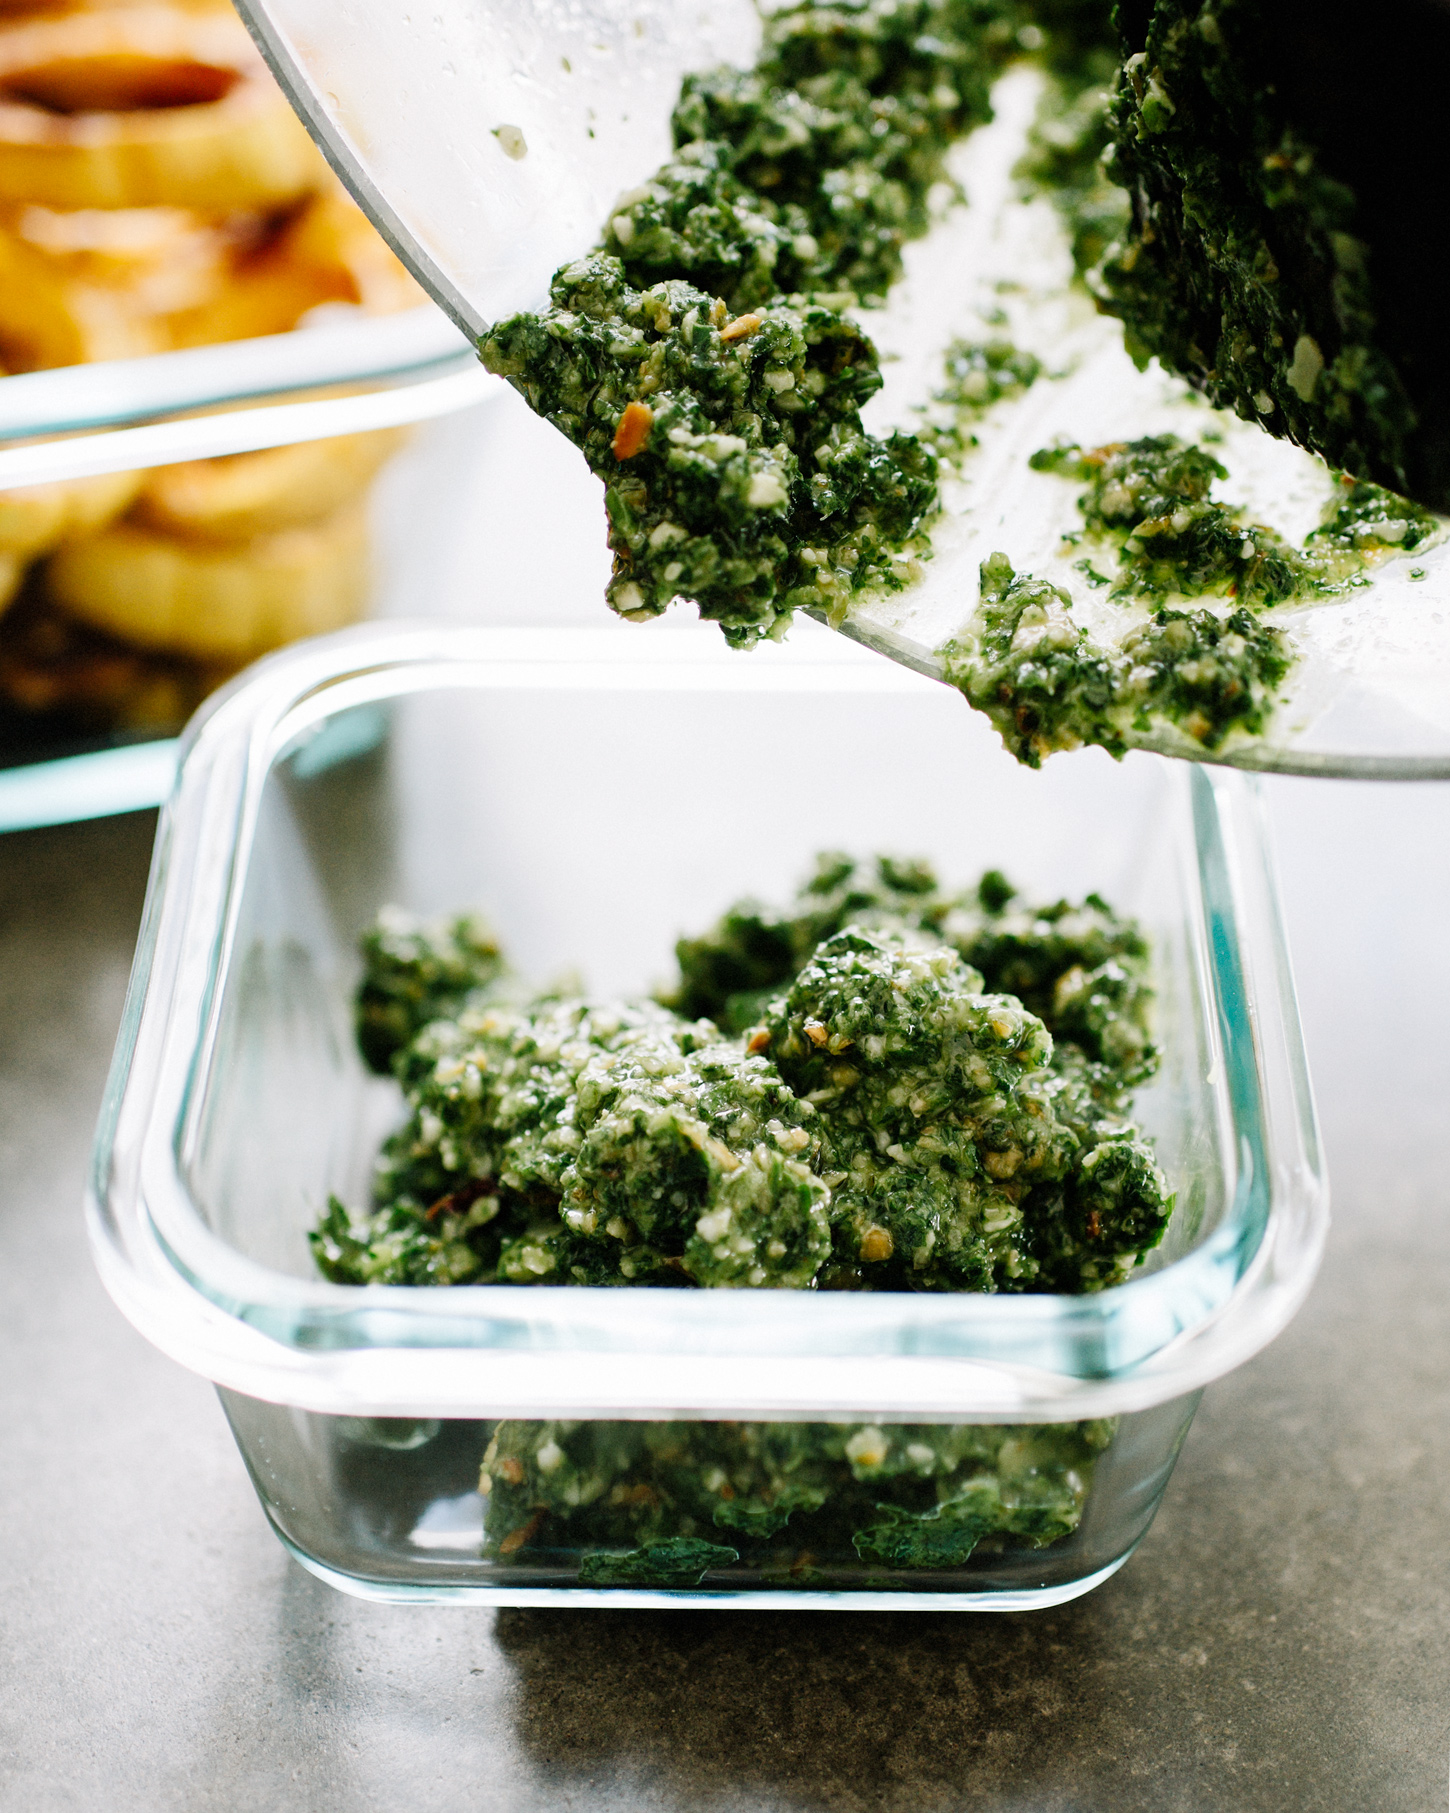
On Sunday afternoon, I dedicated one hour to prep a few things that I knew would make for quicker meals during the week. This may look like a lot, but much of it is hands off. You layer the work. The squash roasts in the oven while you whiz up the pesto. I start the rice and lentils then shake up the vinaigrette and pull out pom seeds while they cook. My plan:

- prepared salad greens (kinds that can be eaten raw or cooked, such as kale and cabbage)

- cilantro pistachio/pepita pesto

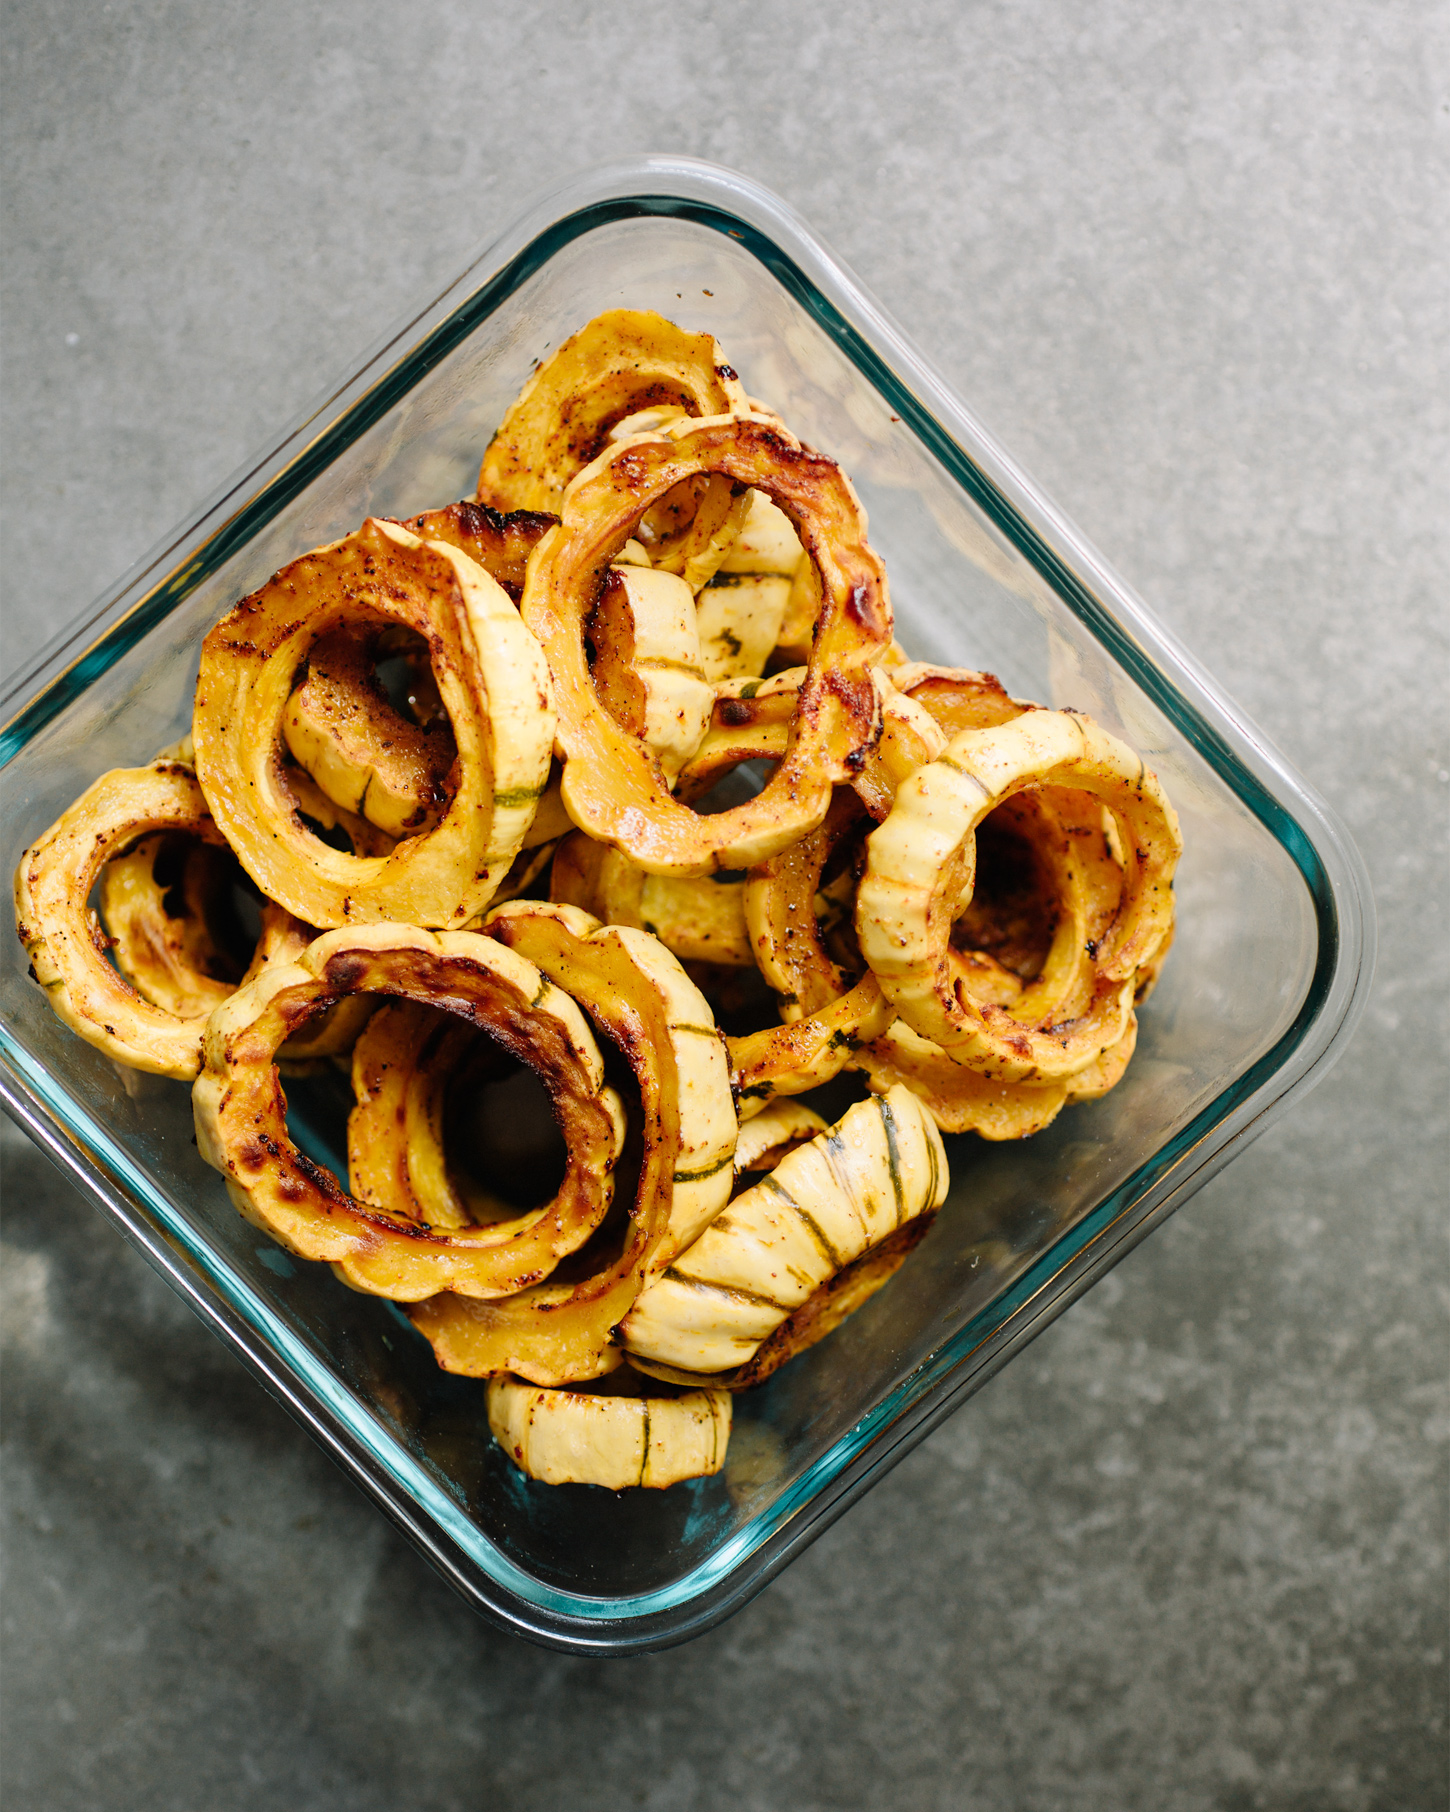
- chili maple delicata squash (recipe below)

- pomegranate seeds

- steamed brown rice + lentil mixture

- dijon maple vinaigrette

This leaves me with two meal options that will take under 5 minutes to prepare from here: a big green salad with squash and pom seeds and nuts with the vinaigrette, or rice and lentil bowls, again with more squash, I can sauté some of the greens if I’d like, top with the pesto and then I can easily throw on a little cheese or avocado. The pasta dish that is linked for the cilantro pesto is also amazing and you are 80% of the way to that recipe with these prep pieces too! Use the delicata in place of the butternut and you just need to cook some noodles. The greens I packed are ones I like both in salads, and are not compromised when heated, so they can be either sautéed or dressed for the salad. Tender greens (like butter lettuce, spring mix, arugula) don’t keep as well for me after being washed and stored.

These prepared pieces lasted me the better part of the week for lunches and parts of dinner thanks to my Pyrex glass storage. I also started making a big batch of oats that can easily be reheated with a splash of almond milk, and these pumpkin muffins for breakfast and snack. I’m reminded that I always want to keep my fridge stocked!

This post was sponsored by Pyrex. All words and opinions are my own. Thank you for supporting me in working with brands, so that we may continue to create content for you.


bowl_prep_01.jpg

Chili Maple Delicata Squash

The beautiful thing about delicata squash is that you can eat the thin skin, so it makes prep so much faster. I cut them in half, seed them, then cut into half moons, or just into coins, and spoon away the seeds from the center circle.

2 medium delicata squash

1 Tbsp. avocado or extra-virgin olive oil

2 tsp. maple syrup

1/2 tsp. sea salt

1/2 tsp. chili powder

Preheat the oven to 425’ and line a rimmed baking sheet with parchment paper. Cut the squash into 1/2” half moons or rings, and remove the seeds. Place all the squash on the prepared sheet and drizzle on the oil, maple, salt and chili powder. Toss everything to coat and spread them in an even layer. Roast for 20-25 minutes until tender and browned in parts.

Remove to cool before storing.

They will keep for a week, stored in a covered container in the fridge.

bowl_prep_04.jpg
bowl_prep_05.jpg
Print This Recipe