Entrée, Fall, Gluten Free, Summer, Spring

ROASTED ZUCCHINI, BLACK BEAN + GOAT CHEESE ENCHILADAS

ENCHIS_001.jpg

Between an oven that heats the entire upstairs to 350' or a charcoal BBQ that requires a bit of forethought to get going, turning on either for summer cooking is a bit of a commitment. I have been deterred from making enchiladas for the site because they are difficult to photograph, so not only did this recipe come with an obligation to a sweaty mid-July photo session with the oven on, but also the challenge of making them look as good as they tasted. We make enchiladas pretty often. I appreciate having them for dinner and then warming them back up with scrambled eggs for a slightly different meal the next day. I've experimented with a butternut squash, greens and white cheddar version in the fall and then stuffing them with a bounty of zucchini in the summer with a slight tang of soft goat cheese. A number of recipes will have you fry the tortillas before filling, but I don't find that necessary for caloric content or texture. 

We added a few dates for upcoming book events. I would really love to meet as many of you as possible, so please come if you live anywhere close to these cities! A Seattle event of some sort will hopefully come around at a later date (please feel free to check in on The Book page, as well, for updates).

August 28th - Barnes & Noble Booksellers in Huntington Beach, CA at 7pm

September 9th - Omnivore in San Francisco, CA at 3 pm

September 22nd - Powell's Books in Portland, OR. Time TBD

ENCHIS_002.jpg

ROASTED ZUCCHINI, BLACK BEAN + GOAT CHEESE ENCHILADAS // Serves 4

While short on time, I use the enchilada sauce from Trader Joes. It's thick and has a great kick to it. I have also made this one and loved it. Really good option if you have some time to make your own.

I would consider the below recipe pretty easy on the cheese all things considered in the enchilada world, but I like that for summer meals. If you want to taste more of the goat cheese, add more on top before or after baking.

3 large zucchini/summer squash, 1/4'' dice (about 4 cups once chopped)

3 tsp. extra virgin olive oil, divided

1 1/4 tsp. lemon pepper/garlic salt

1/2 of a small red onion or 4 green onions, finely chopped

1 15 oz. can/ 2 cups black beans, rinsed and drained

5 oz. soft goat cheese

10ish corn tortillas (the amount will depend on how full you stuff them)

12 oz. red enchilada sauce, see note above

/ for serving /

1 bunch of cilantro, chopped

2 avocados

squeeze of lime

ENCHIS_003.jpg

Preheat oven to 425'. Place the zucchini on a rimmed baking tray, drizzle with 2 tsp. of the olive oil and lemon pepper and toss everything with your hands to coat. Spread in an even layer, using two pans if it looks crowded. Roast on the middle rack for about 30 minutes until the edges are brown. Remove to cool. Turn the oven down to 375'.

In a large mixing bowl, combine the onion and black beans. Set aside 1 oz. of the goat cheese for the topping and crumble the rest into the bowl. Add the cooled zucchini and toss everything together very gently.

Over a burner, lightly char both sides of the tortillas, about 1 minute per side. This is not an essential step, but I find that it helps keep the tortillas a bit sturdier and it looks pretty. Set up your assembly with the tortillas and the filling.

In an oven proof rectangle dish (I used a 7x13 rectangle but a 9x13 works great too) pour 1/2 cup of the enchilada sauce to cover the bottom of the dish. Working with one tortilla at a time, fill it with a heaping 1/4 cup of the filling and roll it up like a taquito. Lay it in the dish seam-side down. Continue with remaining tortillas, squeezing the enchiladas in tight (you may have extra filling, it's great on it's own as a snack or in a quesadilla). Brush the tops of the tortillas with the remaining olive oil. Pour the remaining sauce over the top of the enchiladas and sprinkle reserved goat cheese on top. Bake for 20 minutes until warmed through and the top is just crisp. Allow them to cool for 5 minutes before serving.

Top with lots of chopped cilantro, diced avocado and a squeeze of lime.

ENCHIS_004.jpg
Print This Recipe

Side, Salad, Gluten Free, Spring, Summer

PASILLA CHILE + LIME CABBAGE SLAW

sprouted kitchen slaw

{first thoughts on "the book"}

Sara:

I heard the knock on the door from the shower. Threw on a towel, mascara dripping down my cheeks, water soaking the floor, so I could sign for the package from the FedEx man. "This is really important," was my excuse to him for my ultra appropriate outfit. I have been anticipating the printed copy of our book for almost two years. We were entertaining this idea nearly TWO years ago. So much has happened and now I have a real copy in my hot little hands. Hugh and I went through it page by page, slow and thoughtful, to take in every photo, as if we couldn't dictate the book to you from memory. Short stories, glimpses of dinners in my parents' yard, sarcasm, the recipes I (uncharacteristically) took careful notes about, bright colors... it is me, us, work and learning all in a hardcover book with our names on the front. Crazy. I am humbled by how gorgeous it is and proud to show friends what we've created in our little apartment kitchen. I bring it with me everywhere I go. I've already spilled coffee on the crisp white pages, which, as upsetting as it was when I noticed, now marks it as "my first copy," so I'll never misplace it. I am most impressed with Hugh. The photos are indescribably stunning. I'm romanced by them everytime I browse though, and SO proud of how talented that man is. The book is not out until August 28th (you can keep up with details here), but I wanted to document our first thoughts, as I haven't been this giddy in quite some time.

Hugh:

Three years ago, when I gave Sara a domain name and an empty blog for her birthday, there was no way I could have imagined where that project would lead us. From its casual beginning, to its (still casual, I suppose) current publication, it has been incredible to work along side Sara, to watch her talent and excitement bloom and attract a community of like-minded readers, to experience the frustrations and triumphs of developing our voice and image, and finally hold its sum in our hands. Literally. The book is beautiful and full of goodness and soul. I am so proud of Sara and I am so excited for you to share in it.

sprouted kitchen slaw

I wanted to get this recipe out to you quick in case you're still searching for 4th of July ideas. It's so simple - comes together in 10 minutes. On a table full of grilled items, potato salads and cakes, I find that the green vegetables are always a needed addition. This slaw is lighter than a traditional one due to the dressing, while still giving lots of crunch and flavor. A happy day of food + friends to you all!

PASILLA CHILE + LIME CABBAGE SLAW // Serves 6 as a side

The dressing is the consistency of a creamy vinaigrette. If you like it to cling to the slaw a bit better, a Tbsp. or two more of greek yogurt or mayonnaise will help with that. You could bulk it up with some cucumbers, maybe black beans if you need to stretch it. Or if cabbage is a bit harsh for you, you could add in some chopped romaine to calm down the roughage quality.

// dressing //

zest and juice of two large limes

1 Tbsp. honey

1/2 tsp. sea salt

1/2 tsp. pasilla chile powder (chipotle or ancho chile work as well)

1/4 cup olive or grapeseed oil

2 Tbsp. greek yogurt or mayonaise (see note)

1 head green cabbage

1/4 cup finely diced red onion

1 bunch of cilantro, roughly chopped

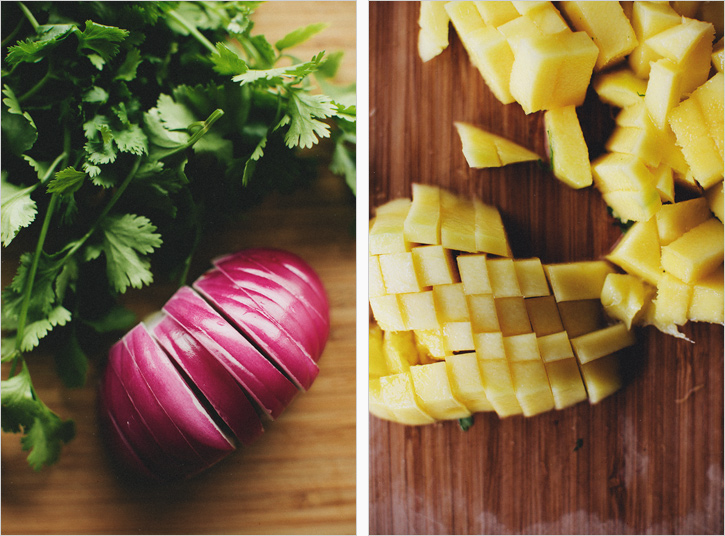
1 ripe mango, peeled and diced

3/4 cup toasted macadamia nuts

sprouted kitchen slaw

In a small bowl, combine the zest and juice of the limes. Add the honey, salt and chile powder and whisk to combine. Mix in the yogurt or mayo and the oil and whisk well. Taste and alter as preferred. Set aside in the fridge.

Chop the cabbage super thin, using a mandoline if you have one. In a large salad bowl, combine the cabbage, red onion, three quarters of the cilantro, reserving some for garnish and mango. (Everything can be done in advance up to this point and kept covered in the fridge until ready for serving). Add desired amount of dressing and toss to coat. Chop the toasted macadamia nuts and garnish the top with the remaining cilantro and mac nuts. Give it a grind of fresh pepper and serve. * I feel like slaw benefits from a good 10-15 minute rest in the dressing if you have the time. just sayin'.

Print This Recipe

Entrée, Bread, Breakfast

WHEAT BRIOCHE BUNS

sprouted kitchen buns

Our fridge is jam packed with produce from a recent CSA basket pick up. I have lettuce heads so large they are taking up the entire bottom shelf and beets and their greens poking out their cramped heads from the crisper drawer. This abundance is what sparks creativity in me. As someone who thinks about food consistently, I enjoy the challenge of using what I have to make something different, despite there being swiss chard in EVERY.SINGLE.BASKET throughout the year. Hugh on the other hand sees chaos, not food. To use up some of my loot, and to prove there are, in fact, meals in there, we made some bahn mi style burgers (tofu or turkey as you choose). A tender homemade bun with dressed cucumbers, shaved carrots, cilantro and avocado. I regret I don't have a picture of that to share with you, but the recipe for the buns is not to be missed. 

If you want a successful recipe, Deb is your lady. Something tells me you're probably not a stranger to her site. If her dependable recipes and clean photos don't intrigue you, her wit and dry humor are sure to keep you coming back. There are rave reviews of the burger buns she featured and if there is anyone to be trusted, it is her. I tried to add some grains to them without risking a rock of a bun, and I think we did pretty well (you can find the original on her site). They have a bit of the heartiness that whole wheat products have, while still being gentle and delicate in structure. They make an ideal vehicle for a veggie burger, grilled salmon sandwich with greens and aioli or whatever you wish. Much like making pizza dough, it is a simple process, it's just the waiting time between rises that takes some planning ahead. Maybe it is not a quick weeknight endeavor, but there is no comparison to the storebought kind, and another bbq weekend is just around the corner. 

sprouted kitchen buns

WHEAT BRIOCHE BUNS // Makes 8 buns

Adapted from Smitten Kitchen (who has a book coming!) via The New York Times

This recipe below reflects the amounts for 8 buns, though the pictures show I did make four. If you only want four, simply halve the amounts below. I meantion it in the direction, but it bears repeating. Form the final buns into a more height focused ball than a wider one, they spread during that second rise and I found mine to be flatter than I'd have hoped.

3 Tbsp. warm milk

2 tsp. active dry yeast

2 1/2 Tbsp. natural cane sugar

2 eggs

2 cups unbleached bread flour

1 cup white whole wheat flour

1/3 cup wheat bran

1 1/2 tsp. sea salt

2 1/2 Tbsp. unsalted butter

sesame seeds, for topping

sprouted kitchen buns

In a glass measuring cup, combine one cup warm water, milk, yeast and sugar. Let stand until foamy, about five minutes. In a small bowl, beat one egg.

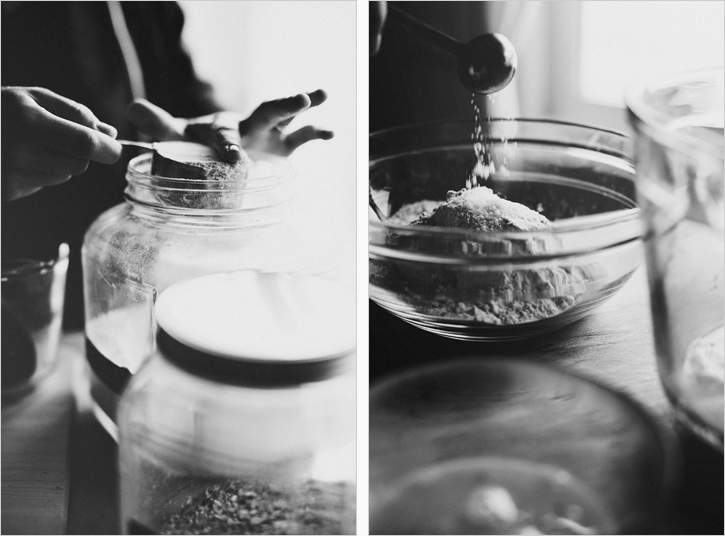
In another large bowl, whisk flours with salt. Add butter and rub into flour between your fingers, making crumbs. Stir in yeast mixture and beaten egg until a dough forms. Scrape dough onto clean, well-floured counter and knead, just turn and fold and tustle it around, until smooth and elastic, about 8 minutes. The dough will be on the sticky side so it can be a bit messy, but the more flour you add, the tougher the buns will get. Let it stay a bit tacky. 

Shape dough into a ball and return it to bowl. Cover bowl with a dish cloth and let rise in a warm place until doubled in bulk, one to two hours.

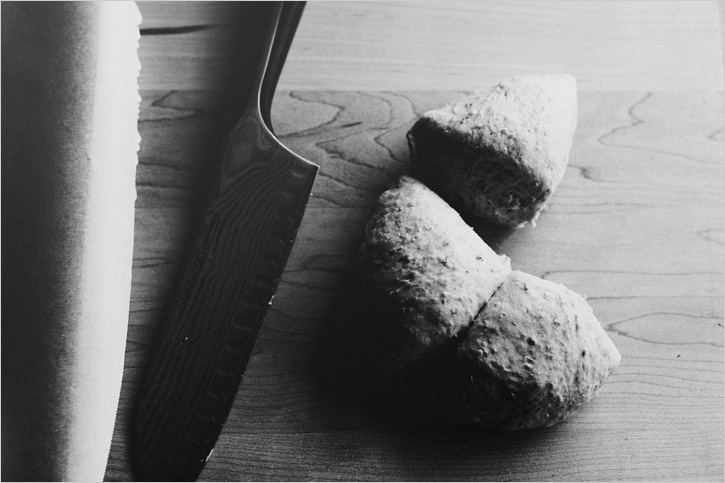
Line a baking sheet with parchment paper. Divide dough into 8 equal parts. Gently roll each into a ball (a taller ball, not a flat one, they flaten and spread on their own as they rise) and arrange two to three inches apart on baking sheet. Cover loosely with the dish cloth and let buns rise in a warm place for one to two hours. 

Set a large shallow pan of water on oven floor. Preheat oven to 400 degrees with rack in center. Beat remaining egg with one tablespoon water and brush some on top of buns. Sprinkle with sesame seeds, if using. Bake, turning sheet halfway through baking, until tops are golden brown, about 15 minutes. Transfer to a rack to cool. 

Keep buns in an airtight container. Should last about 3 days, getting firmer as days pass. 

sprouted kitchen buns
Print This Recipe