Winter

Entrée, Gluten Free, Winter, Fall

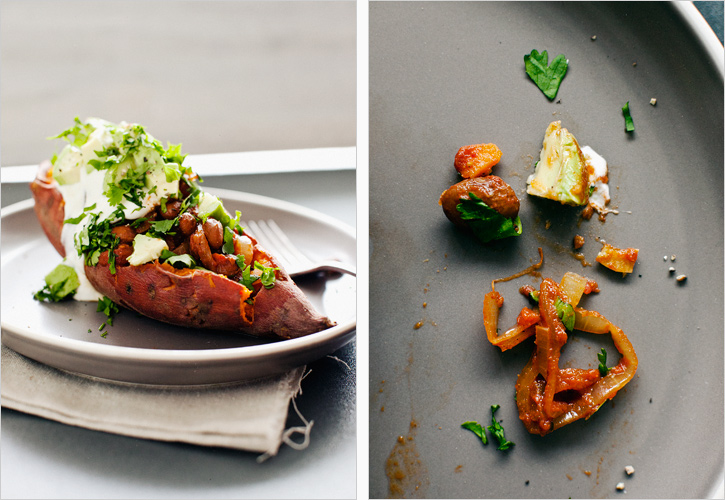
BAKED SWEET POTATOES WITH CHILI BEANS

I had a late night chat in the driveway with a friend a few nights ago that got me thinking about the things we do that make us feel "healthy." OK, first off, I love the driveway chat - you know, you're getting ready to head back home and then you kind of unload the stirrings of your heart in those last moments of conversation? "Yes, things are great, lovely to see you. But oh, hey, I feel like I may be going nuts!"- that's the good stuff. Anyway, we we're talking about how when life gets busy the first sacrifice is the "leisure" of doing the things that make you feel healthy inside. Hugh needs to read sometime during the day, the more the better, but always in the morning with his particularly perfect cup of coffee. Even when he has a list of things to do, he does this, and it has been a great example for me. Mine is a bit more literal in the way of feeling healthy, as I need to get out and move. Be it pilates, yoga, a long walk with a friend. Somewhere along the way, I picked up this impression that working hard meant not getting to do the things that make you happy/healthy, and in turn, me feeling guilty for going to pilates at 10:30 when I should be trying to come up with more recipes. There is actually a great article in this month's Whole Living about time, pretty interesting.

The thing is, especially during the current point in my life, where some days I am forcing out creativity, you've got to do the stuff that feeds your insides. Maybe those of you who actually do creative work, already know this, but if the hours of obligations and responsibilities aren't giving way to the things you NEED... find a way. The tai chi, brushing up on Spanish, volunteer work, hip hop class, vegetable garden etc... it fits in somewhere.
My sister chose a few meals to be delivered from me as her birthday present. The woman is picky about vegetables, textures and most things green. I mentioned her a while back. I made this for her so she had something easy to warm up while also being nutritious and filling. If you need to bring a meal to a friend who isn't feeling well, just had a baby, a new neighbor, or the like, it's easily portable and keeps for a few days. Serve it with a little side salad and ta-da! less time on dinner, more time at hip hop class, and such as :)

BAKED SWEET POTATOES WITH CHILI BEANS // Serves 4

The recipe includes cooking the beans from scratch, which is slightly time consuming (all be it, hands-off time). You could use well rinsed, canned beans to speed things up. I'd go one can pinto, one can black beans.

4 Small Yams/Sweet Potatoes

Heaping 1/2 lb. Pinto-type Beans, I used Rancho Gordo beans, soaked in water overnight.

2 tsp. Olive Oil

1 Yellow Onion

2 CLoves Garlic, chopped

1 Tbsp. Chili Powder

1 tsp. Cumin

1/2 tsp. Paprika

1 tsp. Smoked Salt

28 oz. Can San Marzano Tomatoes

Cilantro

Chopped Red Onion

Avocado
Sour Cream or Whole Milk Greek Yogurt

1. Preheat the oven to 400. Pierce holes in the sweet potatoes/yams, lightly wrap them in foil, and bake on the middle rack for about 45-55 minutes.

2. Put the beans in a pot and completely cover with water, plus 2 extra inches. Bring to a gentle boil and cook for 45-60 minutes until the beans are cooked through.

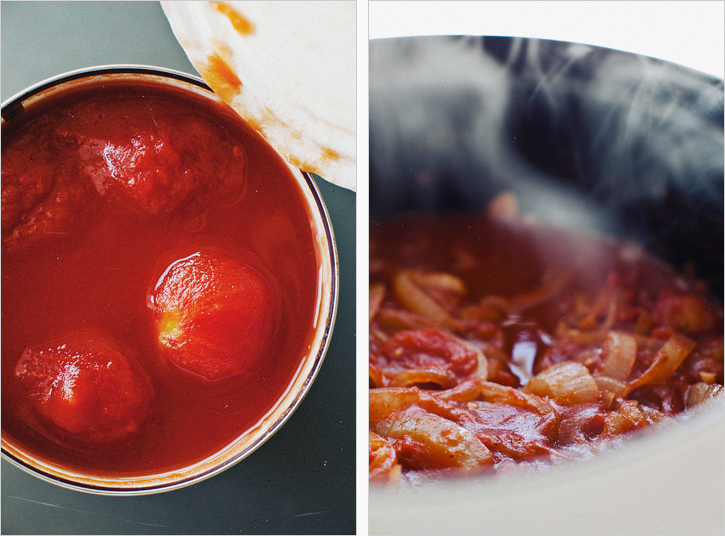
3. While the beans cook, thinly slice the onion. Over medium heat, warm the olive oil in a heavy bottomed pot and cook the onions and garlic until softened. Add the spices and the jar of San Marzano tomatoes. If the tomatoes are crushed, great, if they are whole, just smush them to a puree. Bring to a simmer and reduce for about 20 minutes while the beans finish cooking.

When the beans are cooked, drain and add them to the tomato mix, cook another 10 minutes for all the flavors to marry. Taste for salt and spices, add more if desired.

4. Split open the baked sweet potato/yams and create a little cavern down the middle. Fill the cavern with the chili beans and add toppings as desired. I like a bit of avocado, sour cream and cilantro. You could go with a bit of shredded cheese and minced red onion... something tells me you've had chili before and know the drill.

Print This Recipe

Side, Winter, Spring, Gluten Free

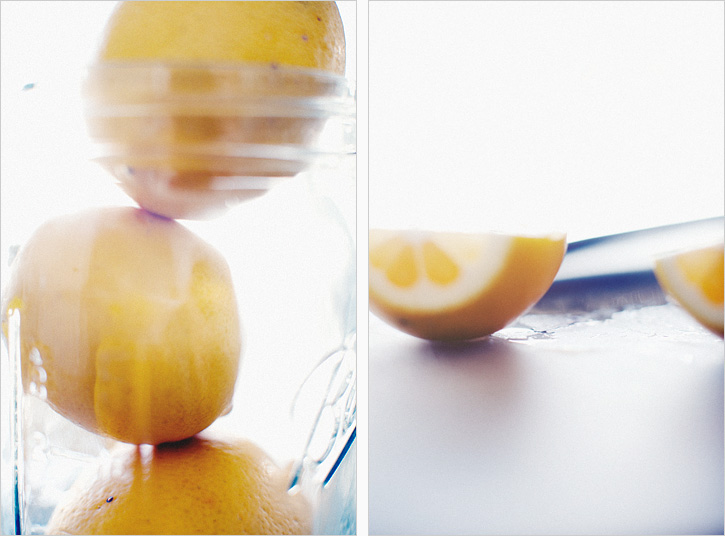
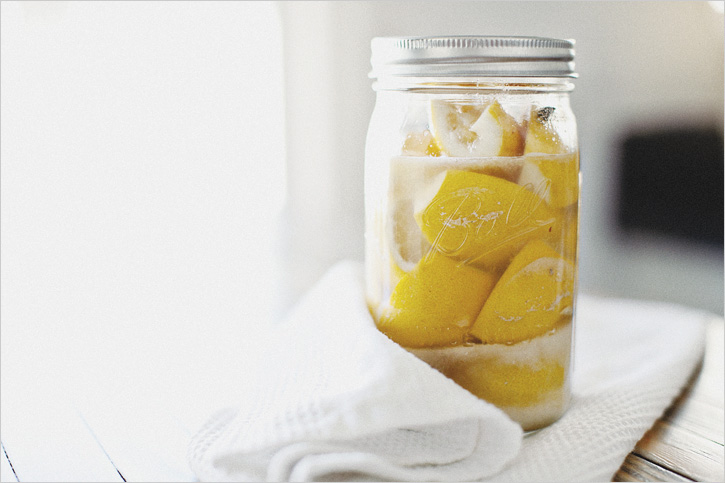
PRESERVED LEMONS.

I have my favorite dozen-ish ingredients that I use most frequently when I cook. They are ingredients that make me feel safe. I am confident in how to use them well, they are good for me while also being flavorful and to this point, I feel like they compose my 'style'. This truth has never really bothered me until I signed a contract to develop one hundred original recipes for a cookbook, and realized that I would need to deviate from my go-to's for the sake of variety. I committed to this project, because I want to be better. So though lemons are clearly in my top twelve, preserving them was something new to me, so I think that counts as a step forward. Or maybe a half step, which is still that right direction.

I know there have been a LOT of lemons around here lately, but citrus is tough to beat right now, so let's be honest, there is likely more to come. I'm not typically one to say "you must make this!", but we will likely use these preserved lemons in a few recipes throughout the coming months, and I'd love it if you would play along. You could toss them in here, or in any of these:

Quinoa with Asparagus and Preserved Lemon Dressing

Bulgar and Chickpeas with Preserved Lemon Vinaigrette

Israeli Couscous with Butternut and Preserved Lemon

Green Garlic and Preserved Lemon Hummus

PRESERVED LEMONS //

I read about this method in a cookbook at the bookstore, and have no clue what the title was. It's pretty free form, so I don't believe anyone will be insulted by the lack of credit given. Thank you for your help, mystery book. These are not precise measurements, as all lemons are different sizes. From what I can tell, as long as there is salt, lemons and plenty of juice in the jar, you're off to a good start.

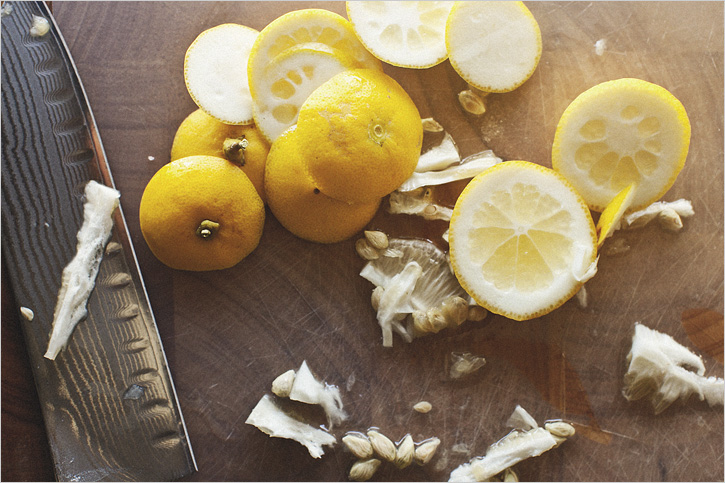
7-ish Meyer Lemons

1 Cup Fine Grain Sea Salt

1 Tbsp. Natural Cane Sugar

2 tsp. Whole Peppercorns

1. Sanitize a large, wide mouth mason jar.

2. If buying store bought lemons, scrub them really well to get off any wax - the rind is what you'll be eating in the end so give them some elbow grease. If you have a lemon tree, then you're fine. Unless, of course, you use wax and harsh fertilizer :/

3. Cut the largest of the lemons in half and poke out the seeds. This is the one you'll be using for juice.

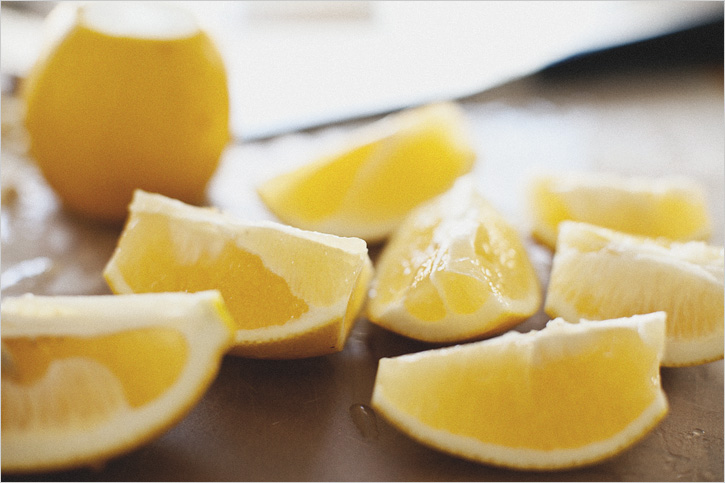
4. Remove the ends of the remaining lemons, and cut them in quarters.

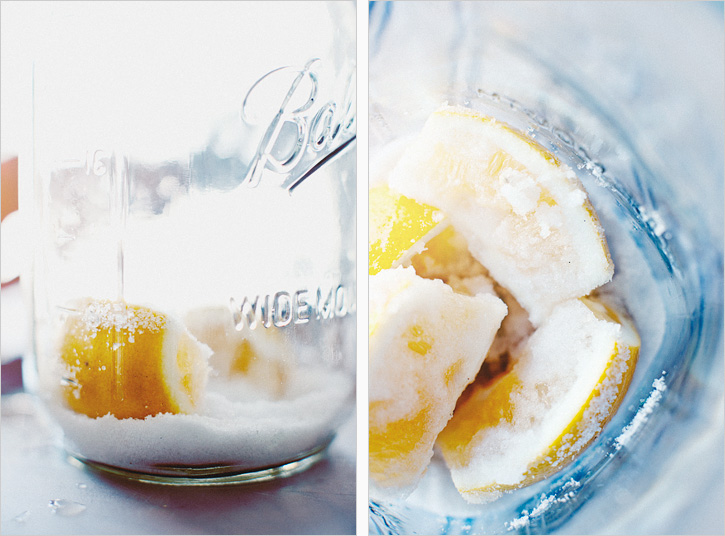
5. Put about 1/4 cup of the salt at the bottom of the jar. Smush in four of the lemon quarters, you don't need to be gentle, we want a bit of juice to squish out. Follow them by about a tablespoon of salt. Try to let it touch the flesh of each slice. Squeeze a bit of the lemon you're using for juice and then repeat with remaining lemons and salt.

6. About midway in the jar, sprinkle the sugar in with the salt, and continue the layering.

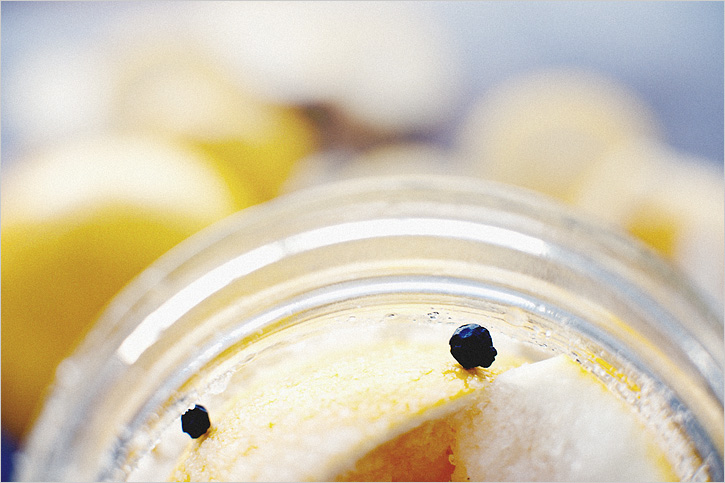
7. When you get close to the top, smush everything down a bit. Make sure no more than an inch or two of the lemon slices are above the meniscus. Add in the peppercorns. Over the next 2-3 days, enough juice should be extracted to cover them. If not, add a bit more yourself.

8. Allow the jar to sit a few days at room temp, and then store them in the fridge. They are probably fine at room temperature, but I'm cautious. Turn them upside down every now and then to keep things moving.

9. They are ready to use in cooking after about a month, but will keep in the fridge up to 6 months.

To use, rinse the lemon of it's salty brine, and scoop away the flesh. Use the preserved peels to put on fish, in grain salads or on top of a panna cotta.

Print This Recipe

Entrée, Breakfast, Winter

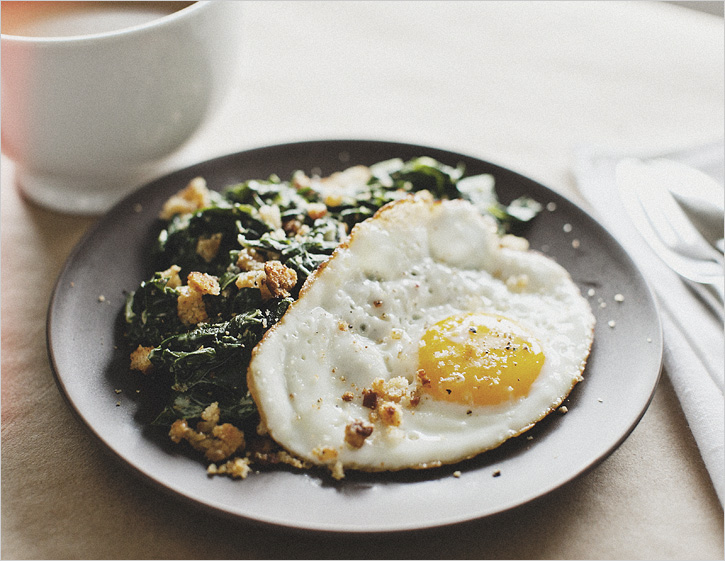
SUNNY EGGS + MUSTARD-CREAMED CHARD

I still have not really come to terms with the major increase in my grocery bill since I am now feeding a grown man. What I passed off as dinner while living on my own, doesn't cut it anymore. Budget friendly it was, filling for a hungry man it is not. This is not a complaint; I am having so much fun experimenting and having dinner conversation about what could be different: why do you always sneak kale into everything? quinoa does not count as a starch (I disagree), more salt, a little burnt... it's fun, and I'm learning.

Lately, breakfast has been 'our thing'. Hugh makes great coffee and I make something quick for breakfast. Note that his coffee process takes about 15-20 minutes start to finish, so I have time to do more than pour a bowl of cereal. Enough time to make this breakfast panini again, or yum these are my favorite. At some point society told us that in the mornings you get up and go and you kick your feet up at the end of the day. I think taking that little luxury in the morning, is worth working later into the evening. Breakfast lovers, you feel me?

I saw this recipe in the recent Bon Appetite and changed it up just a tad to use the chard I had in the fridge. Contrary to the title, it is not overly mustardy by any means. You could save time by just having toast as opposed to the breadcrumbs, but they are what give the dish character - tiny bits of crunch in each bite. And let us not forget the option of breakfast for dinner, because anything with breadcrumbs certainly can pass for either.

SUNNY EGGS + MUSTARD CREAMED CHARD // Serves 2

Adapted from Bon Appetite

The magazine wrote the recipe with one egg, but I need two to constitute a meal. I realize we already have slightly creamy greens here, but a few grates of fresh parmesan would be a welcomed addition.

1/2 Cup Breadcrumbs (made from day old bread, crusts removed)

5 tsp. Dijon Mustard, divided

2 tsp. Extra Virgin Olive Oil, plus 1 Tbsp.

1/2 tsp. Mustard Seeds

1 Bunch Swiss Chard

1/4 Cup Half and Half

2 Tbsp. Chopped, Fresh Green Herbs (parsely, thyme, oregano, basil...)

4 Eggs

Sea Salt

Fresh Ground Pepper

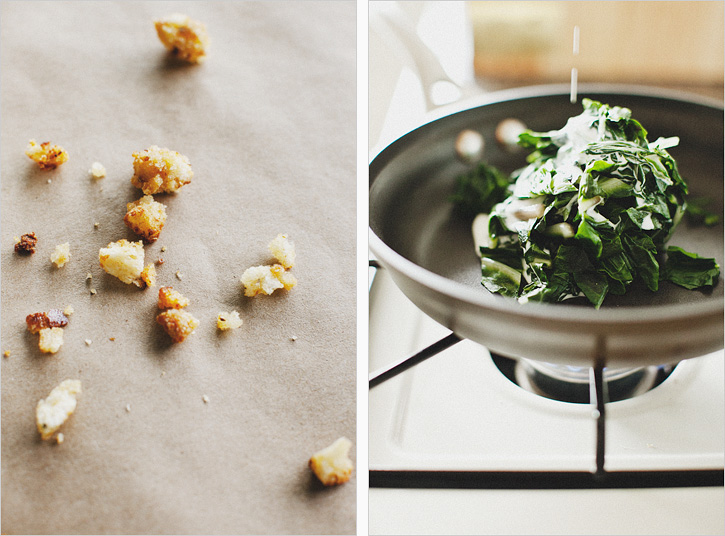
1. Preheat oven to 400'. Bring the eggs out of the fridge. Toss the crumbs with 2 tsp. dijon, 2 tsp. olive oil, mustard seeds and a pinch of salt to coat. Scatter on a rimmed baking sheet, and toast for 6-8 minutes until edges are golden.

2. Remove the stem from the chard and give it a rough chop. Over medium high heat, add enough water to cover the bottom of a skillet. Toss the chard just to wilt it, about 2 minutes. Scrape it into a mesh sieve and press out the moisture.

3. Wipe out the skillet, add the remaining 3 tsp. of mustard, half and half, 1 Tbsp. of the green herbs and the drained chard. Stir everything together, cook about 3 minutes. Season with salt and fresh pepper. Remove from heat.

4. Heat remaining Tbsp. of oil in a skillet over medium high heat. Crack eggs in the skillet, with plenty of space between and cook until desired doneness. You may need to do this in two batches if making 2 eggs per person.

5. Divide the chard between two plates and top it with two eggs, breadcrumbs and herbs for garnish.

Print This Recipe