Fall

Side, Fall, Gluten Free, Spring

FARMHOUSE CARROTS

I love feeding people. I enjoy the whole process of collecting ingredients, the creativity in combining flavors, the science of how heat changes foods texture, watching the expressions of people you love have their hunger satisfied, and then sitting there with bellies full and talking about life. Every part of it is so gratifying in its own way. A majority of you are food people (I'd go as far to say, all of you are food people), so this sentiment is likely one we have in common. People are happy when they eat good food, and I like to make people happy. I hope you get time this weekend to make something, and eat with people. We have a few picnics planned to do that very thing.

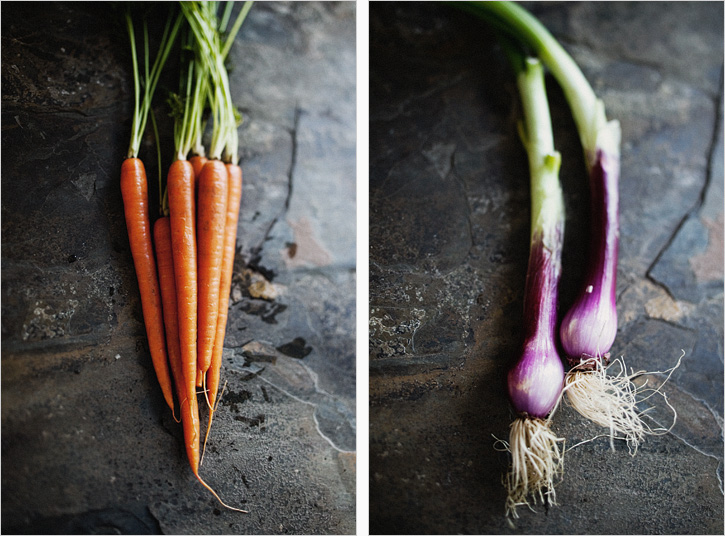
I think this recipe could change the mind of a cooked-carrot-hater. I can't stand over-cooked vegetables. The minimal liquid and high heat, sort of blisters the outsides to create a tender yet resistant texture. The ingredients are simple, and if you can make it to a farmers market, spring onions are in abundance. Fresh carrots should be very firm- if they have any bend to them, steer clear.

FARMHOUSE CARROTS // Serves 4

2 bunches carrots (about 15ish carrots)

1/2 cup thinly sliced spring onion or scallions

2 Tbsp. extra virgin olive oil or unsalted butter, warmed

2 Tbsp. honey

1 Tbsp. apple cider vinegar

3 Tbsp. roughly chopped rosemary

1 tsp. each sea salt/pepper

Fresh chives, for garnish

Oven to 400'

In a small bowl, whisk the oil or warmed butter, honey and cider vinegar together. Add the salt and pepper. Break apart the rings of the spring onion. Add the slices and the chopped rosemary into the honey mixture.

Cut off the green leafy parts and clean the carrots. Dry completely.

Line a baking try with foil or parchment paper (I didn't do this, and I wish I did, much easier to clean). Spread out the carrots in a single layer. Drizzle the honey mixture over and gently toss to coat.

Roast on the upper rack for 25-35 minutes, depending on the thickness of your carrots. They should be tender but still have a good bit of resistance too them. Garnish with fresh chives.

Print This Recipe

Dessert, Snack, Fall, Gluten Free

HONEY ROASTED PEARS

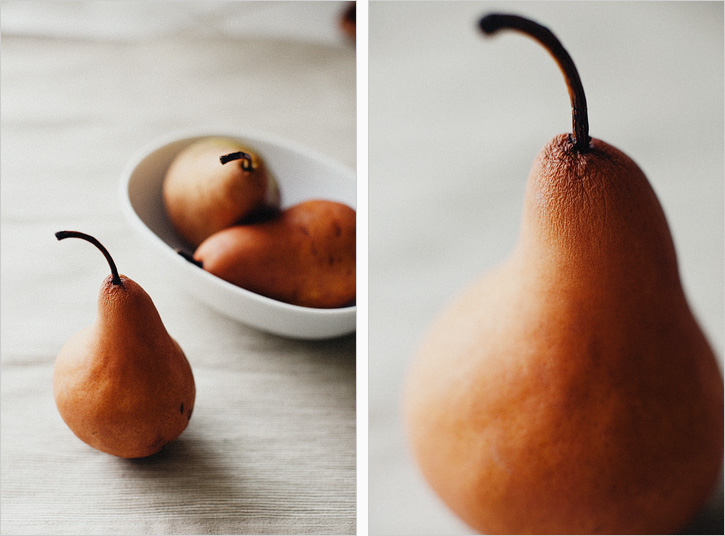
pear_0001

I am testing recipes for a cooking class I am teaching next week. Though I assume there will be ladies of all different skill levels, I feel it is a unanimous preference to have a simple dessert recipe under your belt. We will make a naturally sweetened cake too, for those that like to spend more time on their treats. However this recipe requires one mixing bowl, and everything else goes straight into the pan. Since I will be acting as both teacher and dishwasher, I strongly approve of the limited mess involved here.

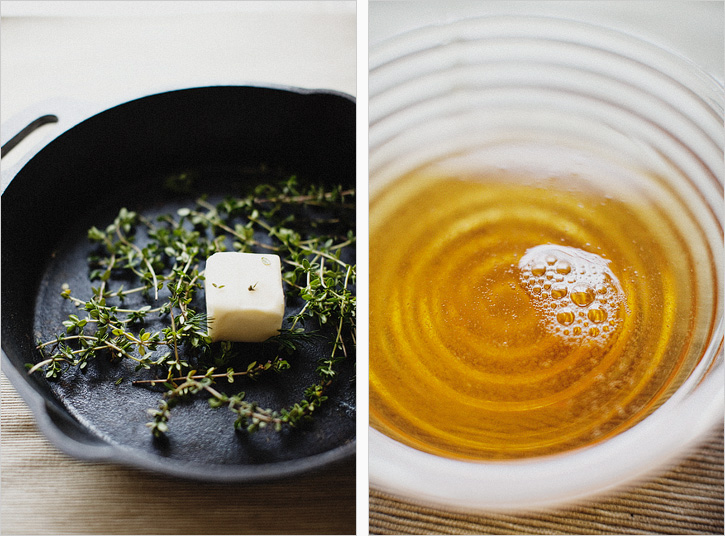
pear_0002
pear_0003

I think this general idea inspires so many other combinations as the seasons change. In the summer you could substitute peaches, and use vanilla bean instead of cinnamon in the yogurt cream. Or I imagine in the fall, you could give the pan a bit of extra time in the oven and use apples instead... then sprinkle some granola and nuts on the top. It's dessert, but I mean, if there is granola involved, you can call it breakfast. That's what I tell myself when I get into the oatmeal cookies first thing in the morning. Don't judge me.

HONEY ROASTED PEARS // Serves 3-6 depending on pear distribution

Inspired by Joy the Baker

I used three pears, because that is what fit perfectly into my cast iron skillet. You could probably adjust more or less depending on what type of pan you use, just be certain it is heavy bottomed and oven proof. I don't often push an organic agenda, but since this is a short list of ingredients, I'd suggest using organic dairy products for best flavor results.

3 Ripe Pears (Bosc worked beautifully)

2 Tbsp. Unsalted Butter

1/2 Cup Honey

1 tsp. Real Vanilla Extract

2 Tbsp. Muscavado or Brown Sugar

1/2 Cup Thyme Sprigs

Salt

8 oz. Whipping Cream

1 tsp. Cinnamon

2 Tbsp. Honey

pear_0004

3/4 Cup Plain Greek Yogurt

Oven to 450'

1. Cut the pears in half length wise, use a small spoon or melon baller to remove the tough seeded center.

2. In a cast iron or heavy bottomed skillet, add the butter, honey, vanilla, muscavado or brown sugar, thyme sprigs and a generous sprinkle of salt. Let everything come to a gentle boil and stir continuously, about 2 minutes.

3. Add the halved pears to the pan, cut side down. Give it a shake and let them simmer on the stove about 2 minutes. Turn the pears over so they are now cut side up and transfer the pan to the oven, middle rack. Bake for 12 minutes until the pears are soft and the sauce has caramelized.

4. While the pears are baking, beat the cold whipping cream with an electric mixer until stiff. Add the honey, pinch of salt, cinnamon and beat another minute to combine. Gently fold in the greek yogurt, this will make it a bit thinner, but that's ok, it still tastes lovely, I promise.

5. Put one or two pears on a plate, drizzle with a hefty spoonful of sauce with a sprig of thyme for garnish, and a generous dollop or yogurt cream.

pear_0005

* If you were serving this to guests, you can do most in advance. I would pull the pears out of the oven just a few minutes early, let it cool and leave it covered at room temperature until you are ready to reheat them in the oven. They should probably warm back through in about 6 minutes. I don't suggest making the yogurt cream in advance, as the weight of the yogurt and honey will make the whipping cream fall completely.

Print This Recipe

Entrée, Side, Fall, Gluten Free, Winter

SQUASH BOATS WITH QUINOA

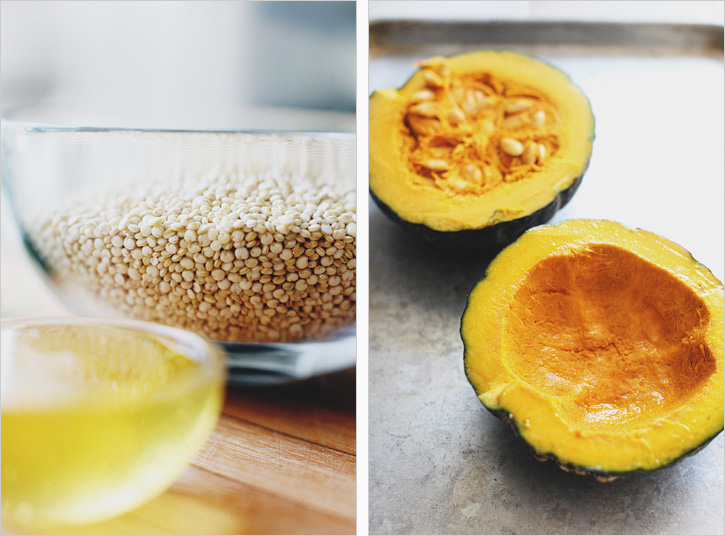
SQUASHBOATS_01

One day life can seem so routine, and then you look back on particular moments and specific days, and see that a decision you made changed the course of your life. Was it wise to quit my job? I'm not sure yet. But I do know I wasn't fufilled in how I was spending most of my days, and making a decision to change that, be it risky, can't possibly be a bad one. I don't always follow rules, but I am cautious, and attempting a more entrepenurial career is not something I imagined I would do. I admire people who takes chances, and I can dream about what I'd 'rather be doing', but some personalities are comfortable in safe places. Most of us, I would guess. Which is why I am so grateful to have Hugh, whose encouragement in sincerely wanting me to do work that makes me happy, is what pushed me to give my notice. Some days I feel SO GOOD about this, but there are moments I panic and cry. I'm relieved but scared all at the same time. My emotions are incredibly confused and excited, motivated and stone cold frightened within the course of a day.

My plan is to be a renaissance woman; pursuing a number of small projects until I find a rhythm that works. I intend to expand my dinner delivery business, cook for small dinner parties, teach cooking classes, maybe get certified to teach pilates, start a cookbook, work at the local farm a few days a week and sell advertising on this lovely site, so I can spend more time here. I didn't want to keep waiting to be doing things I wanted to do. I wasn't sure what exactly I was waiting for, as there is resounding advice I get from older folk, "there will never be enough money for a house, for kids, for vacations... but you just do it". So thank you to Hugh, for pushing me and believing I have more potential than I think I do, and to my family and close friends who affirm that this is a promising decision. So until I panic and cry again, let's eat squash boats.

IMG_8781 copy

SQUASH BOATS WITH QUINOA // Serves 2

You could use any squash, they would just hold different amounts of quinoa filling. I think it would be a great side in acorn squash. You could serve this with a protein, or make it a meal of it's own by mixing your protein of choice into the quinoa. I think it would be nice with a little parmesan cheese to top it off as well.

1 Kabocha Squash

2 tbsp. Maple

1 Tbsp. Olive Oil

Pinch of Salt and Pepper

3/4 Cup Quinoa

1 tsp. Ground Cardamom

1 Shallot, Minced

1 Pear, diced (any type you prefer, but a firm one)

1/3 Cup Basil, Chopped

3 Tbsp. Meyer Lemon Juice

1 Tbsp. Extra Virgin Olive Oil

1 Tbsp. Agave Nectar/Honey

2 Cup Baby Spinach and or Mache Lettuce

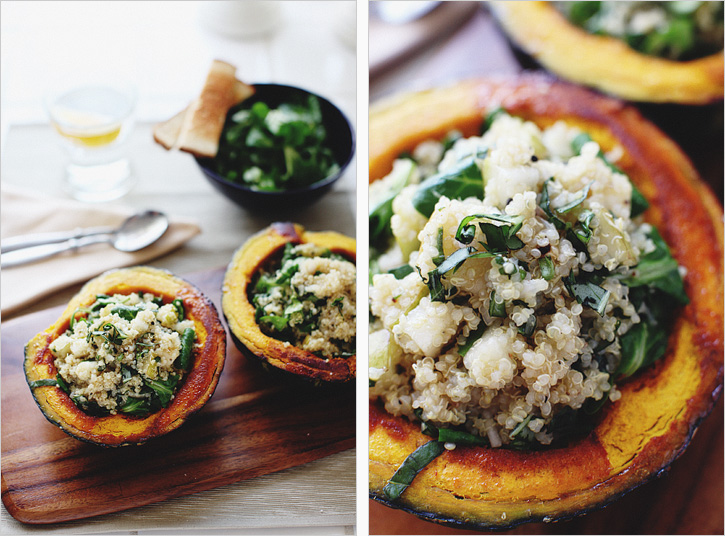
SQUASHBOATS_03

Salt and Fresh Pepper to taste

Oven to 425'

1. Cut squash in half and seed it. Mix the maple and olive oil and rub generously onto the flesh of the squash. Roast cut side down, for about 20 minutes. Turn the squash cut side up and cook about another 15 - 20 minutes 'til finishes cooking and caramelizes on top. The cooking time will depend on the size and type of squash you use, continue to test it with a fork. It should be the firmness of a baked potato.

2. While squash is cooking, prepare the quinoa. Bring 1 1/2 cups water to a boil and add the quinoa, cover and simmer for about 10 minutes until the liquid is absorbed. Remove and transfer to a mixing bowl. Add the shallot, lemon juice, cardamom, olive oil, and stir. Allow to cool down about 8 minutes, add the basil, pear and greens to combine **Don't add them when the quinoa is pipping hot, otherwise it will wilt them into a brown mess.

SQUASHBOATS_04

3. Remove the squash boats and let them sit about 5 minutes to cool down. Fill each cavern with desired amount of quinoa mix. Sprinkle the top with fresh ground pepper and serve.

Print This Recipe