Appetizer

Appetizer, Entrée, Summer, Soup, Gluten Free

SUMMER CORN SOUP WITH SHRIMP

It's a big job to be a Dad. I mean to be a good one, you certainly have your work cut out for you. Especially with daughters (and yes, I say this in the midst of wedding planning because he has been such a voice of reason and support). My dad has given in to being the only male in our family; he likes his sports, but is equally a fan of late night frozen yogurt and the occasional pedicure. He has a sarcastic sense of humor and a knack for giving people a hard time, but on the contrary there is a very thoughtful and selfless man. I praised my mom around mother's day, and my dad got swept over as I was out of town for father's day. I'm able to thank my dad for the little things like sushi dinners, family vacations or the Starbucks gift card for no reason, but it's the bigger picture that I'm not sure one can accurately express gratitude for. Those kinds of sentiments don't fit in greeting cards or blog posts, emotions and words aren't always an exact translation. But I am thankful, for the little and the big things. It's not every dad who can say they braided their little girls curly hair every night before bed so it wouldn't get tangled up in her sleep. It's both a little and big thing.

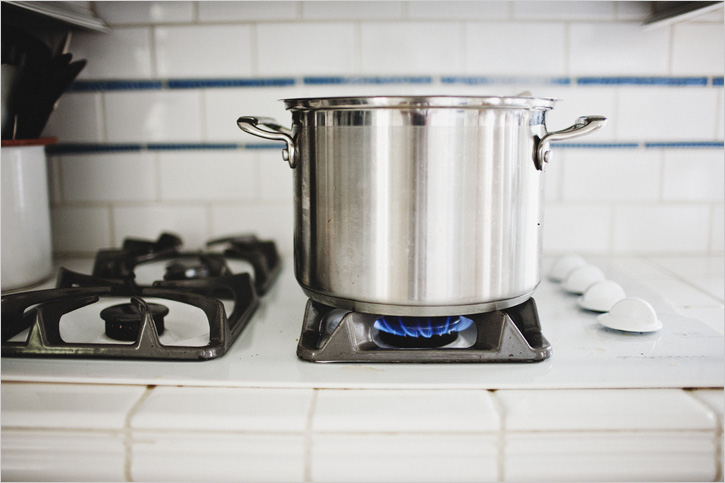
I know for most of you, the thought of turning on the oven and stove in July does not sound appealing, but it's the season for corn! My dad likes soup, so it is even more appropriate. This would make a great starter for an outdoor dinner, as everything can be done in advance and the soup warmed when you need it. Enjoy the weekend!

SUMMER CORN SOUP WITH SHRIMP // Serves 4

I strongly suggest making this with fresh corn. I can't really imagine the fresh flavor being duplicated with frozen or canned. My soup has tint of orange because I used a yam, I wrote the recipe with a yukon gold because I think it would yield a more appealing color. If you don't eat shrimp, you could use rotissere chicken, black beans or omit a protein all together.

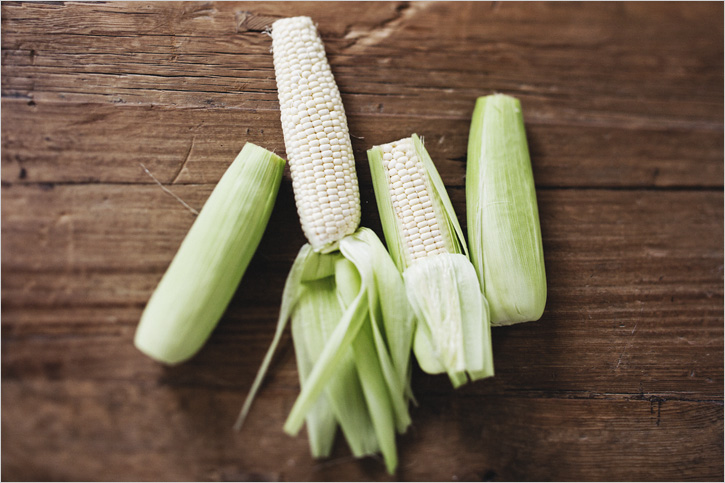
4 Ears Corn

3 1/2 Cups Vegetable Stock (good quality)

1 Tbsp. Butter

1 Medium Yellow Onion, Sliced Thin

1 Large Yukon Gold Potato

1 Tsp. Fresh Ground Nutmeg

Cayenne or Red Pepper Flakes to taste

1-2 tsp. Oregano to taste

Salt/Pepper to taste

Light Sour Cream to taste

1 lb. Shrimp

1 Tbsp. Olive Oil

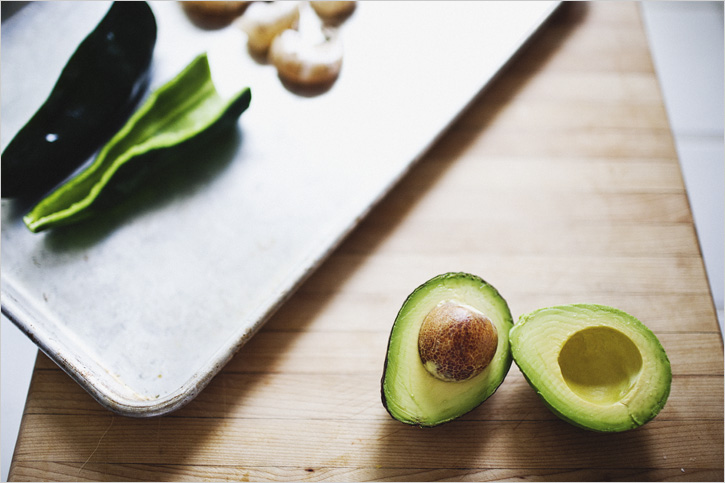
1 Large Avocado

1 Poblano or Pasilla Chile

Juice of One Lime

1/4 Cup Finely Chopped Cilantro/Basil, either or a mix
Scallions (optional)

Oven to 425'

1. Melt the butter in a large soup pot over medium heat. Add the sliced onions and saute to coat. Cook until the onions just start to turn light brown. Peel the potato and cut into cubes, add it to the onion. Cut the kernels of corn off the cob with a sharp knife, add them to the soup pot. Add the broth, spices and a few grinds of fresh pepper and allow everything to simmer to cook the corn and potatoes through.

2. If using raw shrimp, toss them in the olive oil and a grind of fresh pepper, and put on a baking pan. Cut the poblano or pasilla chile in half length wise, and place it skin side up on the pan as well. Bake on the upper rack for about 5 minutes for shrimp to cook through. Remove the shrimp and set aside, put the pepper back in until the skin blisters (about 5 more minutes). While waiting, peel the skin and tails from the shrimp and cut into 1'' pieces. Remove the pepper and put it in a ziploc bag to cool, this will make the skin easy to peel off.

3. Check on the soup to make sure potato and corn are cooked through. Using an immersion blender or a regular blender, blend the soup to create a puree. I like to leave it a bit chunky, this is up to you.

4. In a seperate bowl, combine the shrimp pieces, lime juice, chopped herbs and scallions if using them. Peel and cut the avocado into small cubes, add to the bowl. Rub the skin off the roasted chile, cut into chunks. Toss gently together.

5. Taste the soup for seasonings and adjust as you prefer. Allow people to stir in their sour cream as desired. Serve each portion of soup with a big scoop of the shrimp and avocado mix on top.

Print This Recipe

Appetizer, Entrée, Snack, Gluten Free

QUINOA FALAFELS WITH TAHINI SAUCE

It's summer. There was a whirlwind of engagement excitement, a trip to Scotland and now it's July. What the heck. The traffic down the coast is congested, there are ripe nectarines at the market and I can smell that glorious charcoal bbq scent when I take an evening stroll. I like it very much. The season of eating dinner outside, beach days after church and the best fruit, I welcome you.

As much as I love a good meal, I'm more often a grazer. I peek through my fridge a number of times during the day, hoping maybe something new or more exciting will look back at me. There are always string cheeses and carrot sticks; often some flavor of hummus and various dipping agents, but those have been on my snack menu for a good twenty years or so, I need some new goods. The first thing I do when I go to my parents house is take note of what is in their fridge, as you never know when hunger will strike and I may NEED something from there. I am not much of a baker for this very reason, grazing on baked goods is not the greatest habit. If you bake and have self control, cheers to you. I'm better off with these leftover quinoa falafels in the fridge.

QUINOA FALAFELS WITH TAHINI SAUCE / Serves 4

I made my own version, but was influenced by the lovely Nicole at Cooking after Five. I used smoked salt, because I had some on hand and it worked great, but any type of salt is fine. The falafels themselves are very low in fat, so the sauce, or any sauce of choice is necessary. You can use fresh cooked garbanzo beans, or canned if you are short on time.

1/2 Cup Quinoa

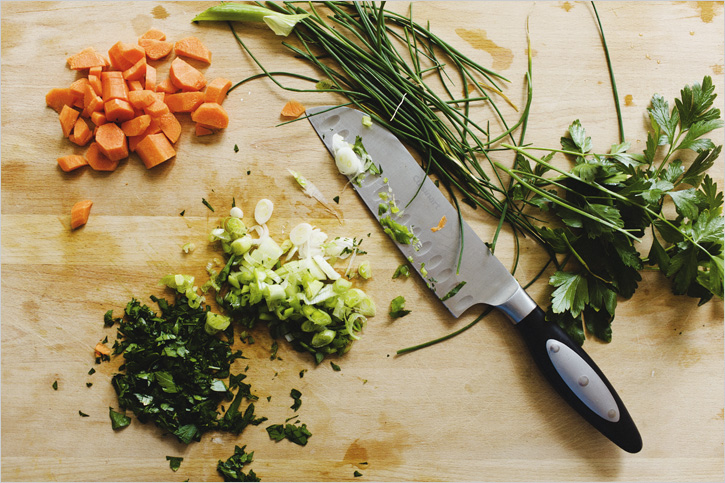
1 Cup Chopped Carrot

1/2 Cup Sliced Green Onions (about 3)

3 Tbsp. Chopped Parsley

15 oz. Garbanzo Beans

2 Eggs

2 Tbsp. Fresh Lemon Juice

1 tsp. Cumin

2 tsp. Coriander

2 Tbsp. Toasted Sesame Seeds

2 Cloves Garlic

Salt/Pepper

2 Tbsp. Olive Oil

1 Cup Plain Yogurt

1/4 Cup Tahini

1 Tbsp. Lemon Zest

Fresh Chives to taste

Salt/Pepper

1 English Cucumber, cut in matchsticks

1. In a small saucepan, bring 1 cup water to a boil. Add quinoa, cover, and reduce heat to low. Cook until liquid is absorbed, about 12ish minutes. Set aside to cool for now.

2. In a bowl, whisk together the yogurt, tahini, lemon zest, a pinch of salt and pepper and chives if you have them. Cover and put in the fridge.

3. In a blender or food processor, pulse carrots and parsley. Add green onion, garbanzos,sesame seeds, lemon juice, eggs, garlic clove, coriander and cumin. Season with salt and fresh ground pepper. Pulse until roughly combined, add quinoa, and another few pulses. I prefer it chunky. Taste for seasonings. Allow to set in fridge for an hour. It will be fine resting overnight if you really like to plan ahead.

4. Heat a nonstick pan* over medium high heat with 1 Tbsp. of the oil. Scoop the mixture out in about 2 Tbsp. size portions, roll and flatten into patties. Sear them in the saucepan for about 3 minutes on each side, with a slight press of the spatula between to thin the patty a bit. Use the remaining oil when the pan becomes dry about the third batch.

5. I ate mine at room temperature over some matchstick cucumbers, with a drizzle of the yogurt tahini sauce on top. You could put them in mini pitas and they could be a neat veg appetizer. I love mini things.

* Nonstick will allow you to use less oil to keep them from sticking. You need some oil to create a crust, but you are not 'frying' them.

Print This Recipe

Appetizer, Side, Snack, Winter, Spring

CARAMELIZED ONION+GREENS TARTINE

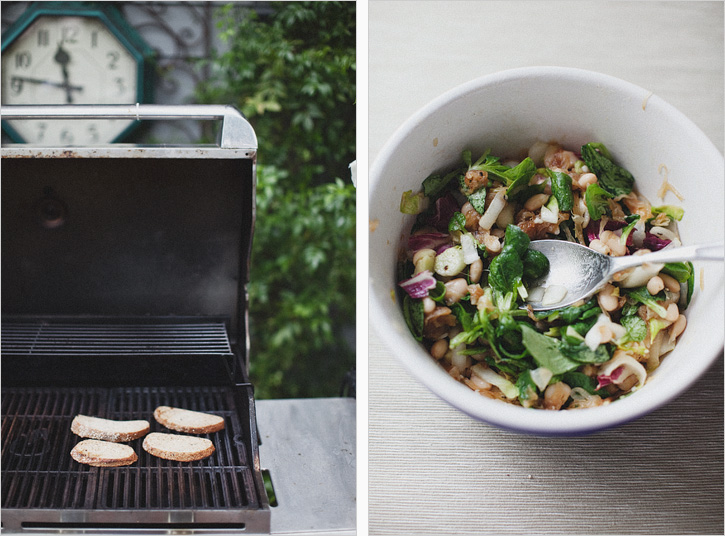
If you do make this, I hope you are a bit more 'on your game' than I was. I love getting emails from readers who find this space inspirational, so let's be real, there are just as many mistakes here as any kitchen. I have learn the most about cooking, when I mess things up. While attempting to salt the onions, the lid popped off, emptying the entire container of salt into the pan. I thought I did a decent job of getting a majority out, until we took a big bite after the pictures. I think I am still bloated from the sodium content, 24 hours later. Not to mention that the bbq was noticed this afternoon, left on since yesterday when we grilled the bread slices. The gas bill is one thing, but had the house burned down in my haste to quickly rub garlic on my toasty bread? I don't know if that's forgivable. All in the name of Sprouted Kitchen, my friends. Negligence and learning lessons go hand in hand. But seriously, this recipe is one to log away. It makes a quick lunch, could be used as a starter for a meal, or you could use baguette slices instead and make it into an appetizer. It's all things you love about a sandwich and a salad, in one bite.

I also wanted to add a quick note that we are now managing sponsors on the side bar. If you, or any small business you know may be interested, use the contact form and I can answer any questions. We don't intend for it to be distracting, but it's a great opportunity for us to grow, as well as offer affordable advertising to some great businesses. Now, back to the tartine of goodness!

CARAMELIZED ONION+GREENS TARTINE // Serves 2 as Entree or 4 as a Starter

If you dislike goat cheese, you could use ricotta or mascarpone as an alternative.

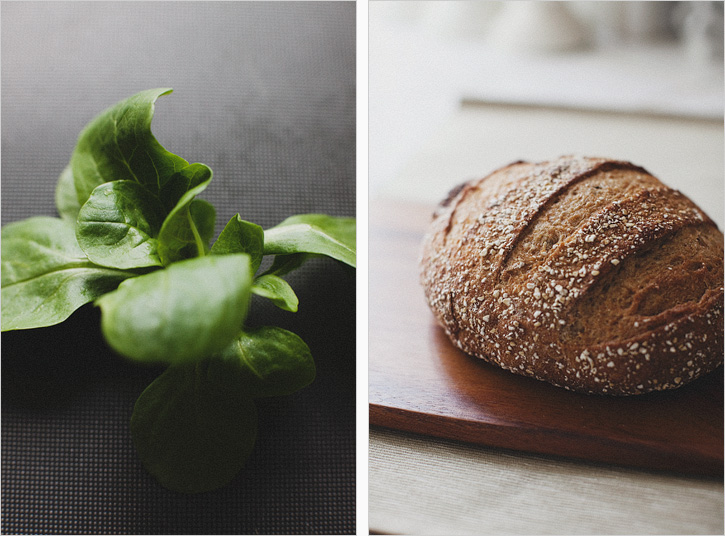
1 Whole Grain Fresh Bread Boule/Loaf

1 Garlic Clove

4 oz. Goat Cheese

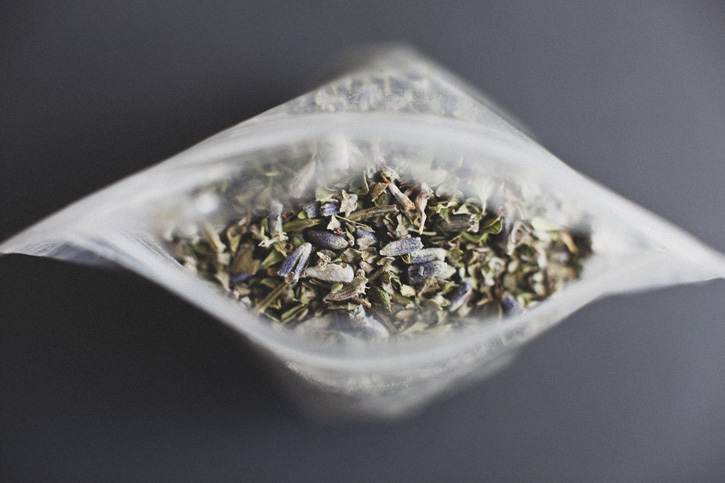
4 tsp. Herbs de Provence

1 Medium Yellow Onion, Sliced Thin

1/2 Tbsp. Unsalted Butter

1 Cup Cannellini Beans, Cooked and Drained

1 Endive, Halved and Sliced

2 Tbsp. Red Wine Vinegar

2 Cups Mache

1/2 Cup Chopped Radicchio (optional)

1 tsp. Extra Virgin Olive Oil (optional)

Salt/Pepper

1. Over medium heat, melt the butter in a large pan. Add all of the sliced onions and stir to coat. Leave them on medium low heat, and stir every once in awhile until they turn a golden brown color. This should take about 20 minutes, depending on the pan size and material.

2. While the onions cook, slice the bread into 1/4-1/2'' slices. I used 4 slices, two per person. Warm a grill or grill pan (you can use a toaster as well).

3. In a mixing bowl, add the beans, mache, endive, optional radicchio, vinegar and a pinch of salt and pepper. Add the caramelized onions to the bowl and mix. You will need to use your fingers to separate the tangled onions. You could add a tsp of oil here if you like things more dressed, plenty tasty without, a tad zingy from the vinegar.

4. Toast the bread slices on the grill, grill pan or toaster. While they are still hot, rub the raw garlic clove on one side of each slice. The heat will release the garlic flavor. Spread desired amount of goat cheese on the garlic side of the toast and sprinkle 1 tsp.-ish of the herbs de provence on top of the cheese. Plate them with a few heaping spoonfuls of the mache and bean mixture atop the toast and sprinkle with fresh pepper.

Print This Recipe