lemon

Entrée, Side, Gluten Free, Spring, Summer

LEMON KALE SALAD + SEARED SALMON

People who care about food, have a philosophy about what they eat and why they eat it. Some are vegetarians for animal reasons, or vegan because of health purposes, you may not eat gluten because of an allergy, or some stay away from it as part of an anti-inflammatory diet. No red meat, no foods with a face, just fish... there are so many ways you could qualify your eating habits. While eating a gigantic bowl of this salad, I was reminded of why I try to eat well as often as possible. You feel so much better. I don't want to get into a discussion of the right and wrong of what to eat, because I don't feel it's a black and white issue. You have to respect yourself and those you're feeding, and believe that what you are putting inside, does matter, and then make your own decisions. All I can say is that for myself, I find a big bowl of raw kale salad, a subtle reminder of how good it feels to put healthy things in our bodies.

I know it's a bit early in the season to be singing the praises of kale, but this salad is my current obsession. If you are familiar with this hearty green, the thought of eating it raw sounds a bit daunting. It is tough, and somewhat bitter. I don't often cook with it because it tastes so earthy, and now I am eating it raw, by the bowlful. You toss it with this light tangy dressing, while it's speckled with bits of grainy bread crumbs and salty parmesan and it's amazing how something so simple and good for you, can taste this great too. The salmon here is not meant to have any strong flavors, as the kale salad adds enough zip for both components. You could easily serve the salad with some roasted chicken, marinated tofu or with the ever-so-versatile poached egg as well.

LEMON KALE SALAD + SEARED SALMON // Serves 2

The kale salad recipe is adapted from Dr. Weil/True Food Kitchen. Make a little extra if you like leftovers, the kale stands up to the dressing really well, so you can keep it lightly dressed in the fridge and it only gets better. This will likely make more dressing than you need, but better to be prepared.

4 Cups Kale (lacinato or cavolo nero best), rinsed and dried

1/3 Cup Fresh, Whole Grain Breadcrumbs

1/3-1/2 Cup Fresh Grated Parmesan or Pecorino Cheese

Red Pepper Flakes to taste

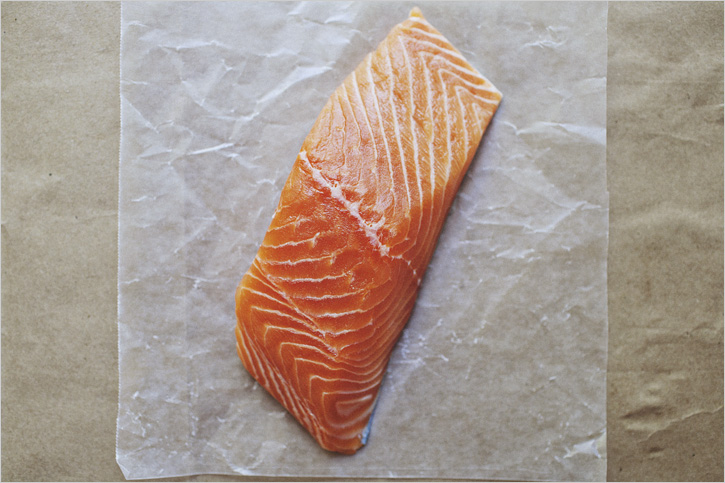
2 (5 oz.) Pieces Wild/Sustainably Raised Salmon Filets

1 Tbsp. Dried Basil

1 tsp. Garlic Salt

Ground Pepper

1/2 Cup White Wine

// Dressing //

1/3 Cup Extra Virgin Olive Oil

1/3 Cup Fresh Lemon Juice

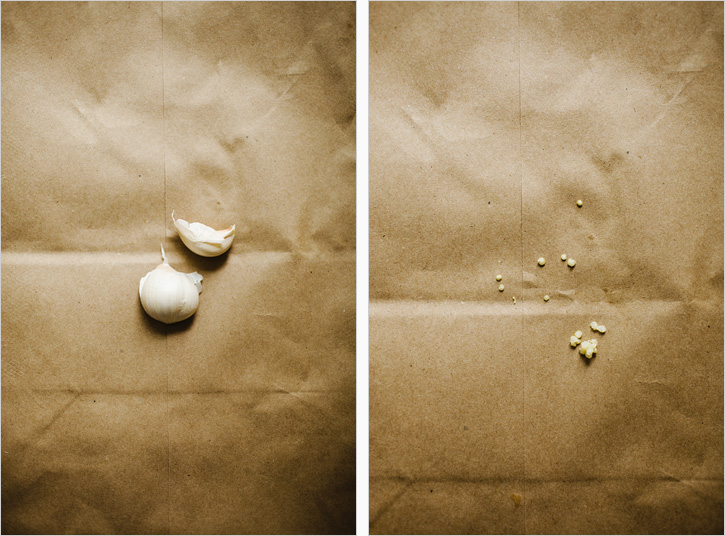
2 Cloves Garlic
Pinch of Salt/Ground Pepper

1. Remove the ribs from the kale, lay leaves on top of each other, and slices into 1/4'' ribbons. Put them all in a bowl.

2. For the dressing, combine the olive oil, lemon juice, garlic cloves and pinch of salt, pepper and red pepper in a blender/food processor and blend to combine. Taste for spice and lemon to olive oil ratio, I find that this is a personal preference. You can also add a touch of honey to mellow out the tang if need be. Pour desired amount over the kale and toss so the leaves marinate in the dressing while you finish the salmon.

3. Dry both sides of the salmon, and gently rub on the garlic salt, pepper and dried basil. Heat a sauce pan over medium heat with a bit of oil to avoid sticking, add the salmon filets, and allow them to get crispy on one side, about 5 minutes. Flip the filets, sear for a minute, and add the 1/2 cup of wine to the pan. Cover and cook until just cooked through. This will likely take another 5 minutes, but will vary depending on thickness of your filet. Use your judgement and watch the center of the fish. Remove.
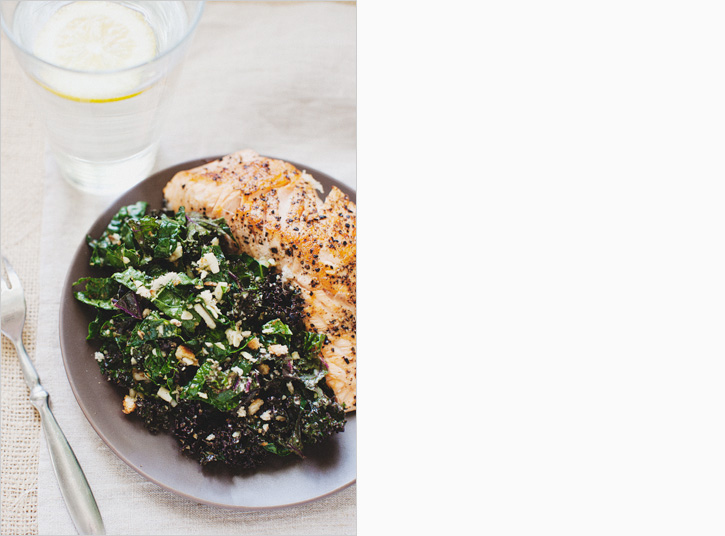
4. Add the breadcrumbs, grated parmesan, a bit more dressing and give the salad another toss to combine. Serve each plate with a hefty portion of kale, and a piece of salmon.

Print This Recipe

Dessert, Snack, Spring, Summer

BLUEBERRY & CREAM TARTS

We made a quick day trip over to Palm Springs, CA this week to take care of a few wedding things and holy goodness was it toasty. My car thermometer read 115' at one point! I am just now getting over the shock that is extreme heat, and more than ready for the beach this weekend. So, this weekend you will find me in the ocean, swimming, actually getting my hair wet and then making another batch of these mini tarts.

These make a simple and tasty dessert for a number of reasons. They're small, which means you can justifiably eat a few of them. But maybe that's a selling point for just me? The simplicity lends itself to use any type of fruit you have, they'd be great with peaches, strawberries, maybe even fresh mango and use lime instead of lemon if you like tropical flavors. If you want to complete a few steps in advance, you could cut and score the puff pastry, put it on a baking sheet and leave it in the fridge til dessert time. The cream mix and blueberries can be prepped in advance as well, in under 5 minutes mind you. The ingredient list is short, and the hands on time is limited which means I will be making these frequently.

Sidenote: If you'd rather be cooking outside, we had a post on Etsy yesterday of the Rustic Fig Pizza we made awhile back!

BLUEBERRY & CREAM TARTS // Makes 9

I have not attempted to make my own puff pastry, however, Helene at My Tartlette has both a regular and a gluten version on her site if you feel up to it! Recipe inspired by Real Simple.

1 8-oz. Sheet Frozen Puff Pastry, thawed

1 Egg, beaten

6 oz. Reduced Fat Cream Cheese, room temperature

3 Tbsp. Honey, divided

3 Tbsp. Fresh Lemon Juice, divided

Zest of one Large Lemon

1 Cup Fresh Blueberries

Lemon zest and powdered sugar for garnish, optional

Oven to 375'

1. Unfold the the puff pastry and roll over it with a rolling pin about three time, just to thin it a bit.

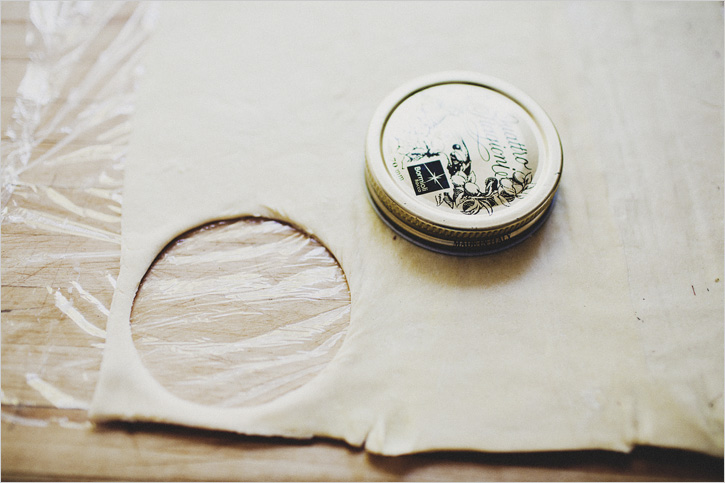
2. Line a baking sheet with parchment paper. Using a cookie cutter or top of a mason jar, gently cut out circles and put them on the parchment. My cutter was about 2'' diameter, you can use what you have, but use your better judgement to increase or decrease baking time.

3. Using a paring knife, score a 1/4'' thick circle border inside each tart cut out. Brush the outer edge with the beaten egg and sprinkle each with a bit of sugar (1 Tbsp. between all of them). Bake on middle rack until golden and puffed, about 14+/- minutes.

4. In the meantime,mix the cream cheese, lemon zest, 2 Tbsp. of the lemon juice, and 2 tbsp. honey until fully mixed and a bit fluffy. Put it in the fridge.

5. Remove the tarts, rescore the circle and press down gently on the middle part to flatten. Allow them to cool about 5 minutes.

6. Dollop about 1 Tbsp. of the creamy mixture in the middle of each tart (again, this will depend on the size). Put the blueberries in a bowl. Warm the remaining 1 Tbsp. honey in the microwave for 15 seconds to loosen it, pour over the berries along with the last 1 Tbsp. of lemon juice and toss to coat. Pile a hefty spoonful of berries on top of the creamy mixture. Serve at room temperature.

* Garnish with fresh lemon zest and a sprinkle of powdered sugar if you please.

Print This Recipe

Appetizer, Entrée, Snack, Gluten Free

QUINOA FALAFELS WITH TAHINI SAUCE

It's summer. There was a whirlwind of engagement excitement, a trip to Scotland and now it's July. What the heck. The traffic down the coast is congested, there are ripe nectarines at the market and I can smell that glorious charcoal bbq scent when I take an evening stroll. I like it very much. The season of eating dinner outside, beach days after church and the best fruit, I welcome you.

As much as I love a good meal, I'm more often a grazer. I peek through my fridge a number of times during the day, hoping maybe something new or more exciting will look back at me. There are always string cheeses and carrot sticks; often some flavor of hummus and various dipping agents, but those have been on my snack menu for a good twenty years or so, I need some new goods. The first thing I do when I go to my parents house is take note of what is in their fridge, as you never know when hunger will strike and I may NEED something from there. I am not much of a baker for this very reason, grazing on baked goods is not the greatest habit. If you bake and have self control, cheers to you. I'm better off with these leftover quinoa falafels in the fridge.

QUINOA FALAFELS WITH TAHINI SAUCE / Serves 4

I made my own version, but was influenced by the lovely Nicole at Cooking after Five. I used smoked salt, because I had some on hand and it worked great, but any type of salt is fine. The falafels themselves are very low in fat, so the sauce, or any sauce of choice is necessary. You can use fresh cooked garbanzo beans, or canned if you are short on time.

1/2 Cup Quinoa

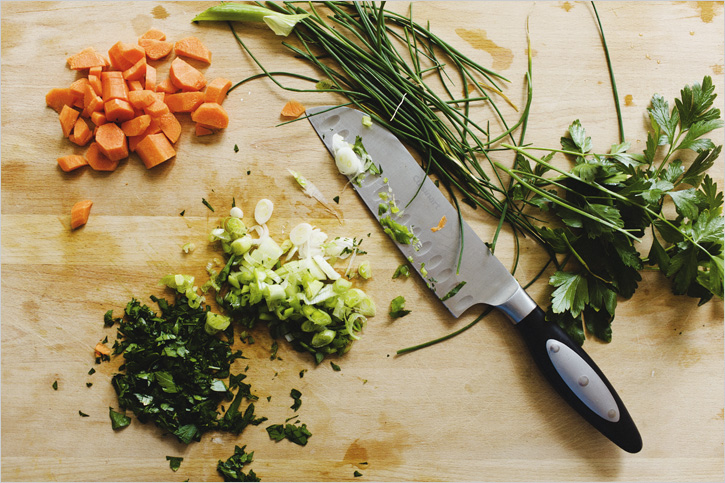
1 Cup Chopped Carrot

1/2 Cup Sliced Green Onions (about 3)

3 Tbsp. Chopped Parsley

15 oz. Garbanzo Beans

2 Eggs

2 Tbsp. Fresh Lemon Juice

1 tsp. Cumin

2 tsp. Coriander

2 Tbsp. Toasted Sesame Seeds

2 Cloves Garlic

Salt/Pepper

2 Tbsp. Olive Oil

1 Cup Plain Yogurt

1/4 Cup Tahini

1 Tbsp. Lemon Zest

Fresh Chives to taste

Salt/Pepper

1 English Cucumber, cut in matchsticks

1. In a small saucepan, bring 1 cup water to a boil. Add quinoa, cover, and reduce heat to low. Cook until liquid is absorbed, about 12ish minutes. Set aside to cool for now.

2. In a bowl, whisk together the yogurt, tahini, lemon zest, a pinch of salt and pepper and chives if you have them. Cover and put in the fridge.

3. In a blender or food processor, pulse carrots and parsley. Add green onion, garbanzos,sesame seeds, lemon juice, eggs, garlic clove, coriander and cumin. Season with salt and fresh ground pepper. Pulse until roughly combined, add quinoa, and another few pulses. I prefer it chunky. Taste for seasonings. Allow to set in fridge for an hour. It will be fine resting overnight if you really like to plan ahead.

4. Heat a nonstick pan* over medium high heat with 1 Tbsp. of the oil. Scoop the mixture out in about 2 Tbsp. size portions, roll and flatten into patties. Sear them in the saucepan for about 3 minutes on each side, with a slight press of the spatula between to thin the patty a bit. Use the remaining oil when the pan becomes dry about the third batch.

5. I ate mine at room temperature over some matchstick cucumbers, with a drizzle of the yogurt tahini sauce on top. You could put them in mini pitas and they could be a neat veg appetizer. I love mini things.

* Nonstick will allow you to use less oil to keep them from sticking. You need some oil to create a crust, but you are not 'frying' them.

Print This Recipe