Spring

Dessert, Snack, Fall, Gluten Free, Summer, Spring

BROWN RICE CRISP TREATS

undefined

I don't read as much as I'd like. Lots of blogs and cookbooks, but not as much fiction as I would prefer. I love when a good writer really draws you in - when something they write feels so familiar, it's like they are describing an emotion that you weren't certain you were feeling until you read their piece. I was reading Molly's post about having house guests after spending quiet days alone, working and writing from home. It reminded me how I felt last week, as we had all our evenings booked with some plan between house guests, a going away party for a best friend, dinner dates, tax appointments and the like. I really like being busy, it makes me feel more alive, more motivated.

undefined
undefined

I haven't really found a rhythm with this working from home deal. I am easily distracted, usually off task and missing the affirmation when I do something well. It has it's moments of lonliness, regardless of my beloved being here with me most of the time. I feel SO lucky for the schedule we keep, and there is not a dinner time prayer that goes by that we don't express our gratitude for having the means to do what we love, but it is different. I connected with Molly's post, because she was reveling in what fun it is to spend time with people you delight in. I was entertained by the dinner conversation with our house guests over the art of a perfect veggie burger, I waxed sentimental over the goodbye dinner of a dear friend from second grade moving states away, and laughed at another friends house while we watched random You Tube break dancing dance videos after a great dinner (isn't that how your dinner dates end?). All to say, introvert or not, there is nothing like the pleasure of good company.

BROWN RICE CRISPIES // Makes one 8x8 pan

Adapted from Vanilla & Lace

You can find brown rice syrup at most health food stores. It is thicker than maple syrup, so the treats will stick together a little better. Maple syrup works well, but is thinner, so the treats are more fragile/crumbly. The dark chocolate lends a sharp contrast to the crisps, but milk chocolate would be a fine complement as well. The amount below gives a pretty sturdy chocolate layer, simply half it if you want something lighter.

1/2 Cup Creamy Almond Butter

1/3 Brown Rice Syrup (or Maple Syrup)

1 tsp. Real Vanilla Extract

3 Cups Crisped Brown Rice

7 oz. Good Quality, Dark Chocolate (I used Valrhona 71%)

undefined

1 Tbsp. Unsalted Butter

1. Using a double broiler method, set a glass bowl over a small pot of simmering water, making sure that the bowl is not touching the water. Put the almond butter, brown rice syrup and vanilla extract in the bowl and stir until everything is evenly incorporated. Remove from the heat to cool a minute.

2. Put the crisped rice in a large bowl and pour the almond butter mixture on top, mix thoroughly.

3. Coat the bottom and sides of a 8x8 glass pan with a light coat of desired neutral tasting oil (coconut, canola, grapeseed etc.). Pour the rice mix in and push it down with the back of a spoon. Put it in the fridge while you make the chocolate layer.

undefined

4. Clean the bowl from the almond butter mix, and set up the double broiler again. Add the pieces of chocolate to melt slowly, stirring occasionally. When the chocolate is melted, add the butter and stir. Pour the chocolate on top of the rice crisps and quickly spread it across the top with an offset spatula or back of a spoon in an even layer. Refrigerate for at least an hour and a half to set and cut them in to squares with a sharp knife. Keep stored in the fridge and try to eat them within two days as the rice starts to absorb moisture.

Print This Recipe

Side, Winter, Spring, Gluten Free

PRESERVED LEMONS.

I have my favorite dozen-ish ingredients that I use most frequently when I cook. They are ingredients that make me feel safe. I am confident in how to use them well, they are good for me while also being flavorful and to this point, I feel like they compose my 'style'. This truth has never really bothered me until I signed a contract to develop one hundred original recipes for a cookbook, and realized that I would need to deviate from my go-to's for the sake of variety. I committed to this project, because I want to be better. So though lemons are clearly in my top twelve, preserving them was something new to me, so I think that counts as a step forward. Or maybe a half step, which is still that right direction.

I know there have been a LOT of lemons around here lately, but citrus is tough to beat right now, so let's be honest, there is likely more to come. I'm not typically one to say "you must make this!", but we will likely use these preserved lemons in a few recipes throughout the coming months, and I'd love it if you would play along. You could toss them in here, or in any of these:

Quinoa with Asparagus and Preserved Lemon Dressing

Bulgar and Chickpeas with Preserved Lemon Vinaigrette

Israeli Couscous with Butternut and Preserved Lemon

Green Garlic and Preserved Lemon Hummus

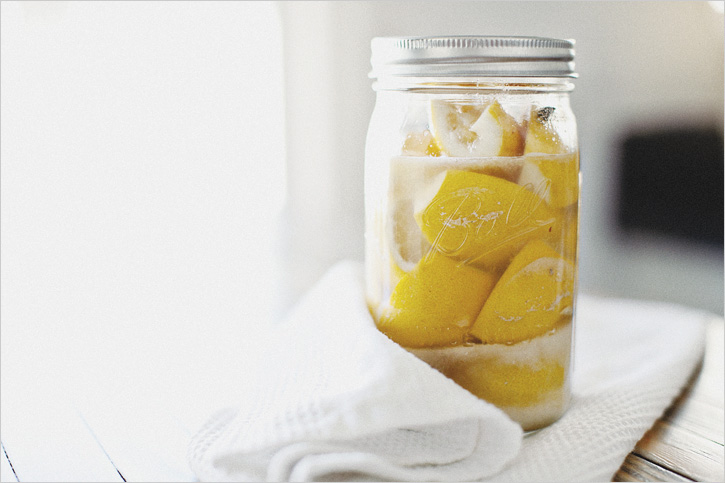
PRESERVED LEMONS //

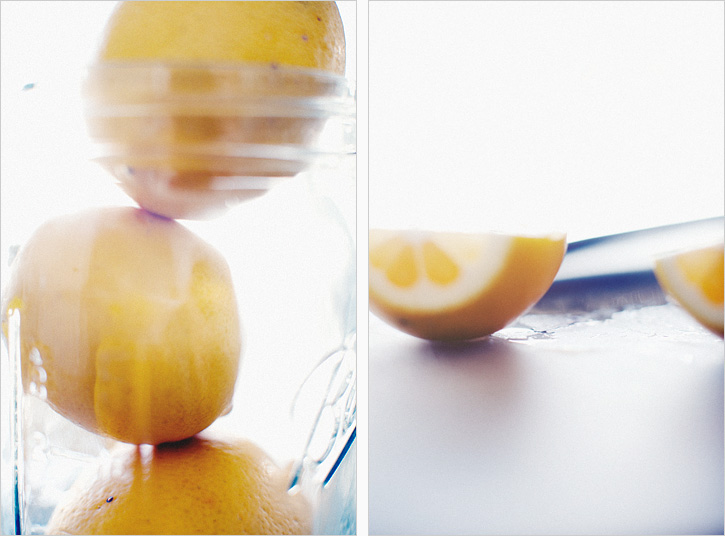
I read about this method in a cookbook at the bookstore, and have no clue what the title was. It's pretty free form, so I don't believe anyone will be insulted by the lack of credit given. Thank you for your help, mystery book. These are not precise measurements, as all lemons are different sizes. From what I can tell, as long as there is salt, lemons and plenty of juice in the jar, you're off to a good start.

7-ish Meyer Lemons

1 Cup Fine Grain Sea Salt

1 Tbsp. Natural Cane Sugar

2 tsp. Whole Peppercorns

1. Sanitize a large, wide mouth mason jar.

2. If buying store bought lemons, scrub them really well to get off any wax - the rind is what you'll be eating in the end so give them some elbow grease. If you have a lemon tree, then you're fine. Unless, of course, you use wax and harsh fertilizer :/

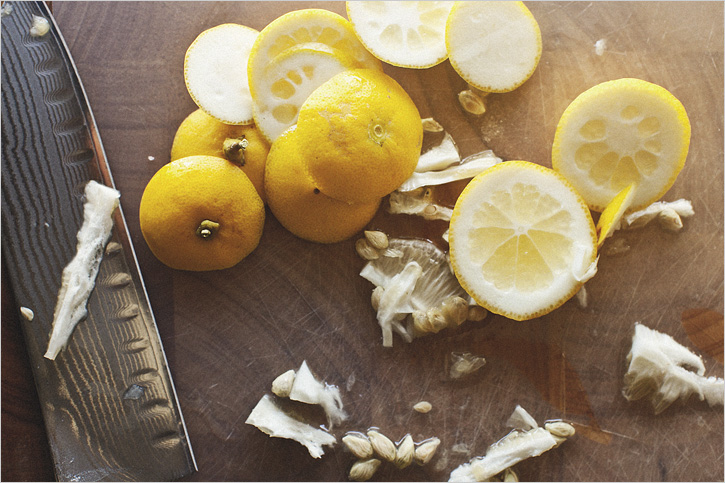
3. Cut the largest of the lemons in half and poke out the seeds. This is the one you'll be using for juice.

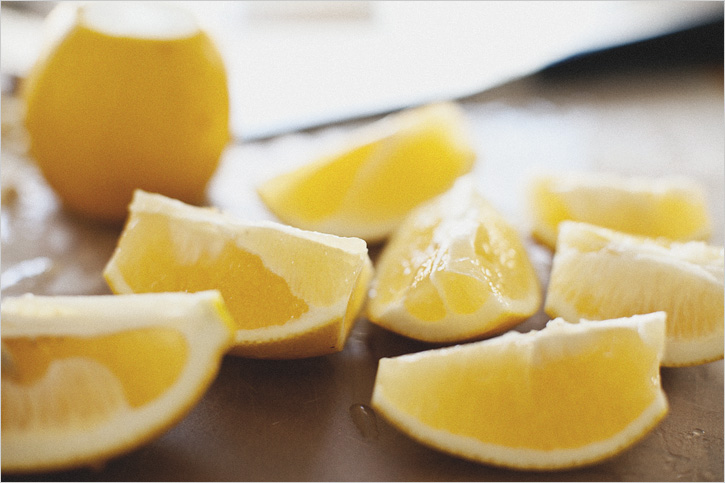
4. Remove the ends of the remaining lemons, and cut them in quarters.

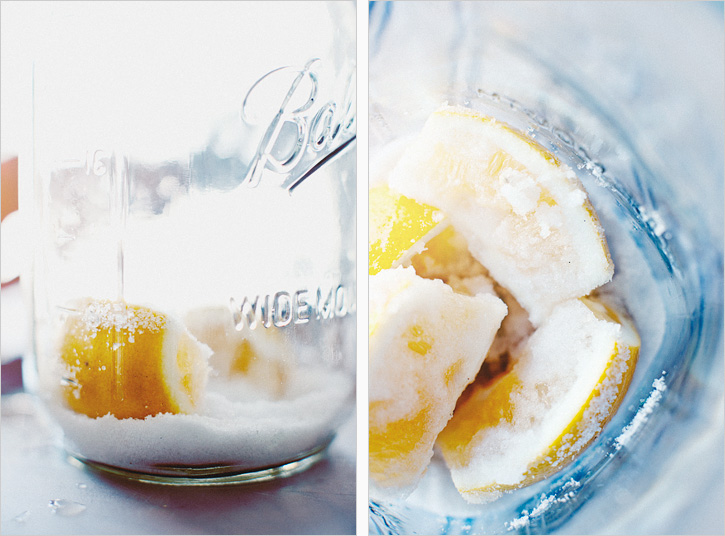
5. Put about 1/4 cup of the salt at the bottom of the jar. Smush in four of the lemon quarters, you don't need to be gentle, we want a bit of juice to squish out. Follow them by about a tablespoon of salt. Try to let it touch the flesh of each slice. Squeeze a bit of the lemon you're using for juice and then repeat with remaining lemons and salt.

6. About midway in the jar, sprinkle the sugar in with the salt, and continue the layering.

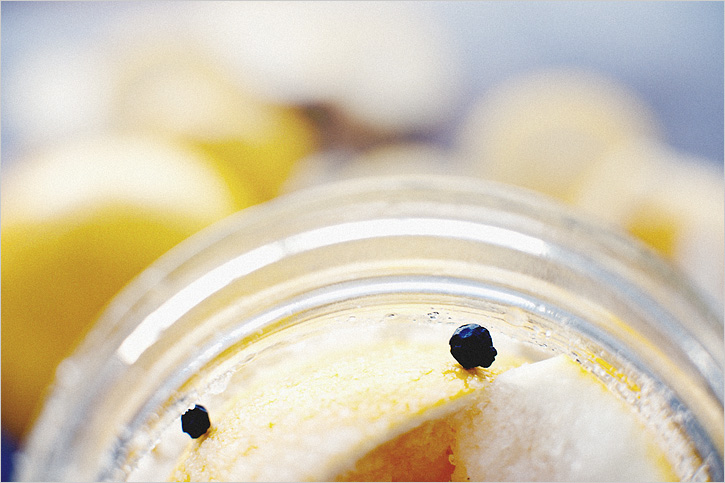
7. When you get close to the top, smush everything down a bit. Make sure no more than an inch or two of the lemon slices are above the meniscus. Add in the peppercorns. Over the next 2-3 days, enough juice should be extracted to cover them. If not, add a bit more yourself.

8. Allow the jar to sit a few days at room temp, and then store them in the fridge. They are probably fine at room temperature, but I'm cautious. Turn them upside down every now and then to keep things moving.

9. They are ready to use in cooking after about a month, but will keep in the fridge up to 6 months.

To use, rinse the lemon of it's salty brine, and scoop away the flesh. Use the preserved peels to put on fish, in grain salads or on top of a panna cotta.

Print This Recipe

Dessert, Personal, Snack, Winter, Spring, Summer

LEMON MERINGUE ICE CREAM PIE + NEWS.

The Sprouted Kitchen by Sara Forte, photographed by Hugh Forte. Hopefully hardcover, matte paper, intriguing images, produce focused, approachable recipes... a book. We're creating one. Exciting and petrifying, right?

I left my big-girl-career-job last March, knowing that it was not my future. I enjoyed the work and the people, but despite the pragmatist in me, I had a hope that maybe I could take a chance at doing what I actually enjoyed. Hugh motivated me to take the leap, and a lot has happened between then and now. Who knew that months later, the opportunity to write a book would find it's way into my inbox? Long story short, there have been months of emails with Ten Speed Press, lots of questions and me seeking advice from a couple people I respect who have published cookbooks of their own.

I love to eat, I find it gratifying to experiment and end up with something good every so often. I believe in encouraging people to eat well by providing practical tools/recipes to fill their bodies with good things (that may include a bit of ice cream pie) and most importantly, to end up at a table, spending time with each other, because eating is an experience and we all need to be fed. This blog has given me space to do that, and I want to be better; I want to keep learning, and to learn more you must be challenged. Through your kind comments telling me that you made something on here and liked it (which p.s., makes my day), or that you enjoyed the pictures, or resonate with something I wrote, I have been inspired and fulfilled. So, even though I didn't think the opportunity to write a book would come about as quickly as it did, and I may not be completely ready for the task, I needed to say yes. We are beyond excited, but because you people are my trusted internet friends, I am scared and intimidated to enter a market that is inundated with so much incredible work.

I am off to a bit of a slow start, but I am at a grocery store or farm stand every other day, so we're on our way. Hugh is my live in taste tester, and so far hasn't complained about the four dozen carrot date muffins I made before I felt the recipe was just right. It's been fun to brainstorm the feeling we want this book to evoke - to dream together.

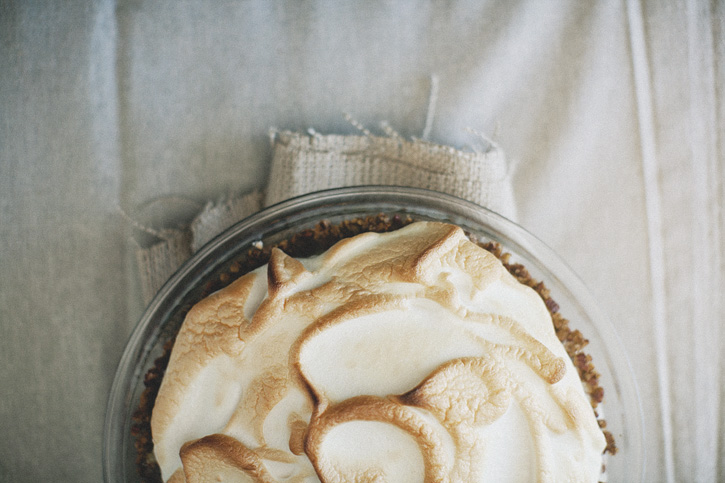
So I made this lemon meringue ice cream pie in honor of the big news. I love the different layers of flavor and texture here; crunchy to creamy to tangy to pillowy golden meringue. It may not be ice cream weather where you are, but trust me, it doesn't matter. A slice of pie and a thanks to all of you for making our corner of the internet a place to dream big.

LEMON MERINGUE ICE CREAM PIE IN TOASTED PECAN CRUST

Serves 8

Slightly adapted from Jamie's Restaurant in Florida via Bon Appetit

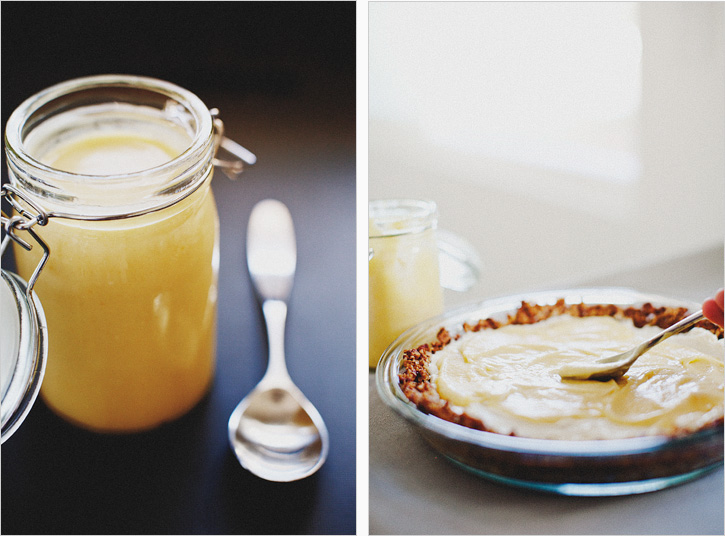
There are a few softening and freezing steps, but overall, this is a very easy pie. If you were in a pinch, store bought lemon curd will work in the layers here. The homemade version can be made ahead of time.

See our Lemon Curd recipe here

Crust//

1 1/2 Cups Finely Chopped Pecans

1/4 Cup Evaporated Cane Juice/Sugar

1/4 Cup Unsalted Butter, melted

3 Cup Good Quality, Vanilla Bean Ice Cream

Meringue//

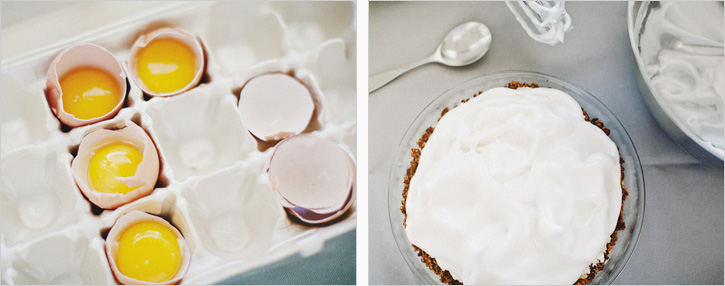
3 Large Egg Whites
Pinch of Cream of Tartar
6 Tbsp. Cane Sugar

5 Tablespoons Evaporated Cane Juice/Sugar

1. Make the curd according to instructions and chill for a few hours to firm up.

2. Preheat oven to 400'. Mix the pecans, sugar and butter together until moistened. Press the pecan mixture on the bottom and up the sides of a 9'' diameter glass pie dish, the mixture will be crumbly. Bake until the crust is slightly toasted, about 12 minutes. The crust will have slipped down the sides, use the back of a spoon to press it back in to place. Cool and then freeze the crust for 30 minutes.

3. Dollop 1 1/2 Cups of the softened ice cream over the crust, and spread into an even layer. Spread lemon curd over the ice cream and freeze until firm. About 1 1/2 hours. Dollop the remaining ice cream over the lemon curd, and freeze again. You can do this in advance and finish it with meringue when ready to serve.

4. Preheat oven to 500'. To make the meringue, beat the egg whites with an electric mixer until frothy, add the pinch of cream of tartar and gradually add the sugar while mixer is running. Beat until stiff peaks form. Spread the meringue on top of the pie in an even layer. Place the pie in the oven until meringue is golden in spots, about 3-4 minutes. You could use a butane torch as an alternative if you own one. Cut and serve immediately.

Print This Recipe