Gluten Free

Beverage, Breakfast, Gluten Free, Summer

COLD BREW WITH COCONUT CREAMER

I actually don't buy fancy drinks often but I love them. We spend a large part of our income on food and it seems like one place I can tighten things up. However, in a "treat yo'self" moment, I recently picked up the new one from Trader Joes and after spending nearly $5 on this tiny beverage, I had high expectations that were not met. Hugh makes us cold brew in the warm months so I'm putting him on explaining some of that to you. Tools, beans and such. He made the coffee, I made the coconut creamer from The First Mess and now I can make a special iced coffee on my own terms. The creamer is easy, it just requires a blender and a few staple ingredients. It does get a little firm in the fridge so I leave out before I need to use it or let it sit in a warm water bath to become a little more liquid. In the dairy free creamers you get at the store, there are a handful of funky ingredients that keep them a liquid and emulsify into your coffee, hot or cold. This creamer has more of a homemade texture to it and I like it that way. Makes me want to keep this as a fridge staple. We have two other coffee posts, Chemex and a video with the French press (in our old apartment! nostalgia!) if you fancy. 

In other summery news, I wrote a salmon taco recipe for Food52 and that avocado sauce has been a fridge staple. On eggs, veggie bowls, tacos, thinned to salad dressing, everything. Take a peek if you need a dinner idea!

COLD BREW COFFEE
Makes about 6 cups

There are all sorts of variations for this process, but we use a Toddy T2N Cold Brew System. It's simple, relatively inexpensive, and easy to use. The following brew method is adapted from their instructions, and makes about 6 cups of cold brew coffee concentrate.

12 ounces fresh roasted coffee - ground slightly finer than you would for drip. I grind at setting 10 (of 40) on a Baratza Virtuoso, for reference.
7 cups cold, filtered water


COCONUT CREAMER
Makes about 14 ounces

Creamer adapted from The First Mess

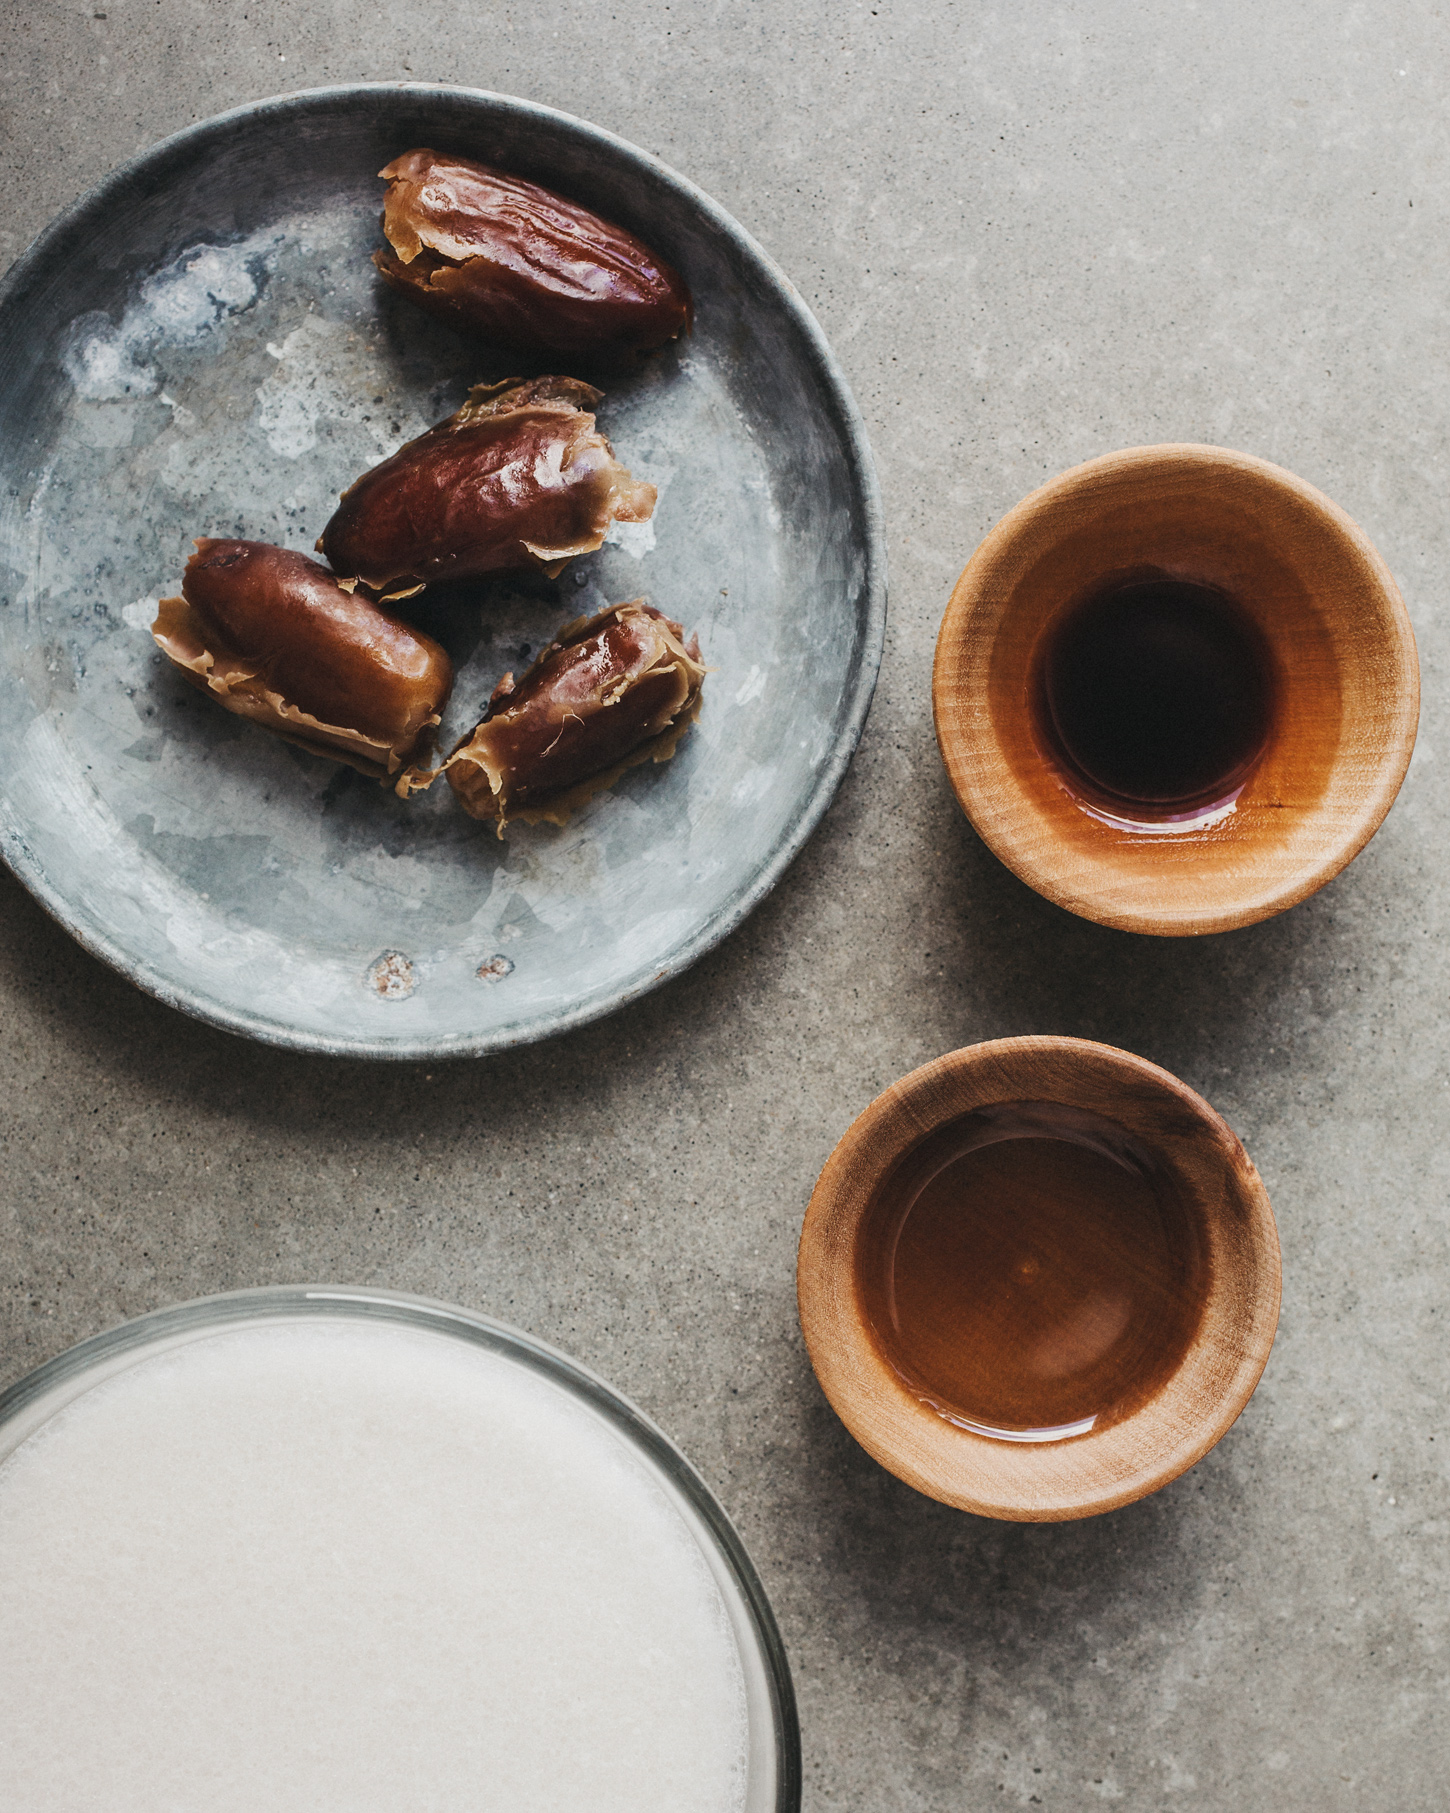
4 pitted dates
1 14-0z. can full fat coconut milk
1/2 tsp. vanilla extract
2 tsp. sunflower oil (or other neutral oil that is a liquid at room temperature)

COLD BREW

Fill - First, insert the stopper into the outside bottom of the brewing container; then, dampen the filter and insert it into the inside bottom of the brewing container. 

Next, add 1 cup of water into the bottom of the Toddy brewing container and 6 ounces of ground coffee. Slowly pour 3 more cups of water over the grounds, in a circular motion. Then, add the remaining 6 ounces of ground coffee. Finally, wait 5 minutes and slowly add the last 3 cups of water. DO NOT STIR (stirring the bed of grounds can result in a clogged filter). 

Lightly press down on the topmost grounds with the back of a spoon to ensure all grounds get wet. 

Cover - lay a sheet of plastic wrap over the top of the grounds with as few air bubbles as reasonably possible. The idea here is to minimize the amount of oxygen interacting with the steeping slurry. 

Brew - Steep your coffee grounds at room temperature for 12 to 24 hours to create a smooth, rich flavor. 

Filter - Remove the plastic wrap and the stopper and let your coffee concentrate flow into the glass decanter - stays fresh for 1-2 weeks in your refrigerator.

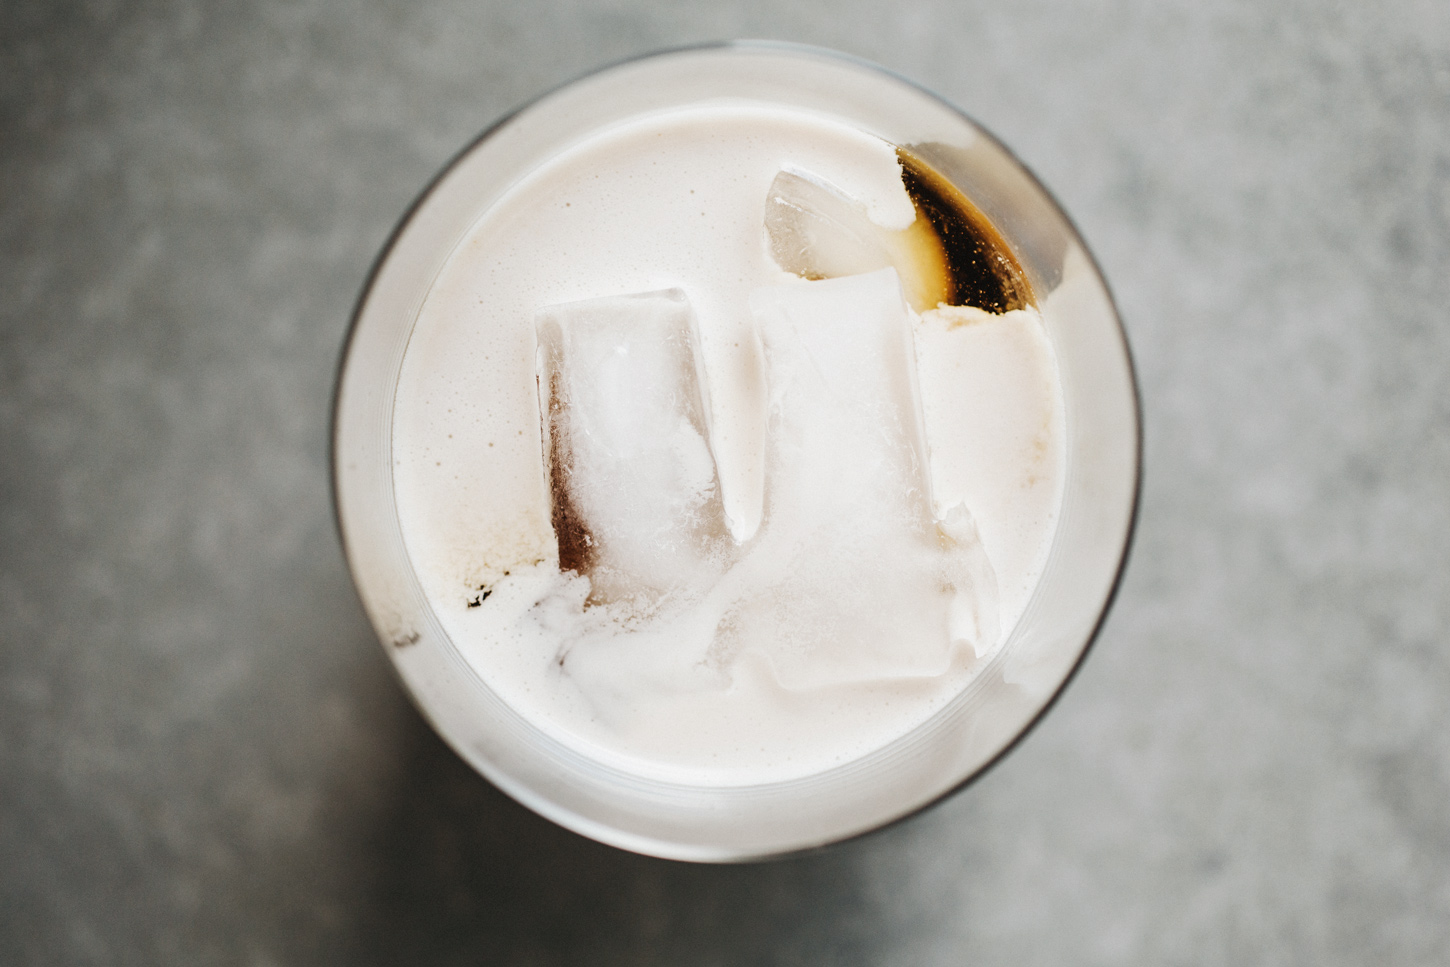
Serve - Into a glass full of ice, we went with a ratio of 2 parts coffee (which is a concentrate) to 1 part water to 1 part creamer. Not super sweet or decadent, so you can adjust that based on your own mood. 


COCONUT CREAMER

If your dates are soft, move forward with the recipe. If they are a little dry or tough, soak them in boiling water to soften then drain completely. 

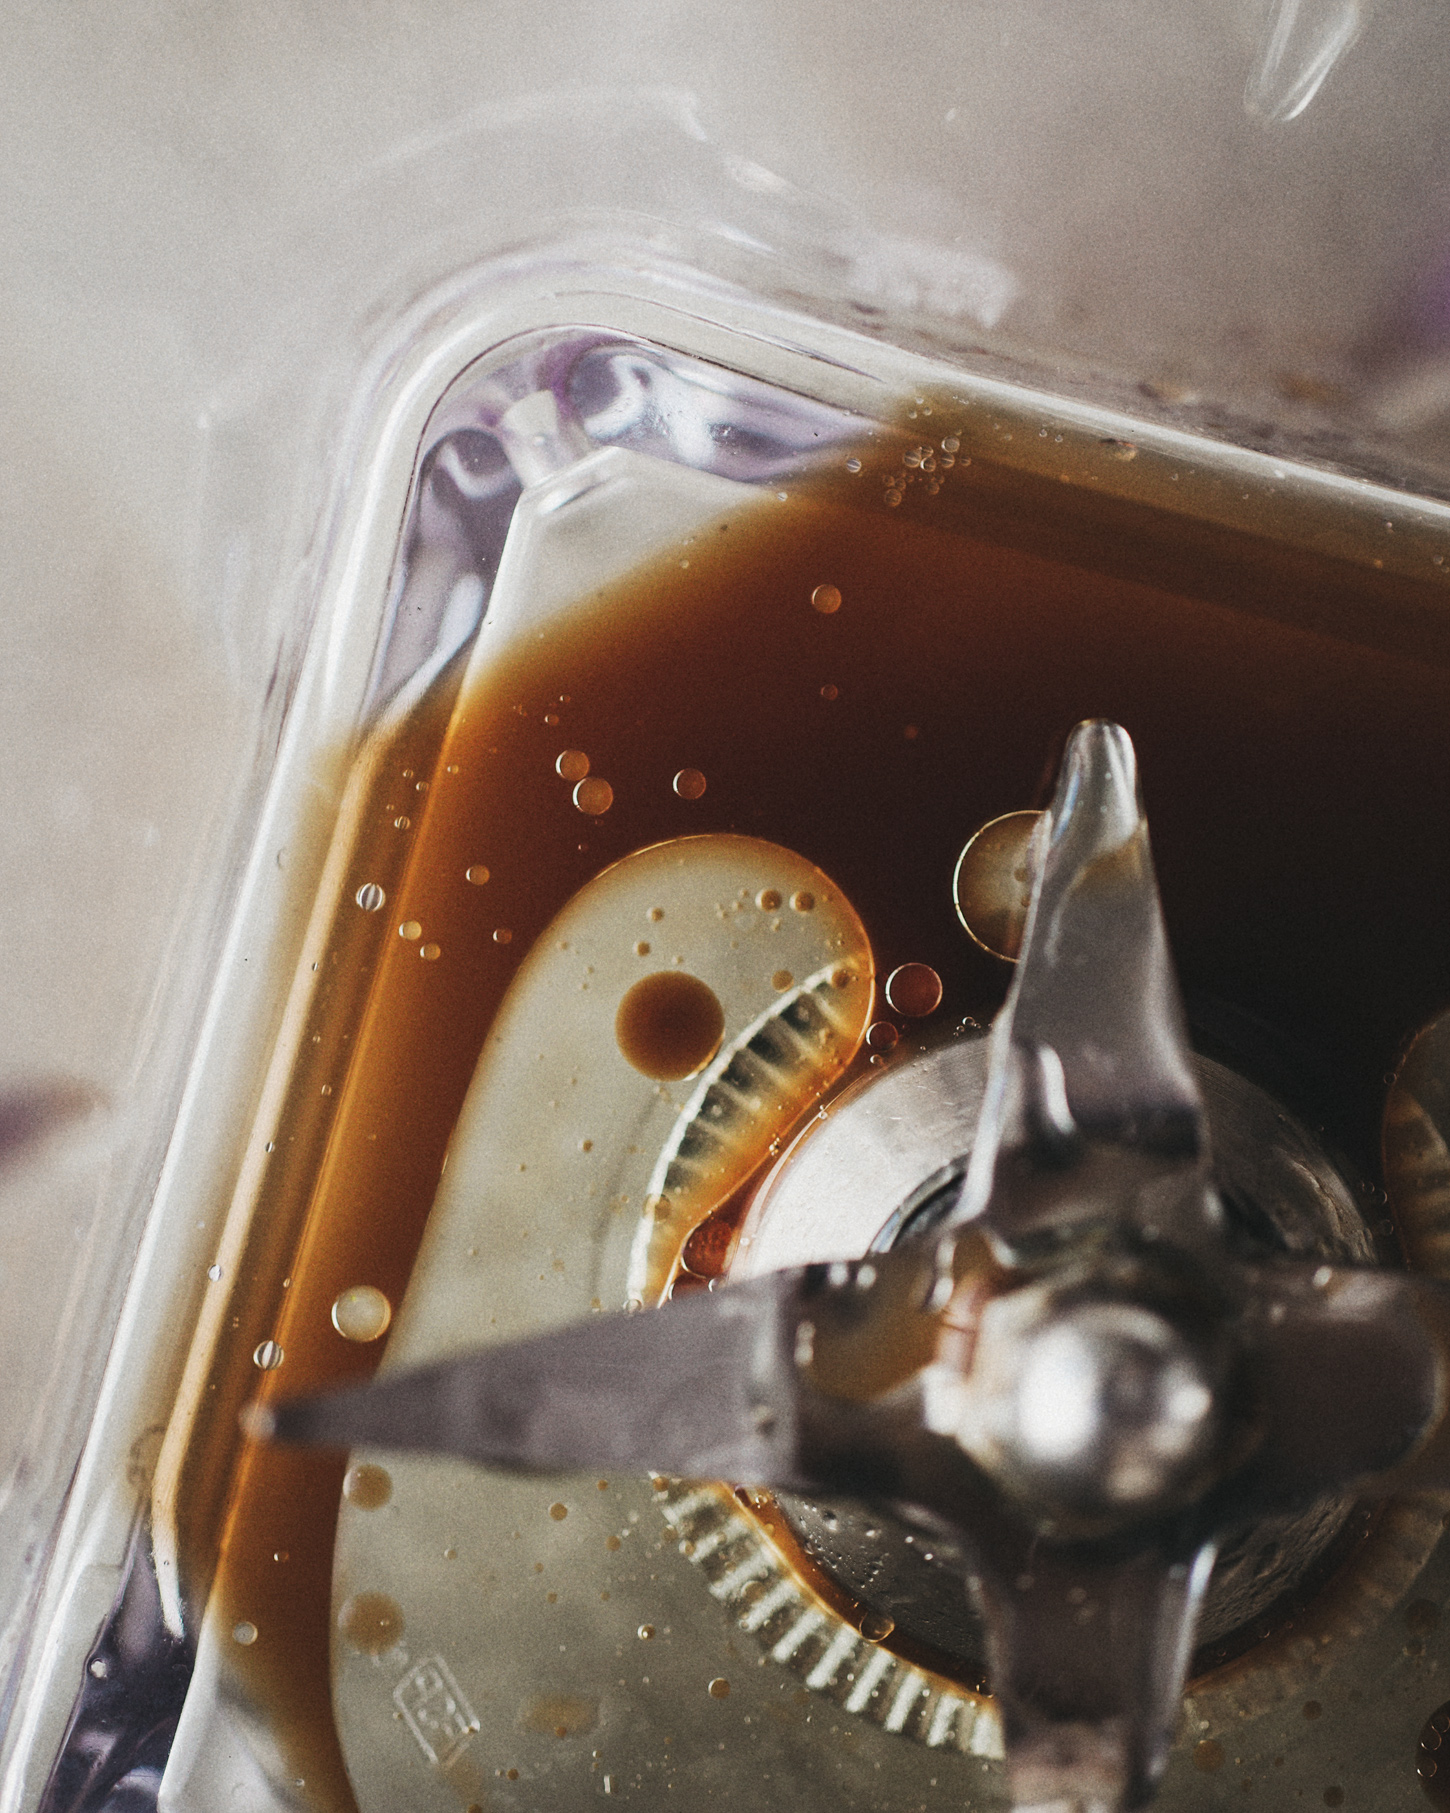
In a high powered blender, run the dates, coconut milk, vanilla and oil until you have a smooth, thick liquid with minimal chunks of dates. Strain the creamer with a fine mesh strainer. 

Into a glass full of ice, we went with a ratio of 2 parts coffee (which is a concentrate) to 1 part water to 1 part creamer. Not super sweet or decadent, so you can adjust that based on your own mood. 

Print This Recipe

Breakfast, Entrée, Gluten Free

ALMOND MEAL QUICHE WITH SWEET POTATOES, MUSHROOMS + GREENS

There is a recipe for a vegan mushroom tartlet in our first book that I can’t say I make often. How’s that for salesmanship? We used a tofu base for the filling and have this amazing almond meal crust that makes the meal friendly for people with dietary restrictions. I always dream about that crust, tender almond meal with just enough rosemary, so I turned it into a larger quiche-type recipe that fits a little more fluidly into our everyday. Because my kids wake up way too early, they are moody in the morning and seemingly hungry instantly, having things ready saves me from the whining and frustration that I can’t make food appear immediately. Hard boiled eggs, cut fruit, healthy muffins or grainy pancakes that I’ve made in advance help me throw things on their plates quickly so I can enjoy my coffee while it’s still warm. It also makes the moments when I spend time on something with a few more steps, that much more special. Sure, this recipe has a few steps and a couple dirty pans, but once it’s made, it’s truly an all day meal option that feels special. You could really go all sorts of ways with the vegetables in the filling - maybe some asparagus or slow roasted tomatoes with a saltier cheese. 

Here, I am making the crust in the pan, cooling it completely, then moving forward with the filling from there. You’ll want to use a cast-iron or other oven-proof pan (pictured is a greenpan non-stick which is also oven-proof). A traditional pie pan will be great too!

Almond Meal Quiche with Sweet Potatoes, Mushrooms + Greens
Serves 6 / One 12” skillet

For the crust

2 cups almond meal
4 Tbsp. coconut oil or butter
2 Tbsp. fresh rosemary leaves
salt and pepper

For the filling
2 tsp. extra virgin olive oil
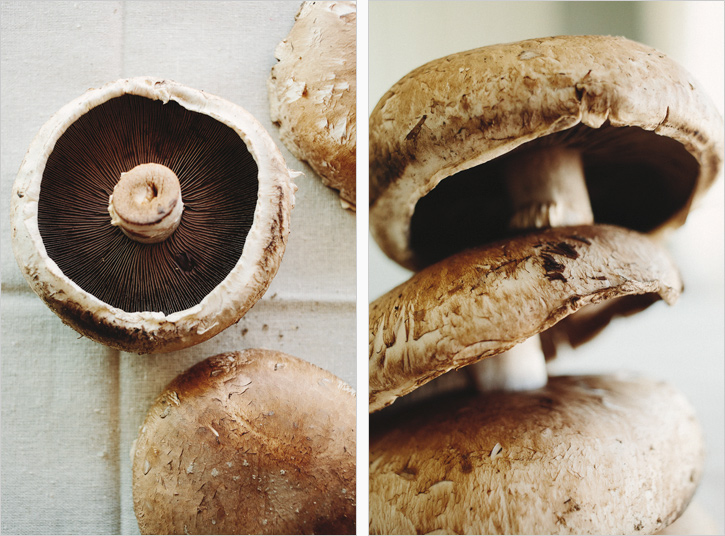
8 oz. mushrooms, cleaned and sliced
1 small shallot
5 ounces baby spinach
1 cup leftover roasted sweet potatoes
5 eggs
1/3 cup heavy cream or plain, non-dairy creamer
dash of cayenne
1/2 tsp. each sea salt and pepper
4 oz soft goats cheese
fresh parsley, for garnish

Preheat the oven to 350’.

In a bowl or food processor, combine the almond meal, coconut oil and rosemary, salt and pepper and pulse to combine. The mixture should looks damp. Press it down in an even layer on the bottom of the skillet and up the sides as well as you can. Damp hands helps. Bake for 15 minutes or until it smells a little toasty. Remove to cool completely.

In another skillet, warm the oil. Saute the mushrooms with a pinch of salt and pepper until they begin to brown. Add the shallot, and saute another minute. Add the spinach, turn off the heat and the residual heat will wilt it down. Stir in your roasted sweet potatoes.

Whisk the eggs, cream, cayenne and salt and pepper together very well. get some air up in there. Tip the vegetables into the prepared crust, then the egg mixture over the top. Sprinkle the goat cheese all over the top. Bake 20 minutes until the center is set. Remove to cool for it to set further. Garnish with fresh parsley.


Print This Recipe

Feeding Babies, Entrée, Gluten Free, Snack

FEEDING BABIES: BROCCOLI BALLS

Per request, I am including a recipe for these broccoli balls I've been making for the kids. I love hearing that you guys actually make the things in this series and find it helpful. I know this kind of stuff is for a niche handful of you, but I get a lot of messages for these posts so I hope it's a another tool for getting a few more servings of vegetables into your kids. I think I've mentioned before that neither of my kids are ones to go after a crudite platter, so I have to get creative. Veggie burgers and balls and vegetables packed into frittatas or smoothies are my best bet. Cleo (1) can't use a utensil and Curran (almost 3) prefers not to anyway, so anything I can make hand-held is best for everyone. These nuggets have become my answer to breakfast, lunch, dinner, or in a rush because they have protein, fat, veggies, carbs. Think frittata with extra broccoli. They can be whatever you need them to be. Even if you don't have kids, I still think these are an awesome. 

Broccoli Balls // Makes 20

These are pretty flexible and you can make modifications based on any allergies. Can't have eggs? Add in a small mashed sweet potato and double the panko. No gluten? Sub in some coarse ground oats but you'll need that cheese and egg to help bind them. No dairy? Add a drizzle of olive oil, and grind in a handful of walnuts when you pulse the broccoli so they have some fat in there. They can take a bit of cooked quinoa or rice if you're looking to bulk them up too. 

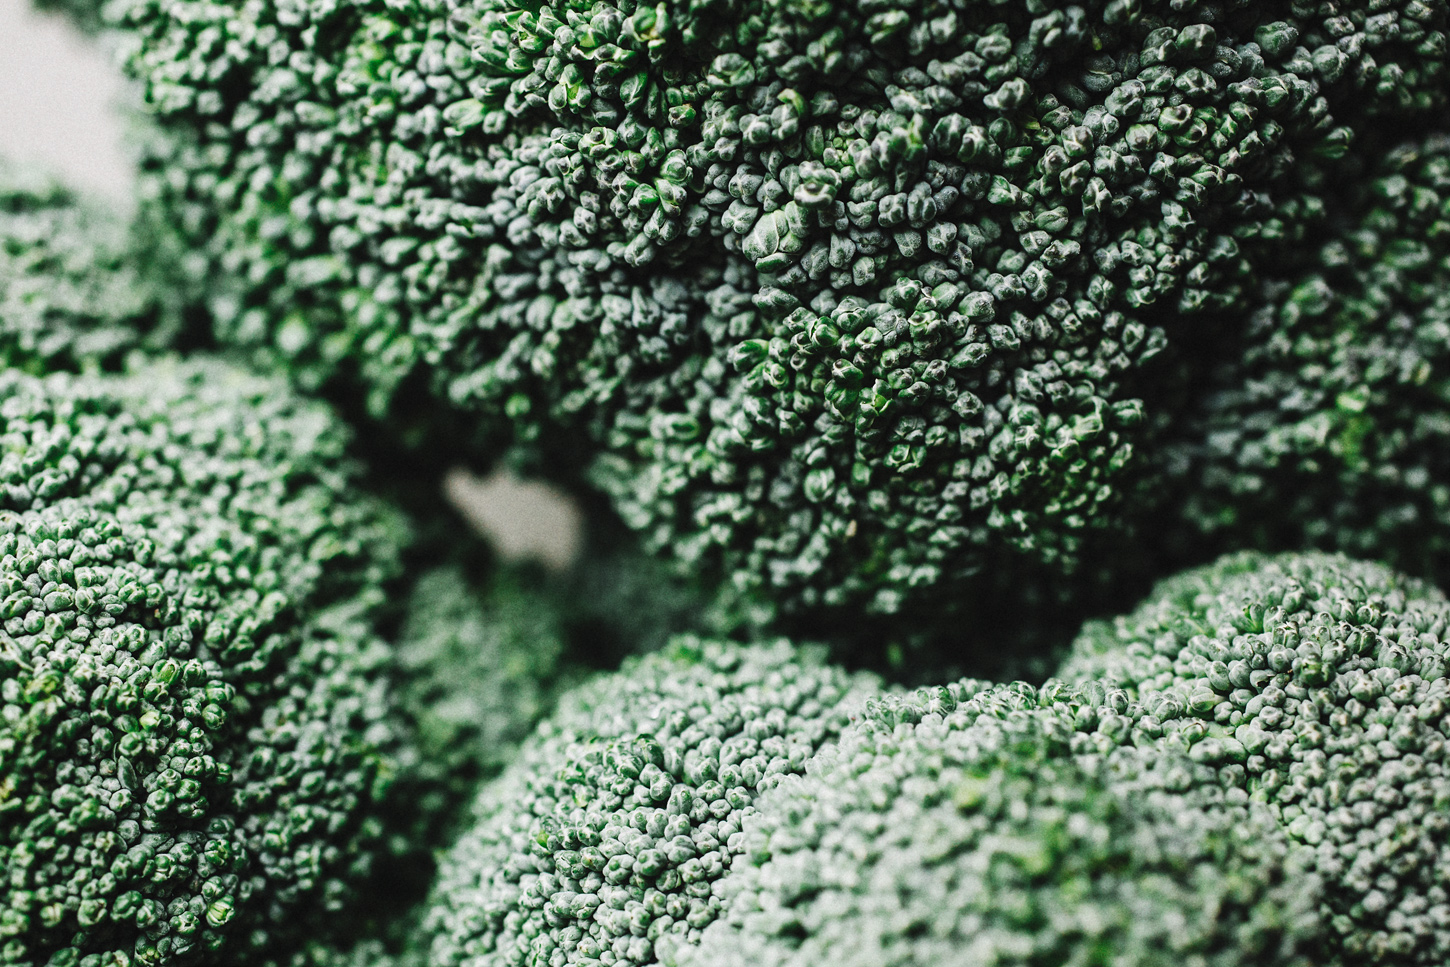
3 crowns of broccoli (a generous 1 lb. of florets)
2 cloves garlic
sea salt and pepper

3 eggs
1 cup grated cheese (mexican blend, white cheddar, fontina etc.)
2 Tbsp. parmesan cheese
1/2 cup panko breadcrumbs

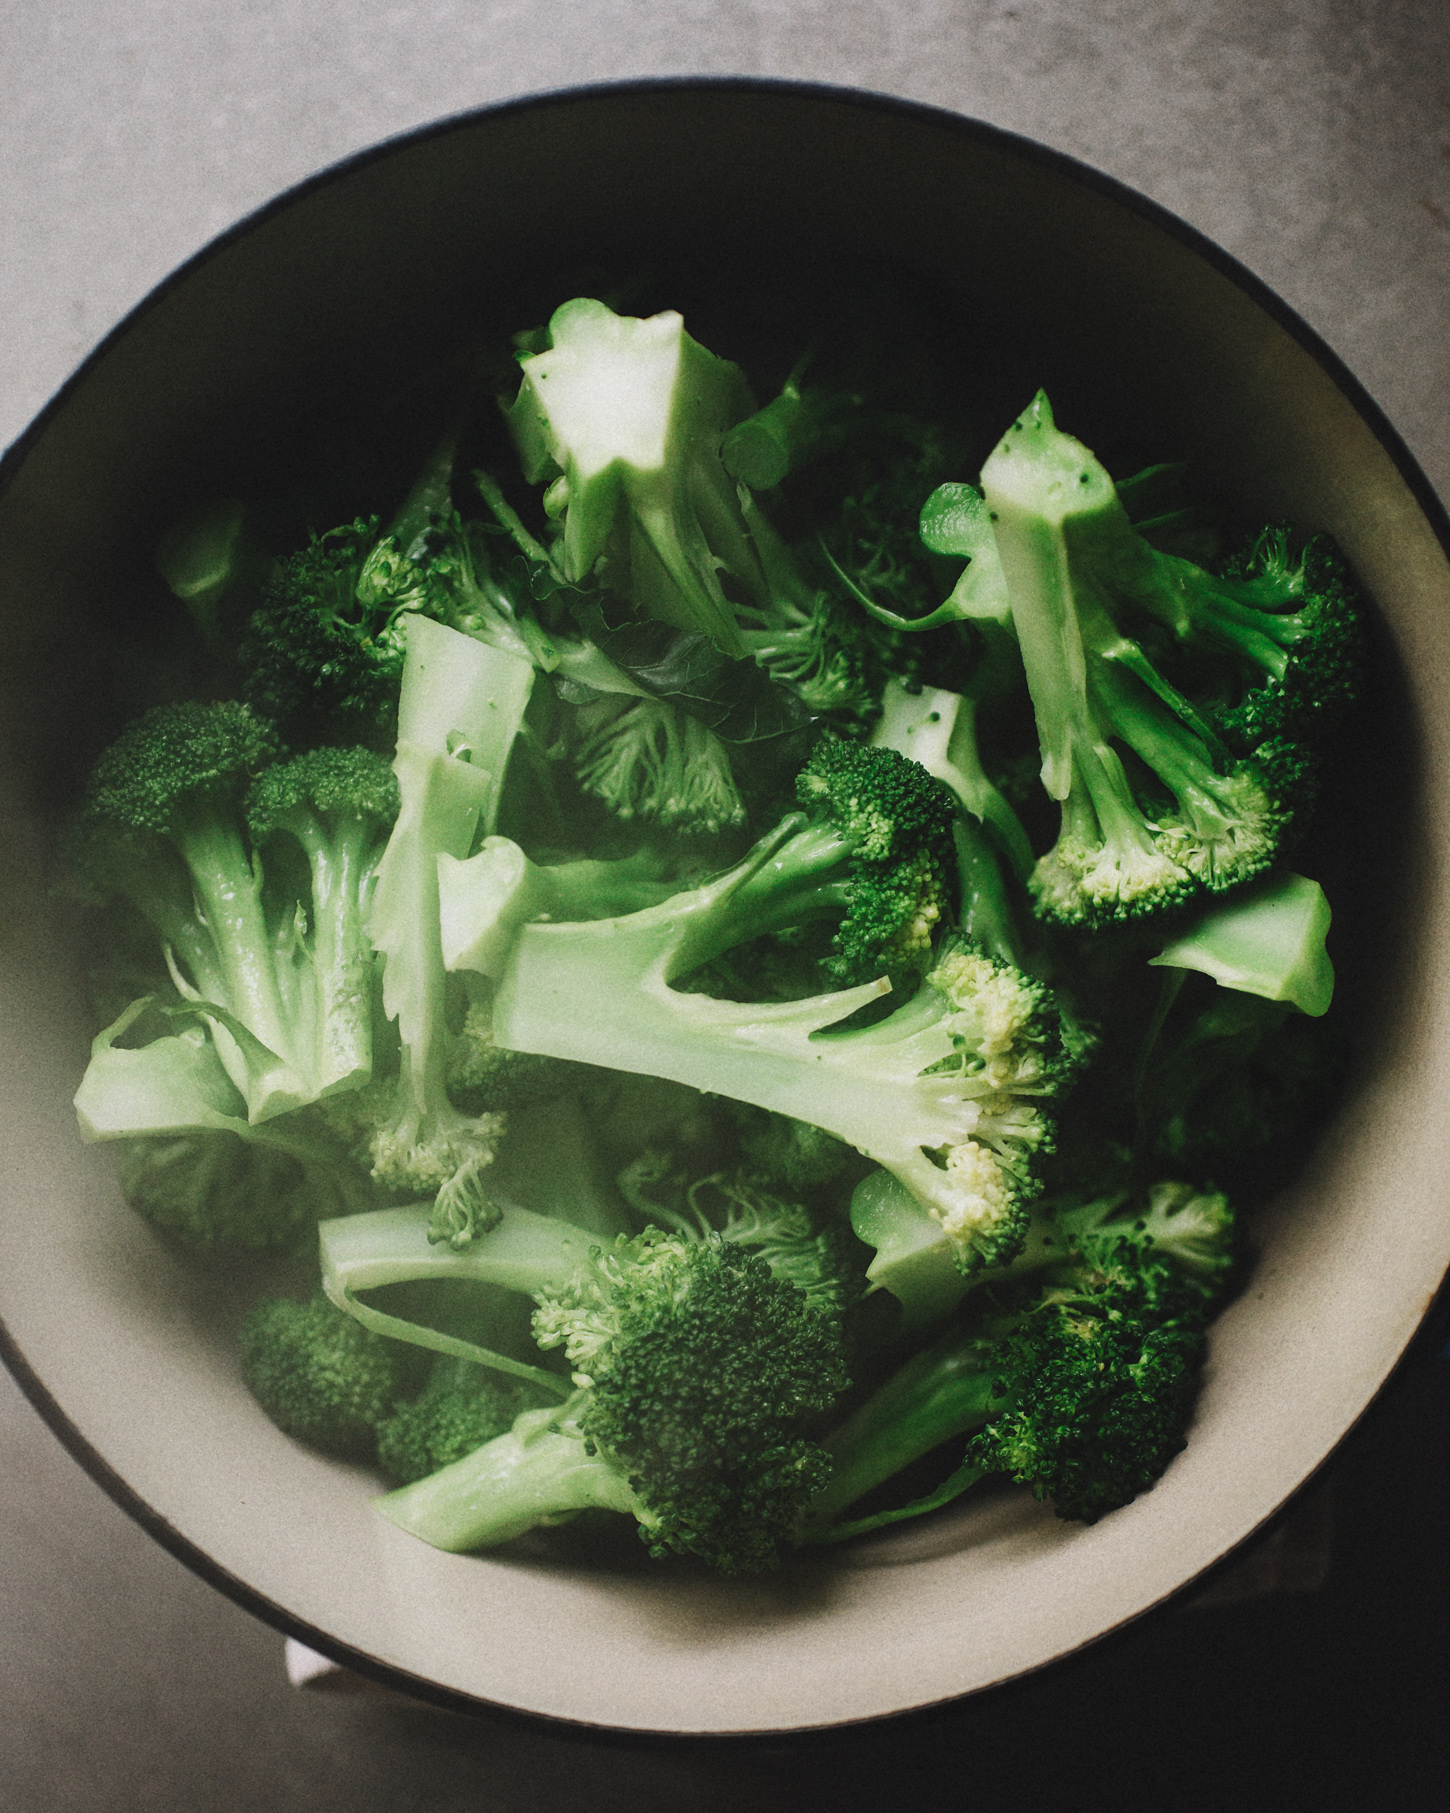
Cut up the broccoli into large chunks, some stem is ok, and steam it for 2-3 minutes. It should start to turn bright green but still have it's crunch. Let it cool completely. 
Preheat the oven to 400. Line a baking sheet with parchment paper and spray or rub a little olive or coconut oil.
Into a food processor, whiz up the garlic and a few pinches of salt and pepper. Add the cooled broccoli and pulse until it's in rice like pieces. Not pureed, but something small enough to roll into balls. 
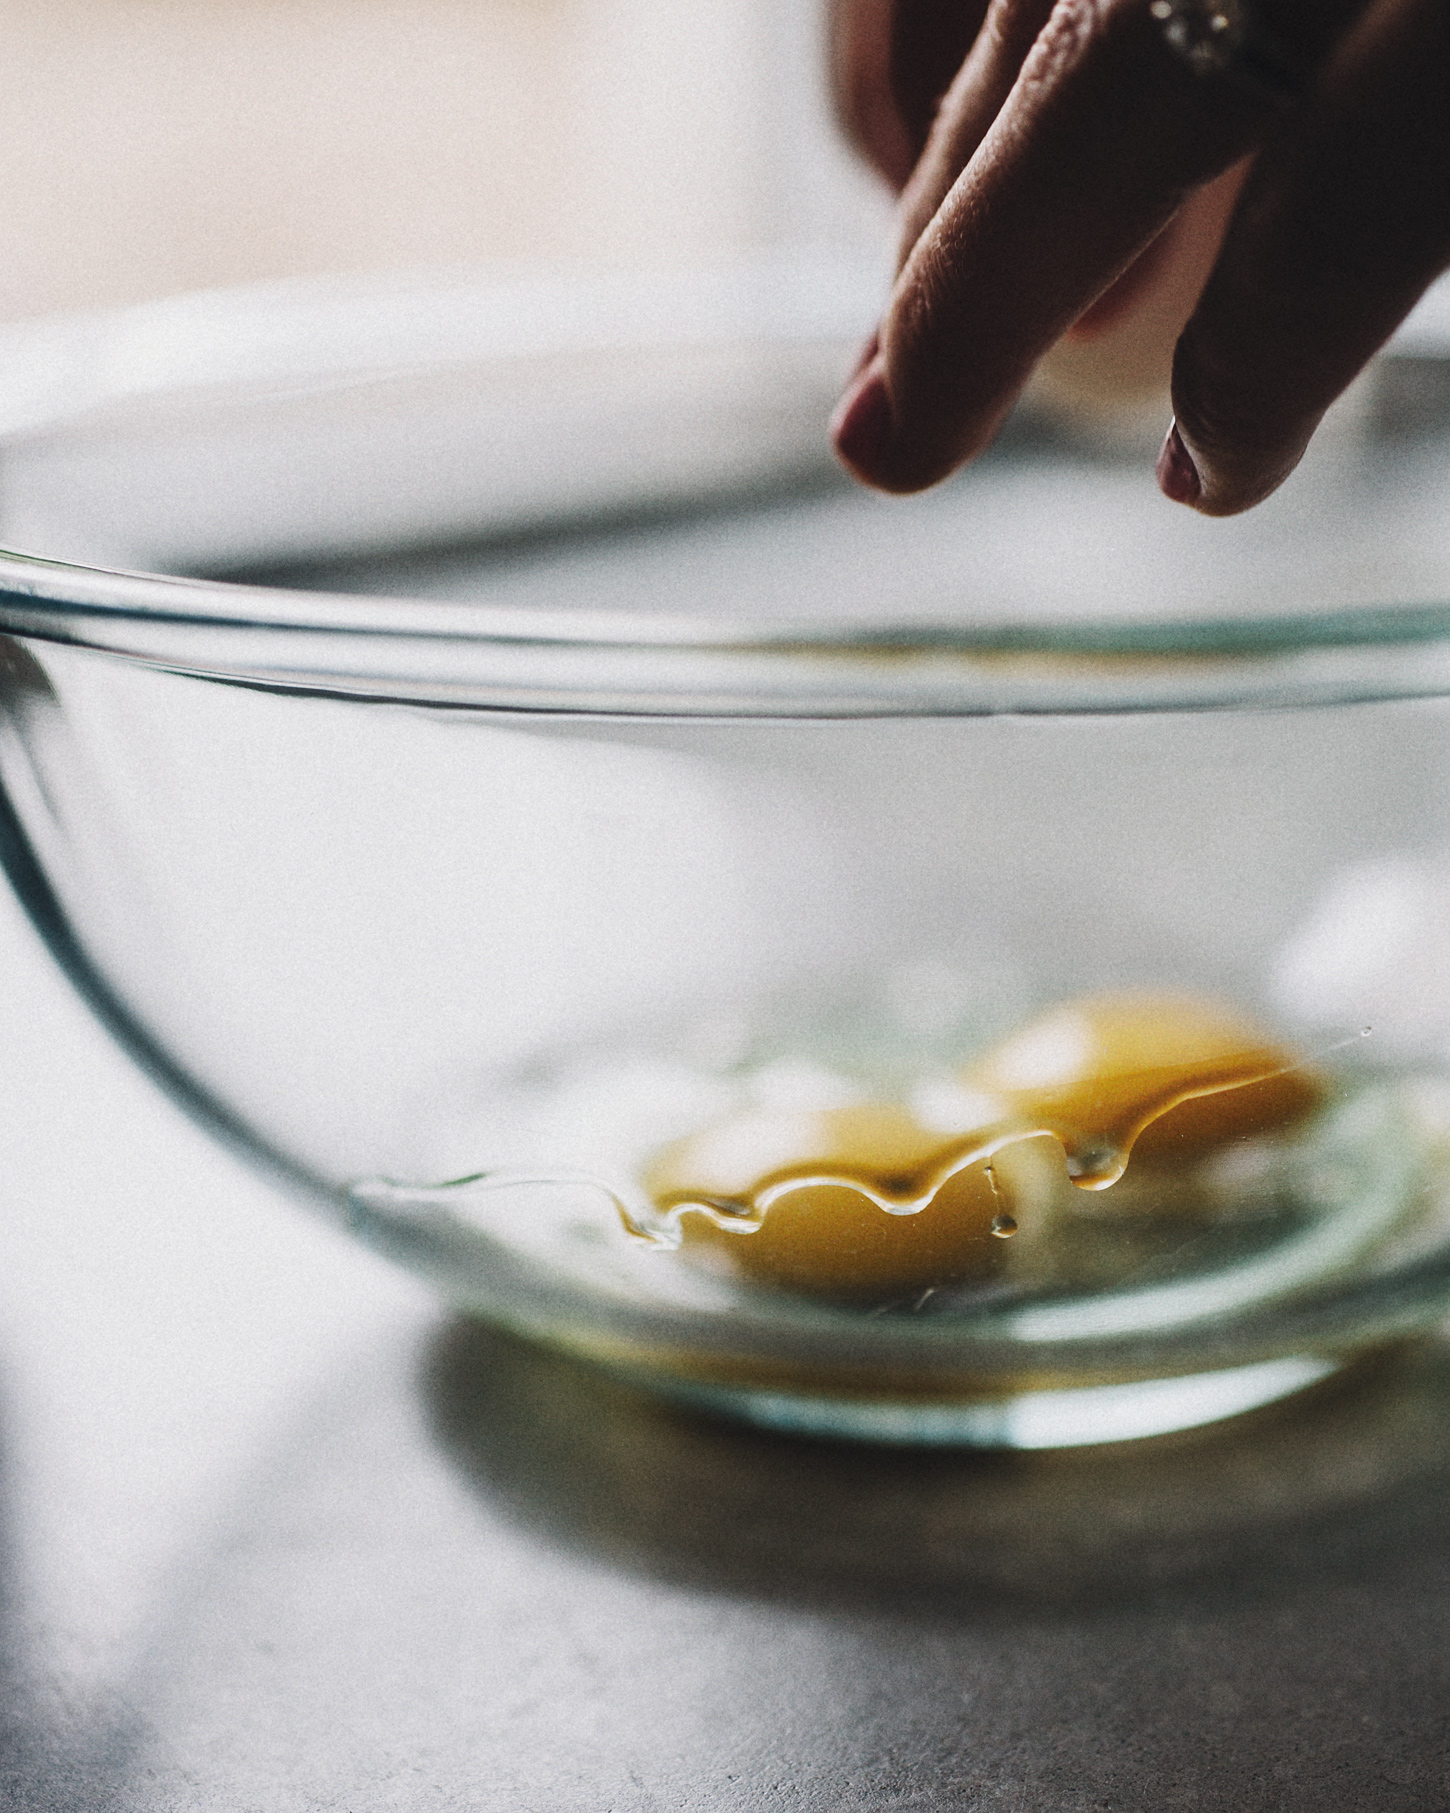
In a large mixing bowl, whisk the eggs together. Add the broccoli bits, grated cheese, parmesan and panko and stir to combine. It should loosely stick together. Add a sprinkle of panko if they need more "glue". 
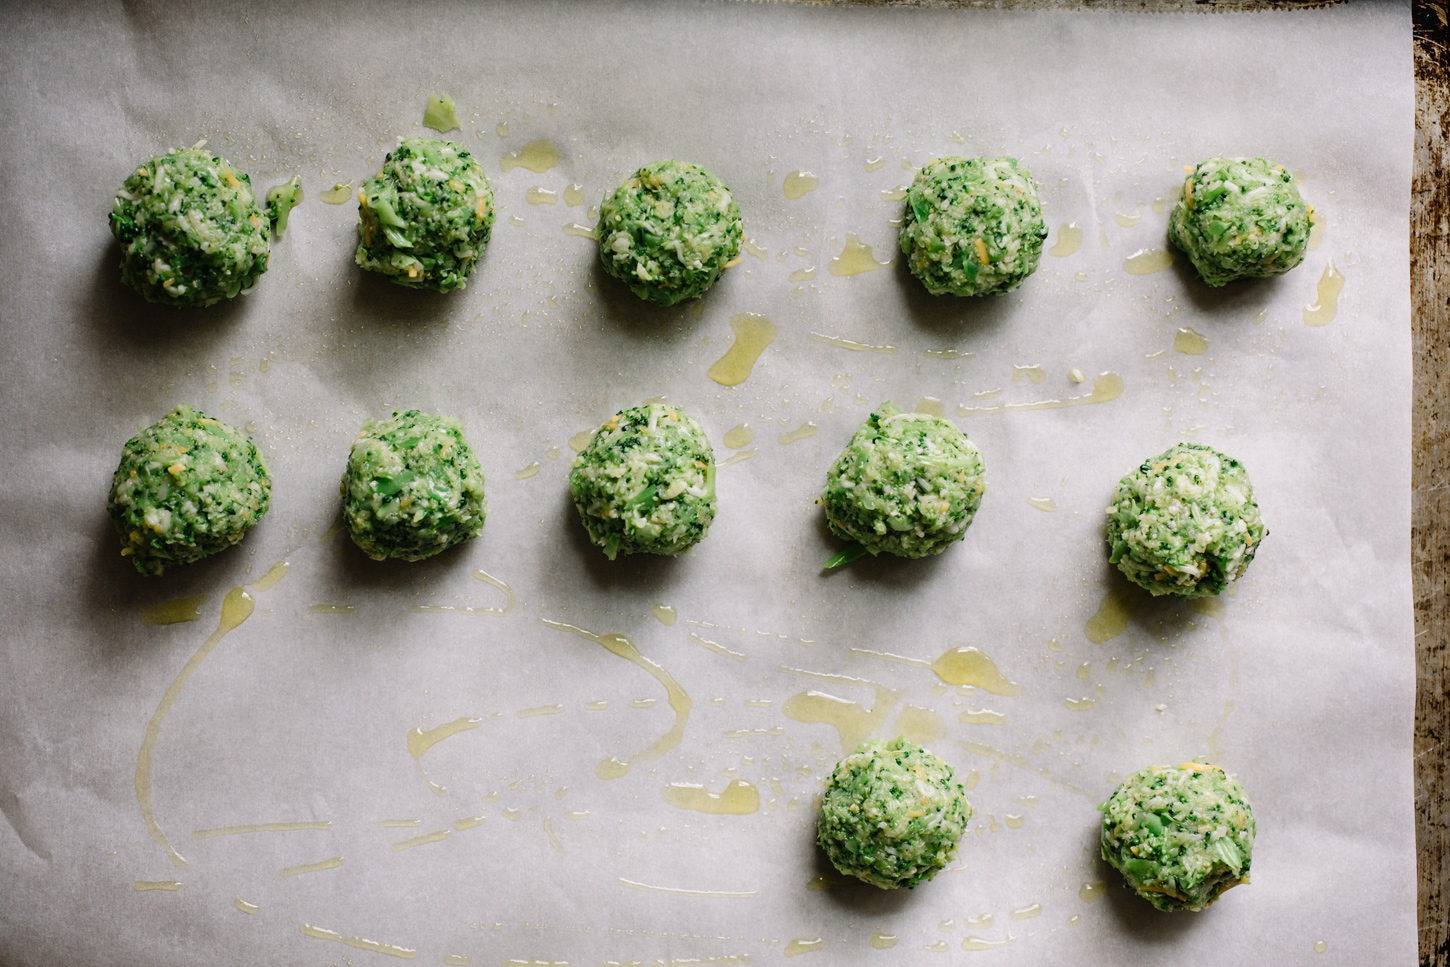
Roll balls with a scant 2 Tbsp. of the mixture. Place them on the lined baking sheet and bake them for 10-12 minutes in the upper third of the oven. They should still be slightly tender when you pull them out. 
Like any reasonable mother would do, I give them to my kids with ketchup because it's a novelty but they really don't need anything. 


Print This Recipe